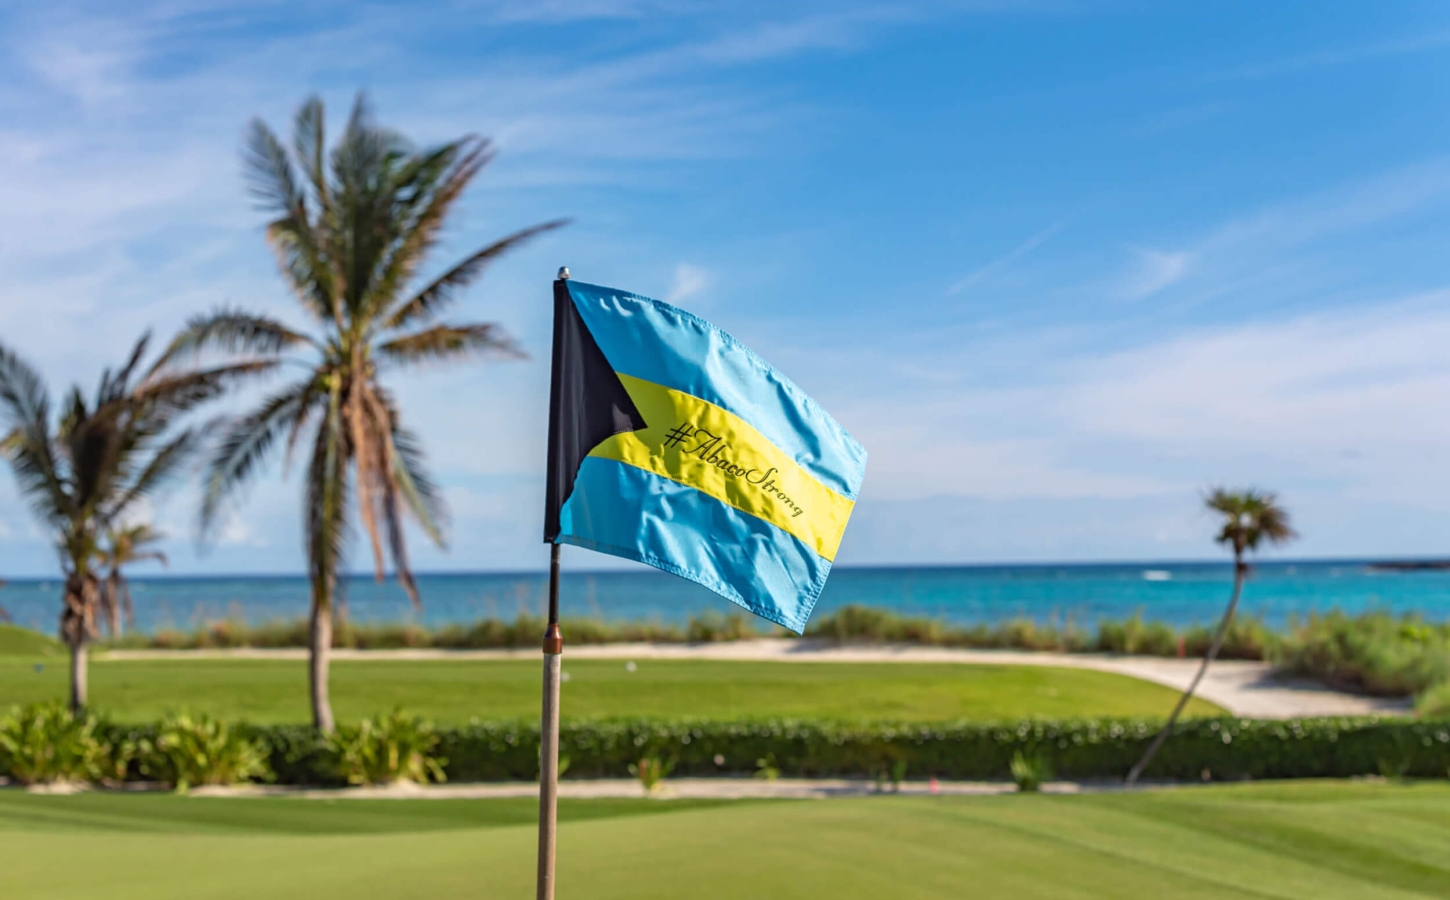
The #1 Golf Course
in the bahamas
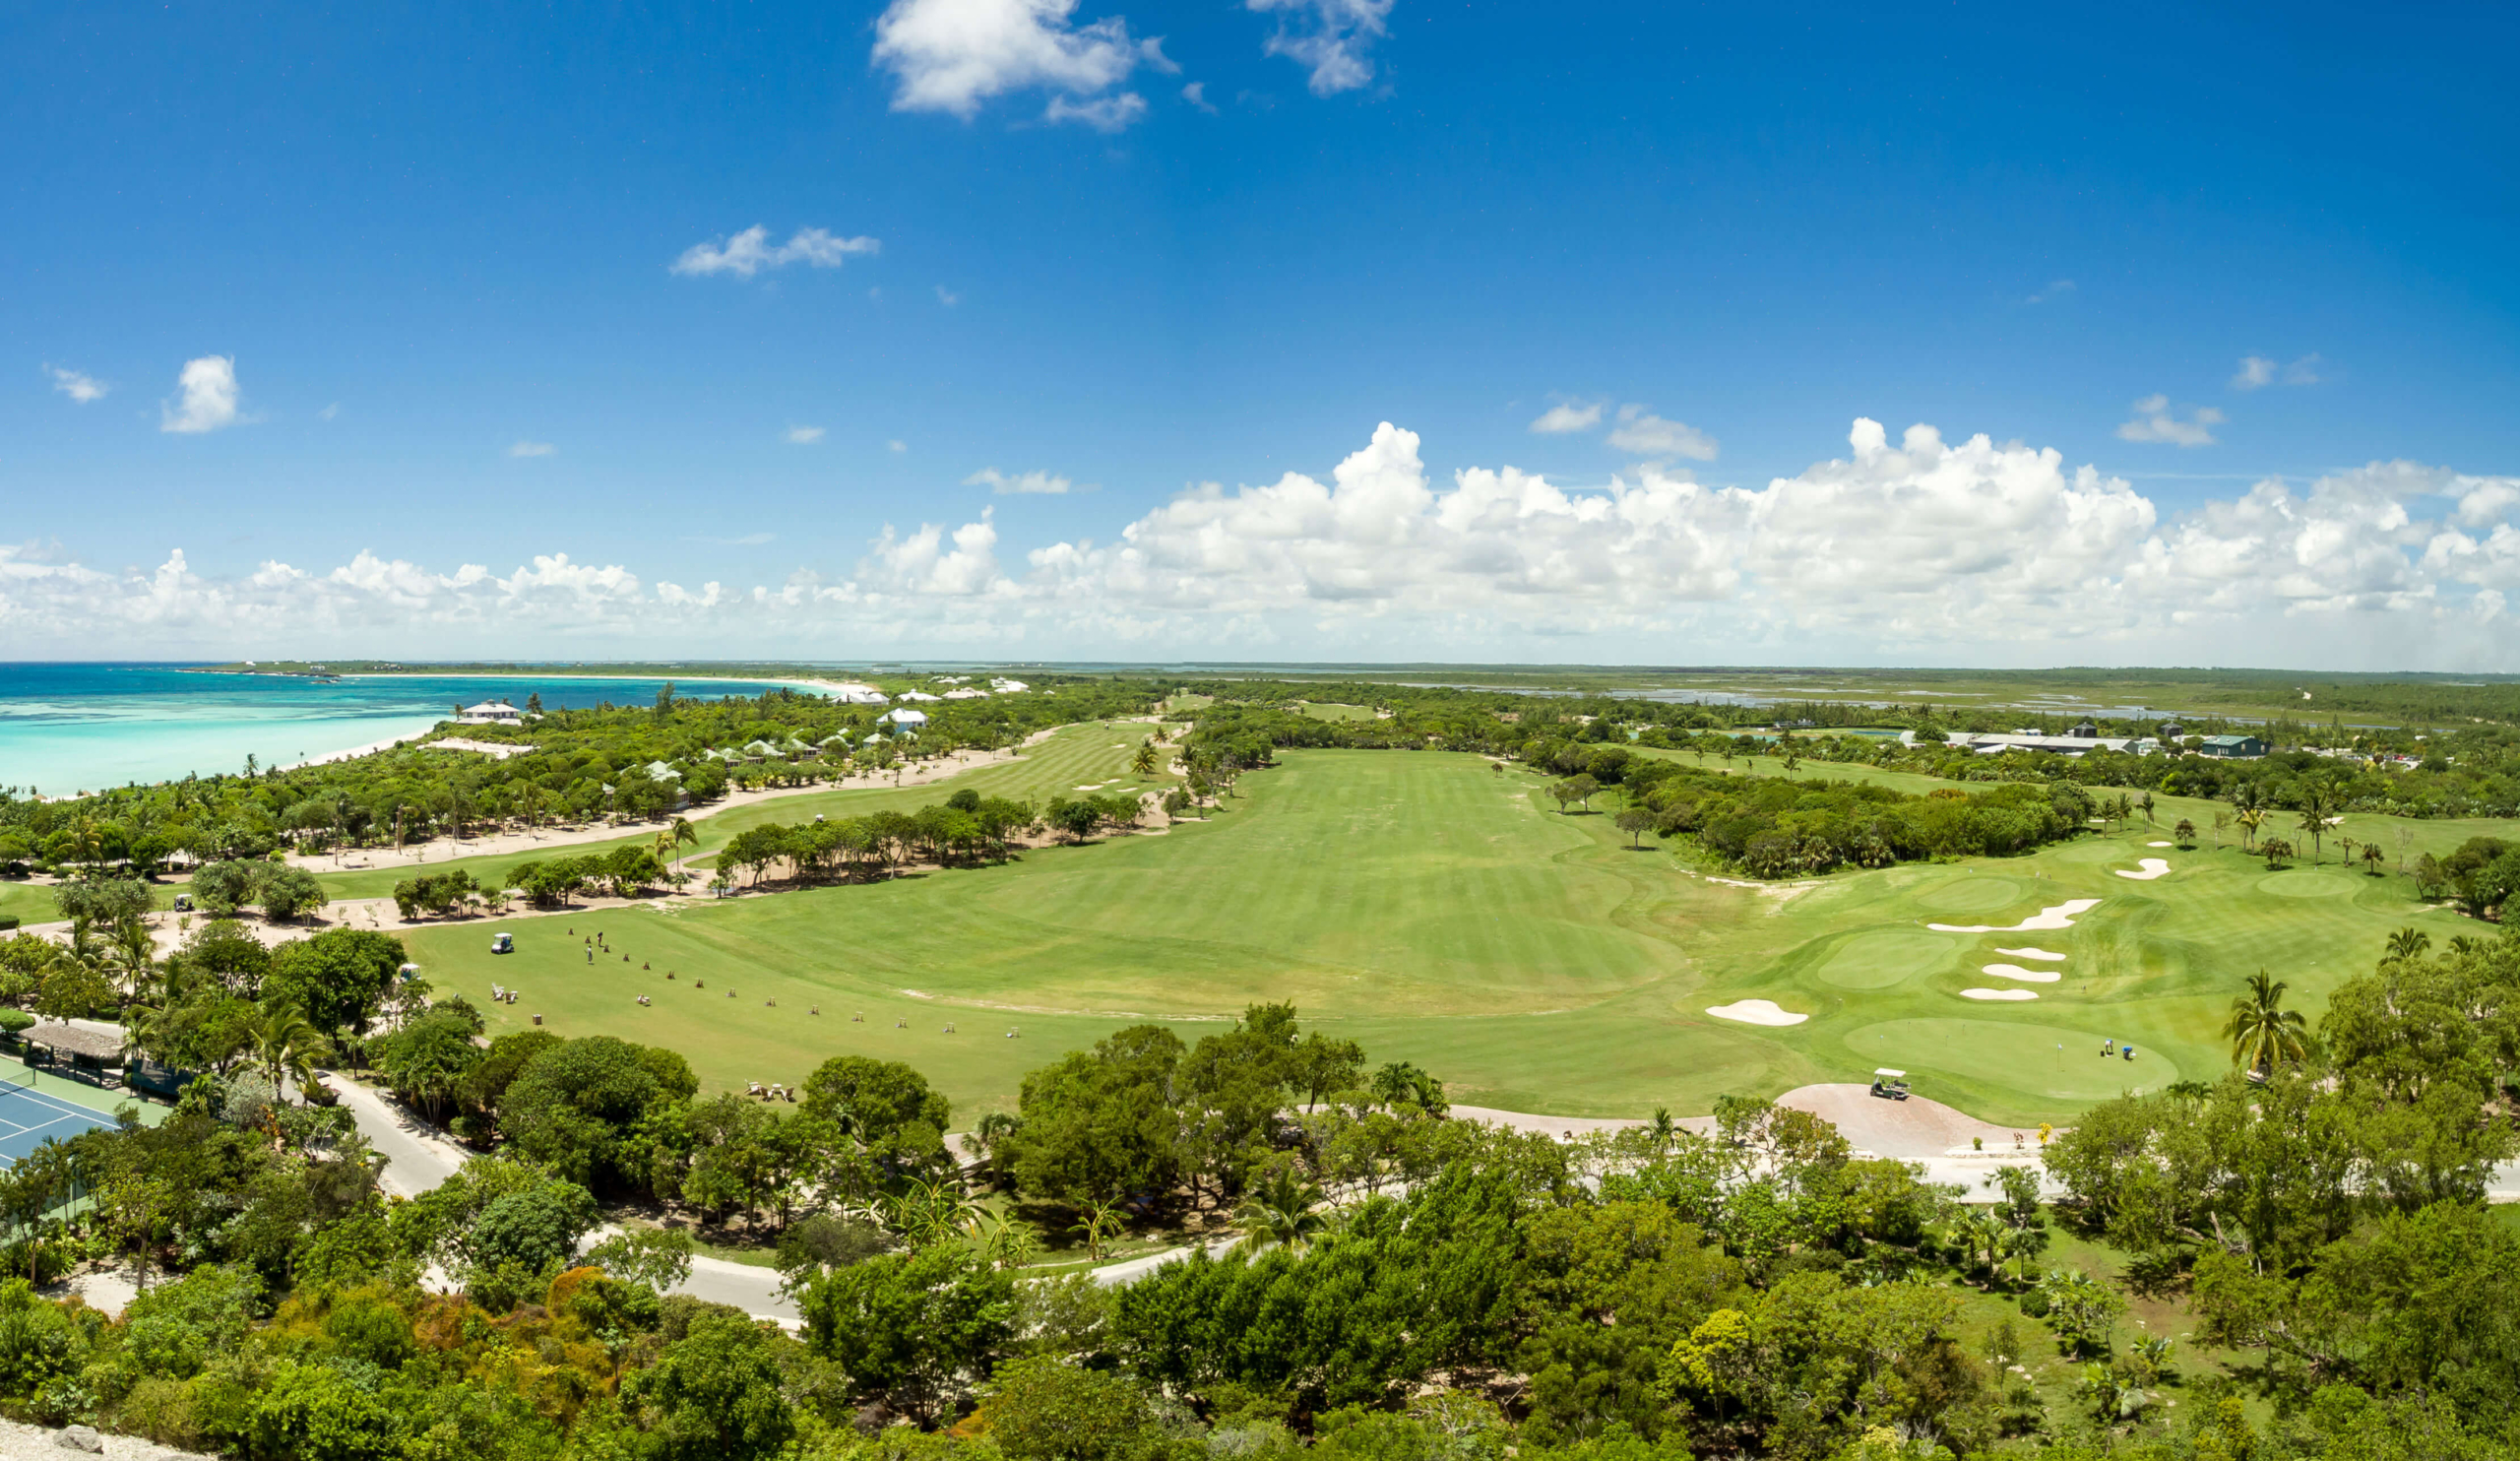
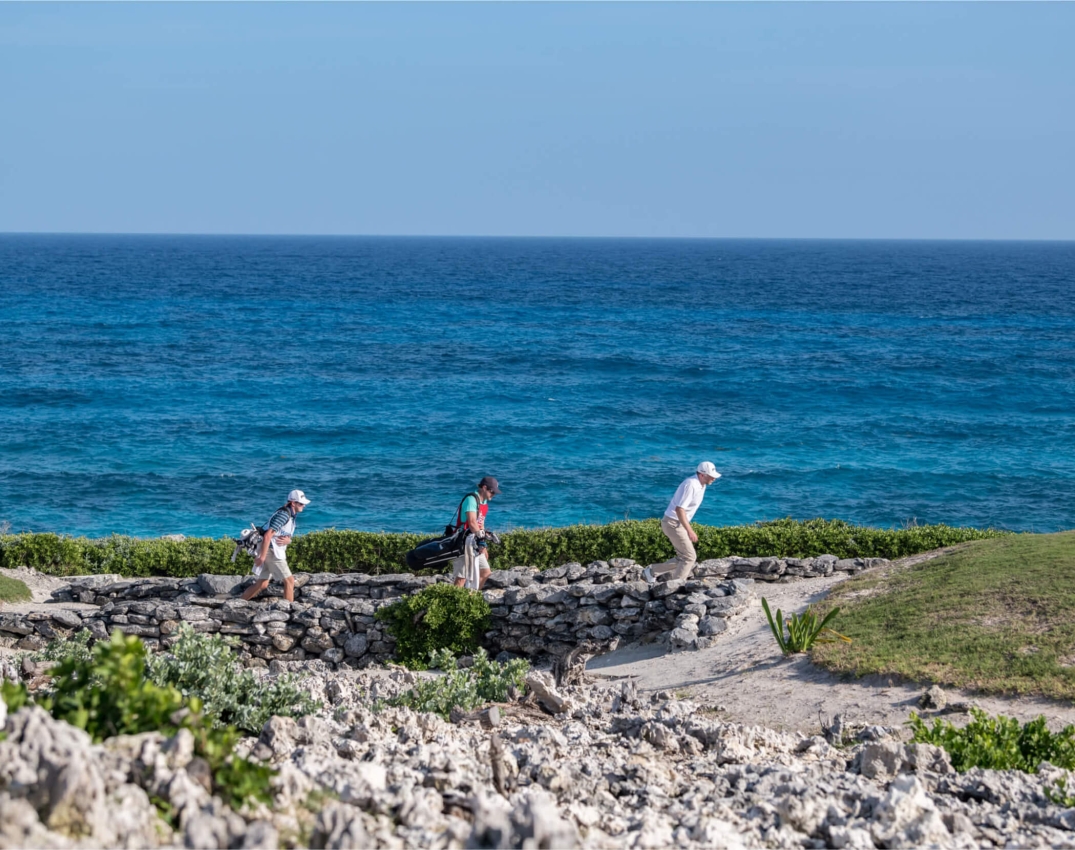
True links golf courses represent a small fraction of the world’s golf opportunities. The great majority of them are situated in places like Ireland and Scotland—locations where the weather can turn an average round of golf into a battle with the elements. The Abaco Club offers the best of both worlds: a heralded Scottish-style links design set hard by the sea and a climate that’s ideal for enjoying the outdoors.
Dial In Your Game
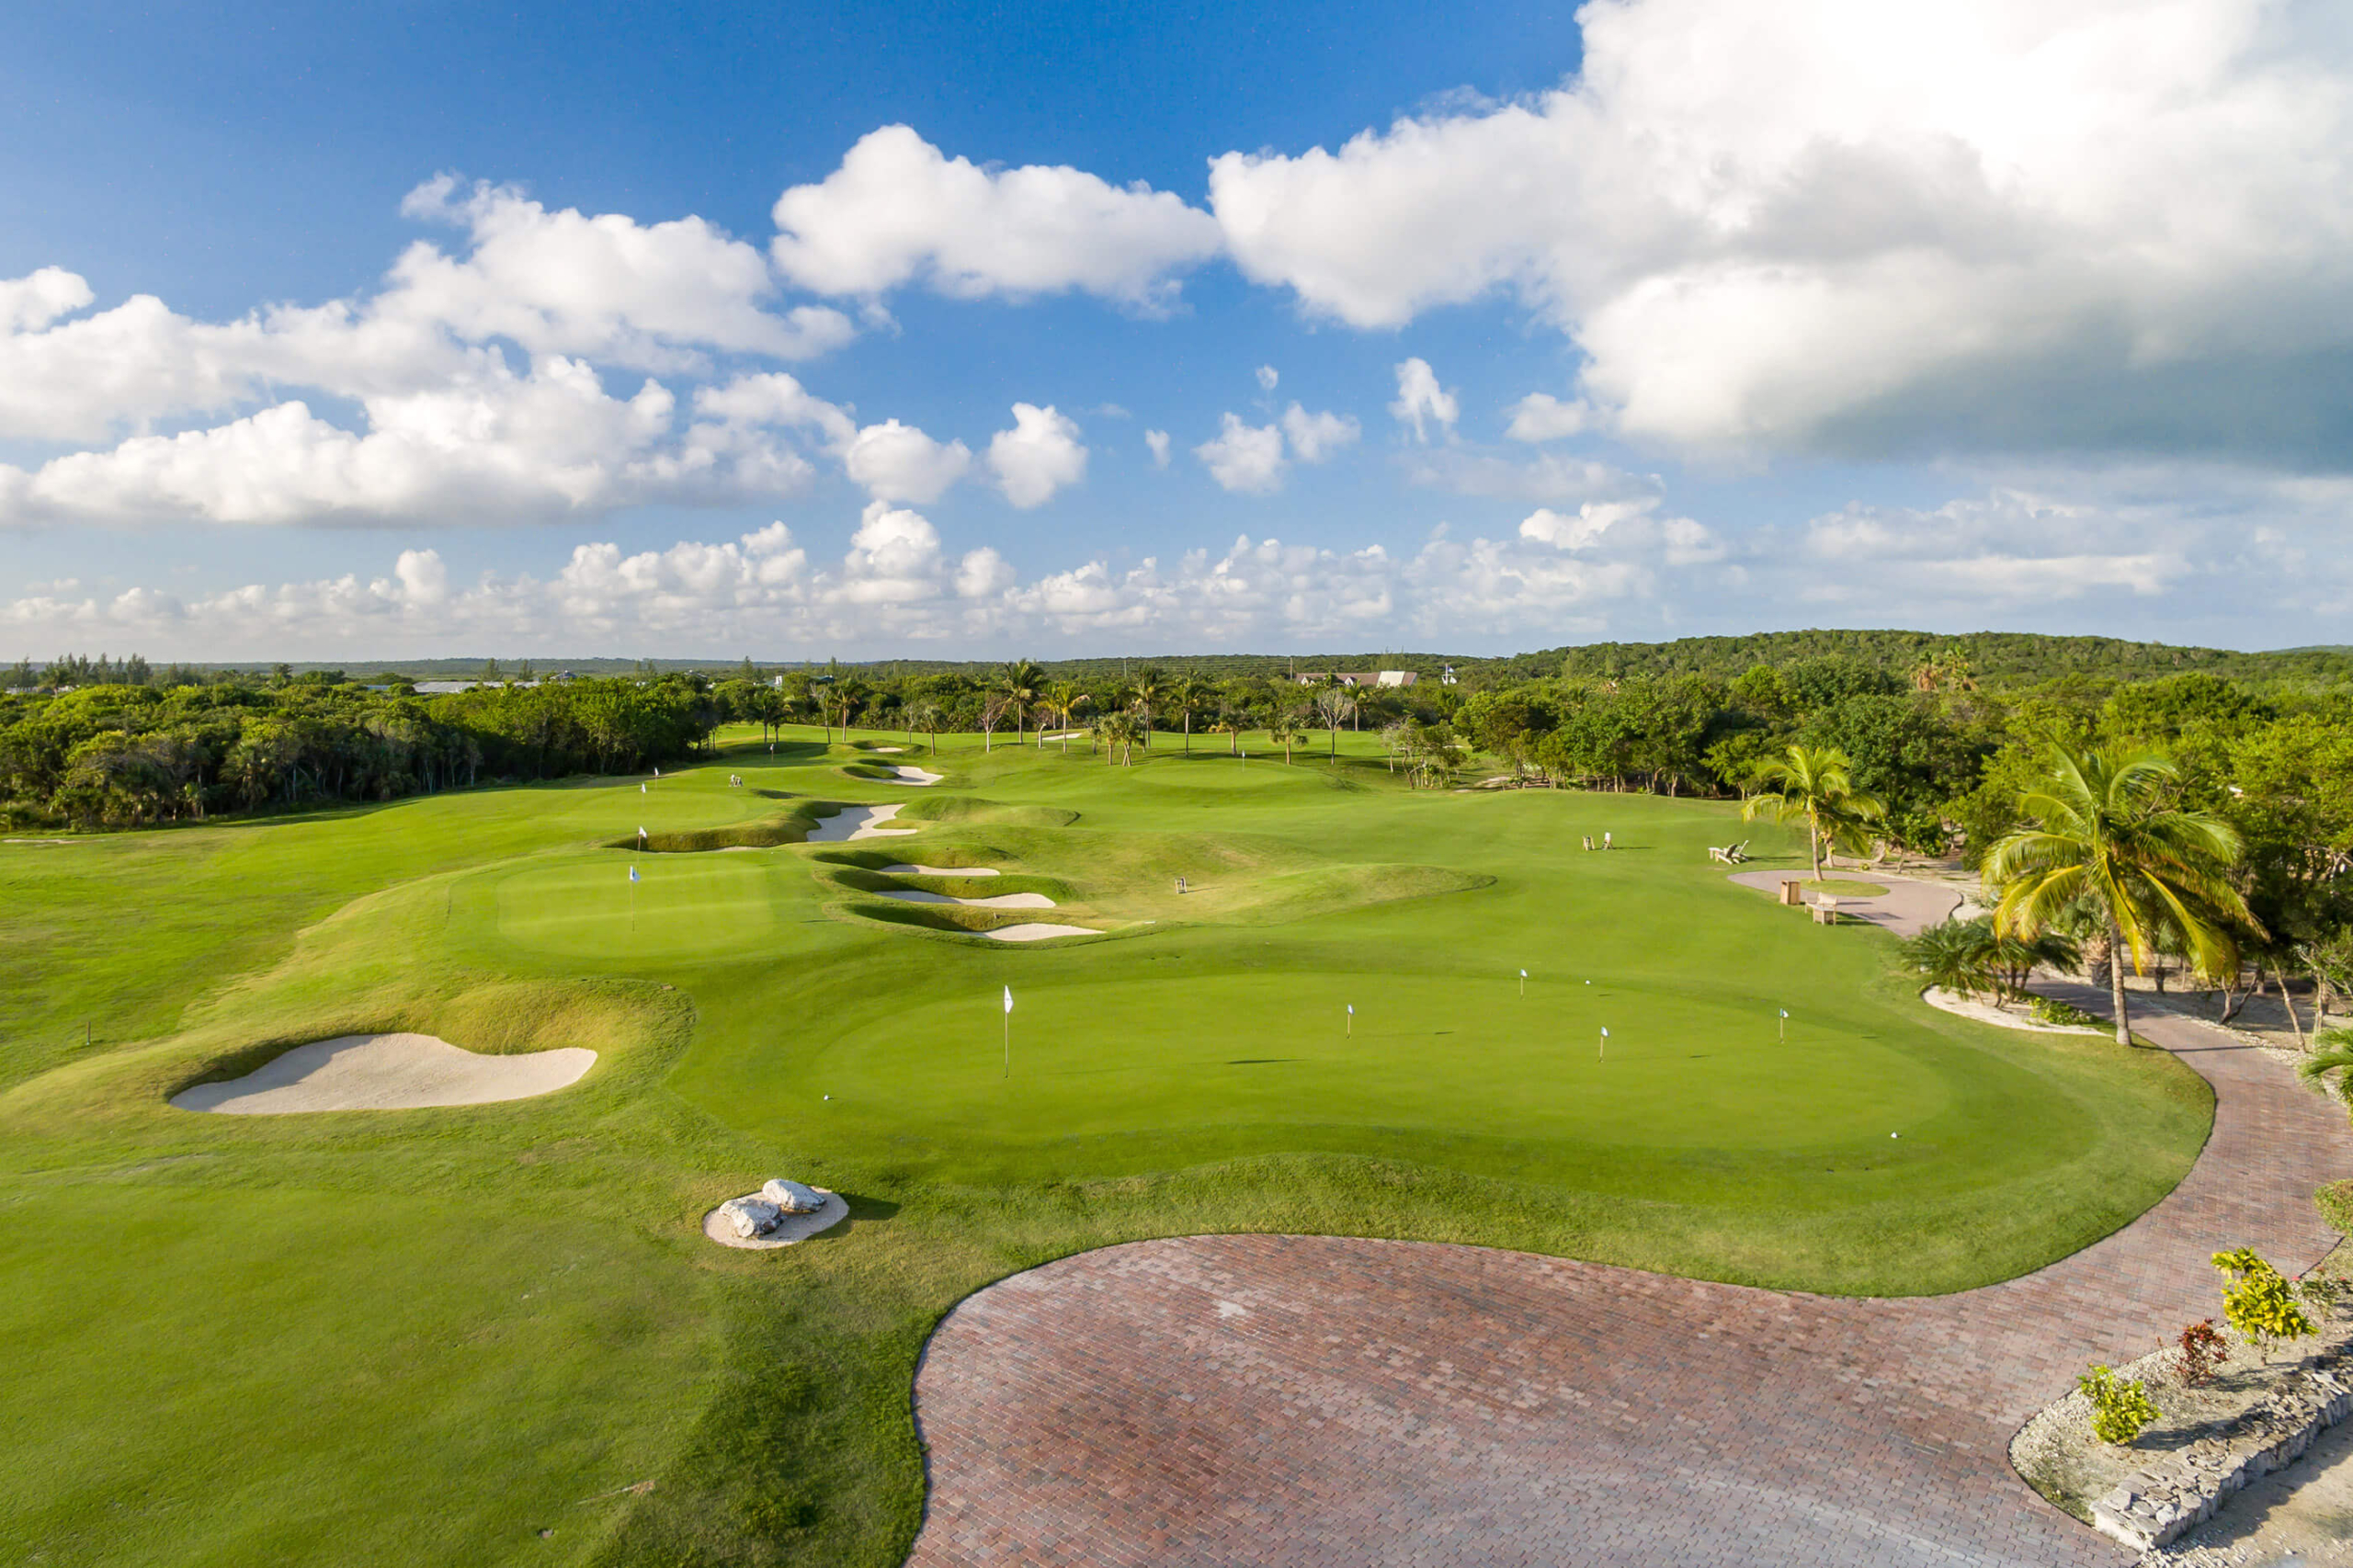
The Club features a world-class practice facility that features a double-end range, as well as a dedicated short-game practice area designed to help you to perfect every kind of bunker, pitch or chip shot that you might encounter on the course with four individual green complexes and a practice putting green. Golf instructional programs and private lessons are offered on a year-round basis by the club’s expert PGA professional staff.

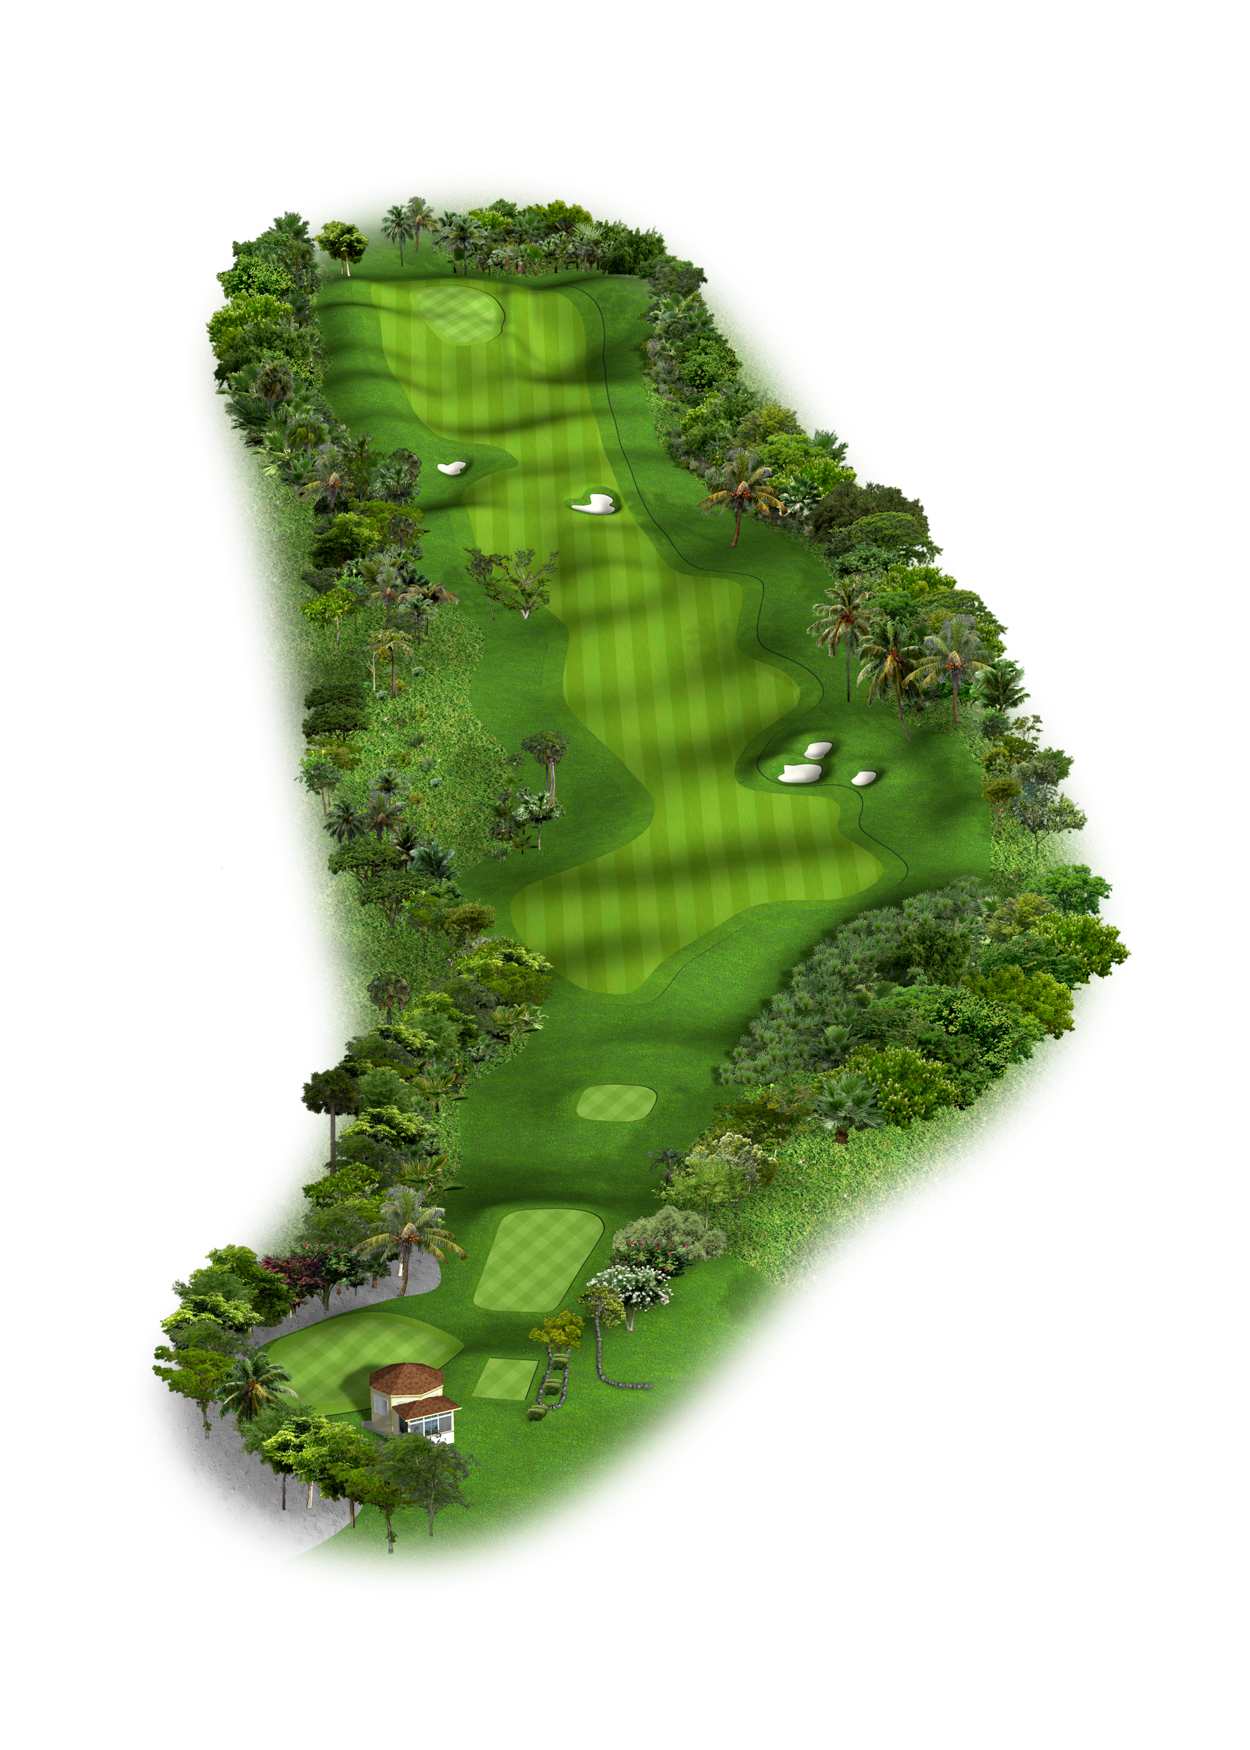
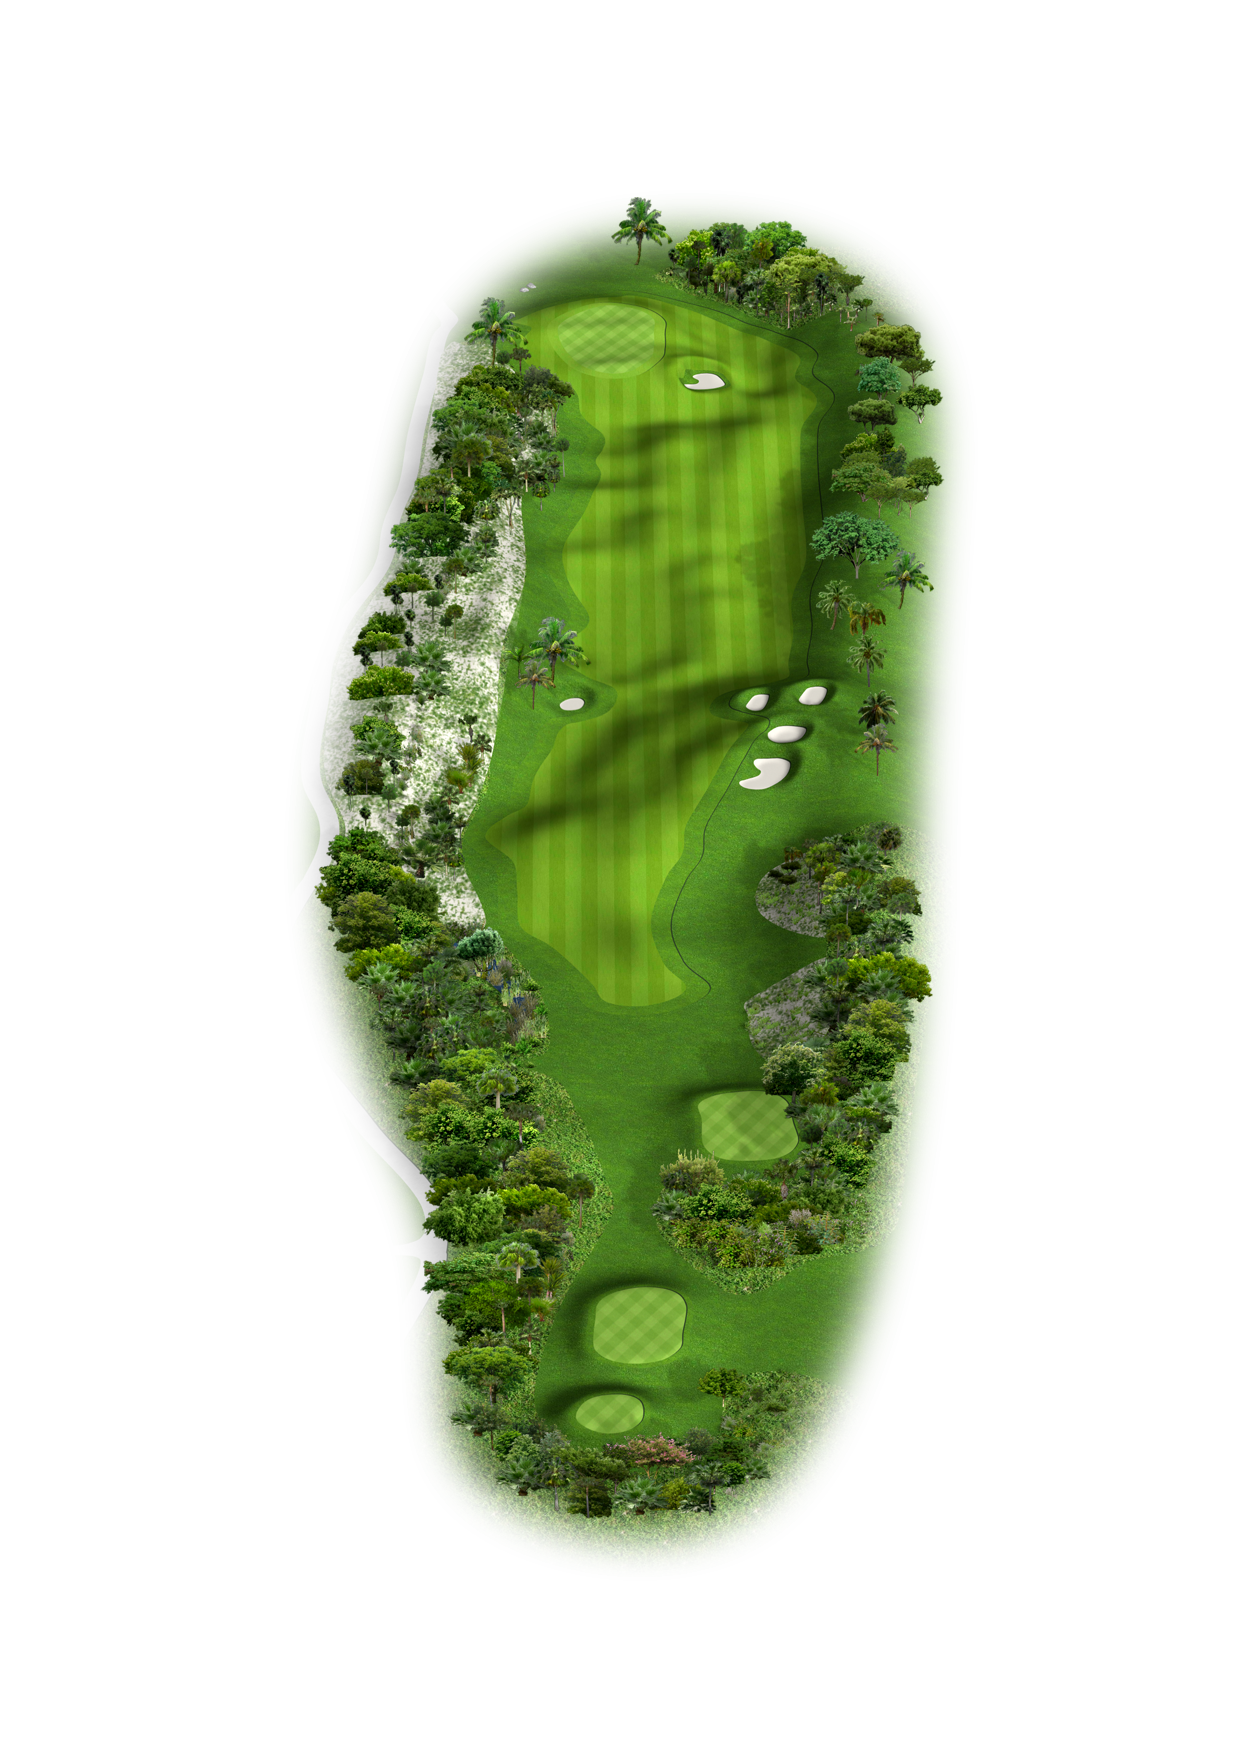
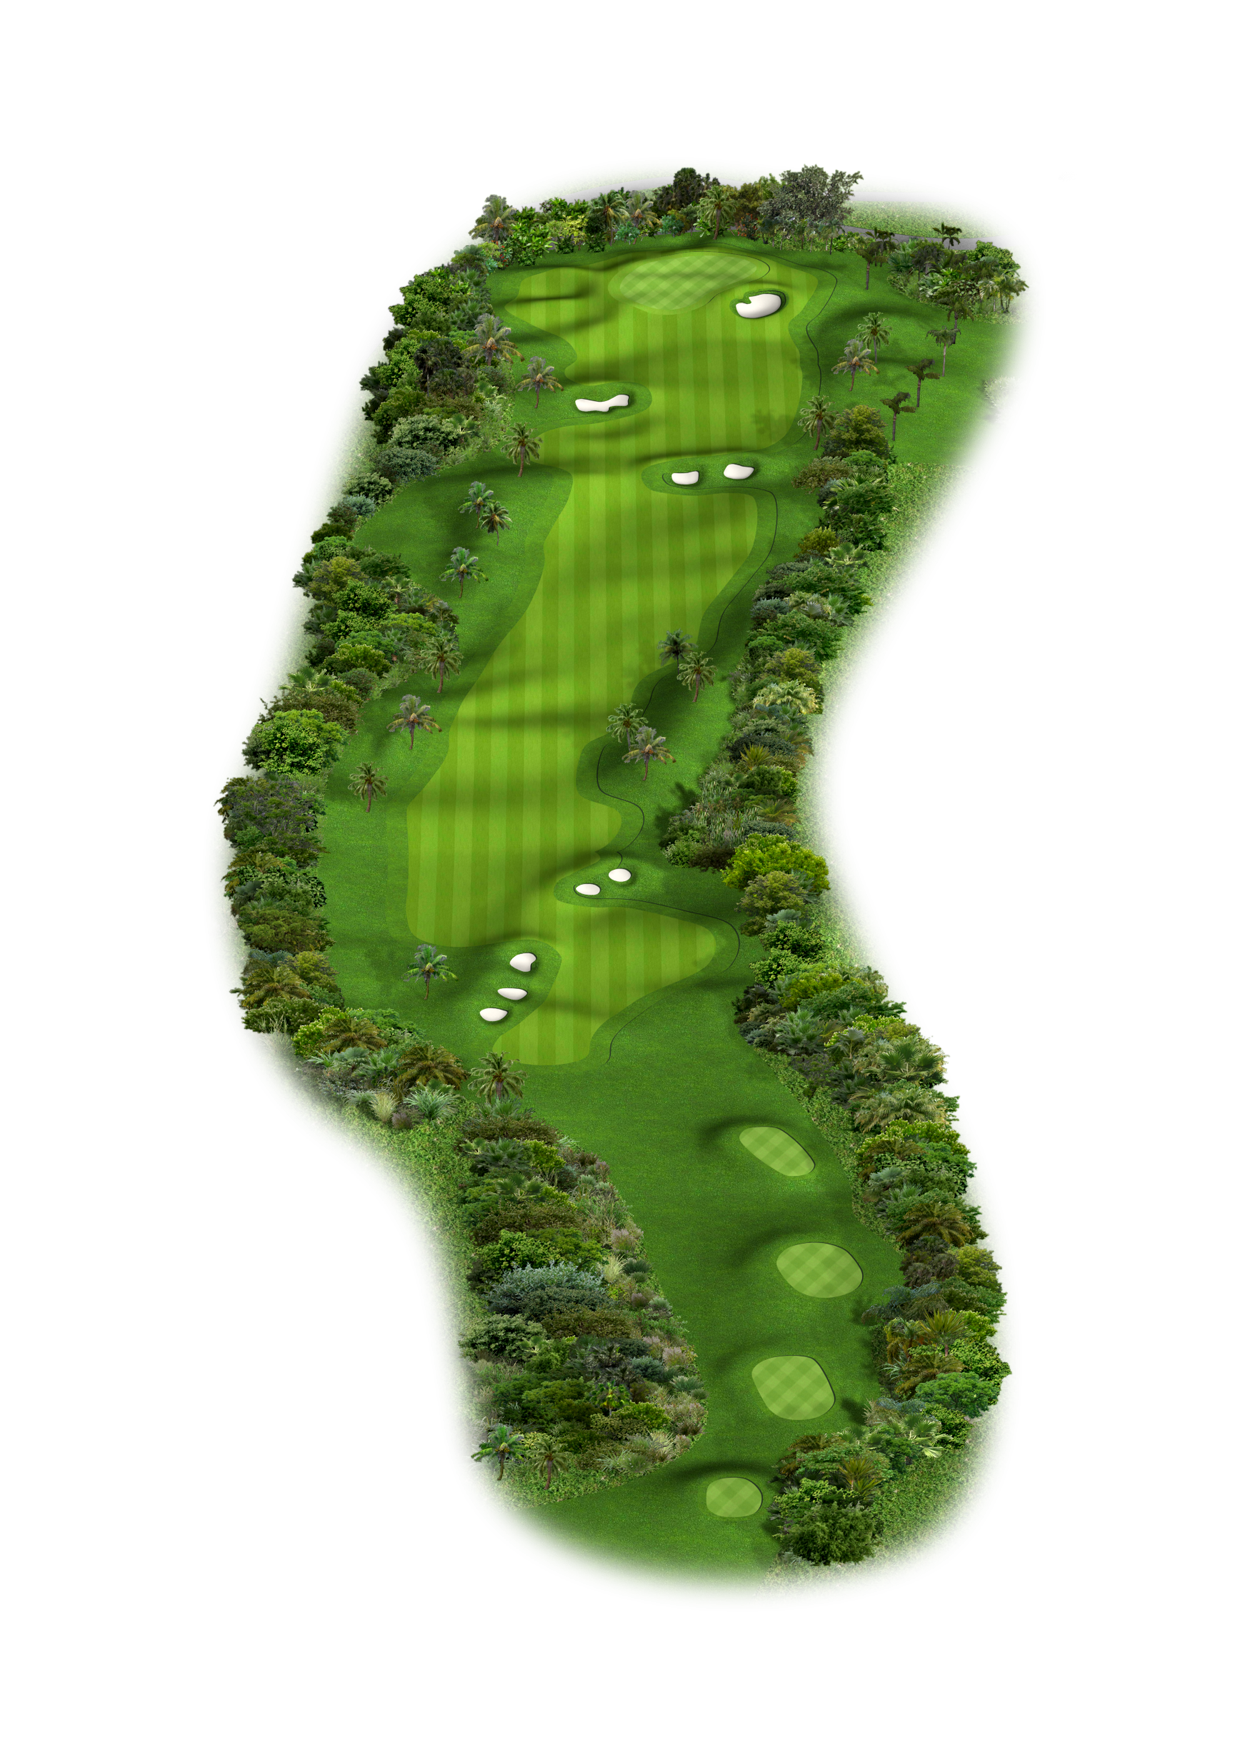
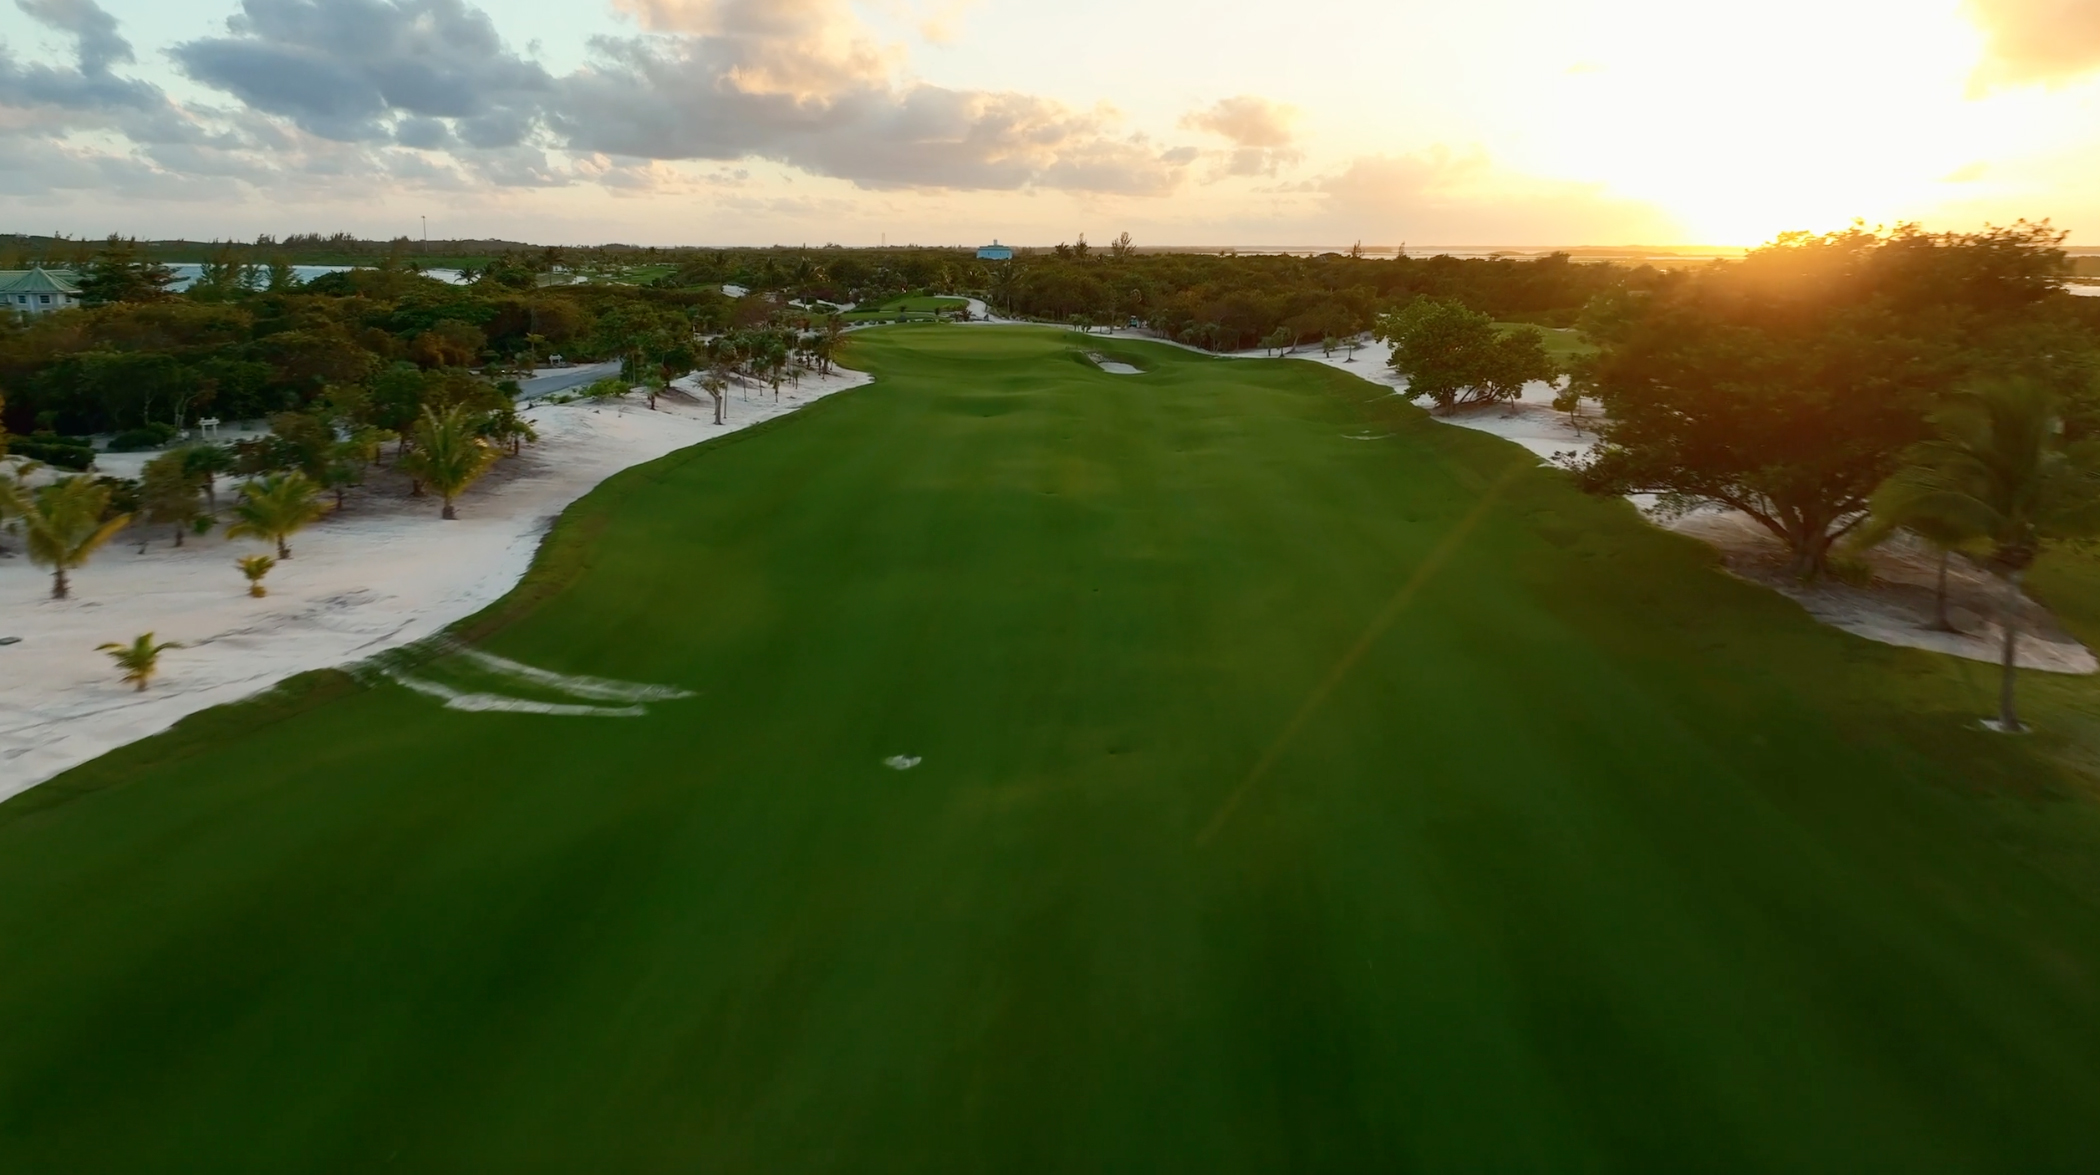
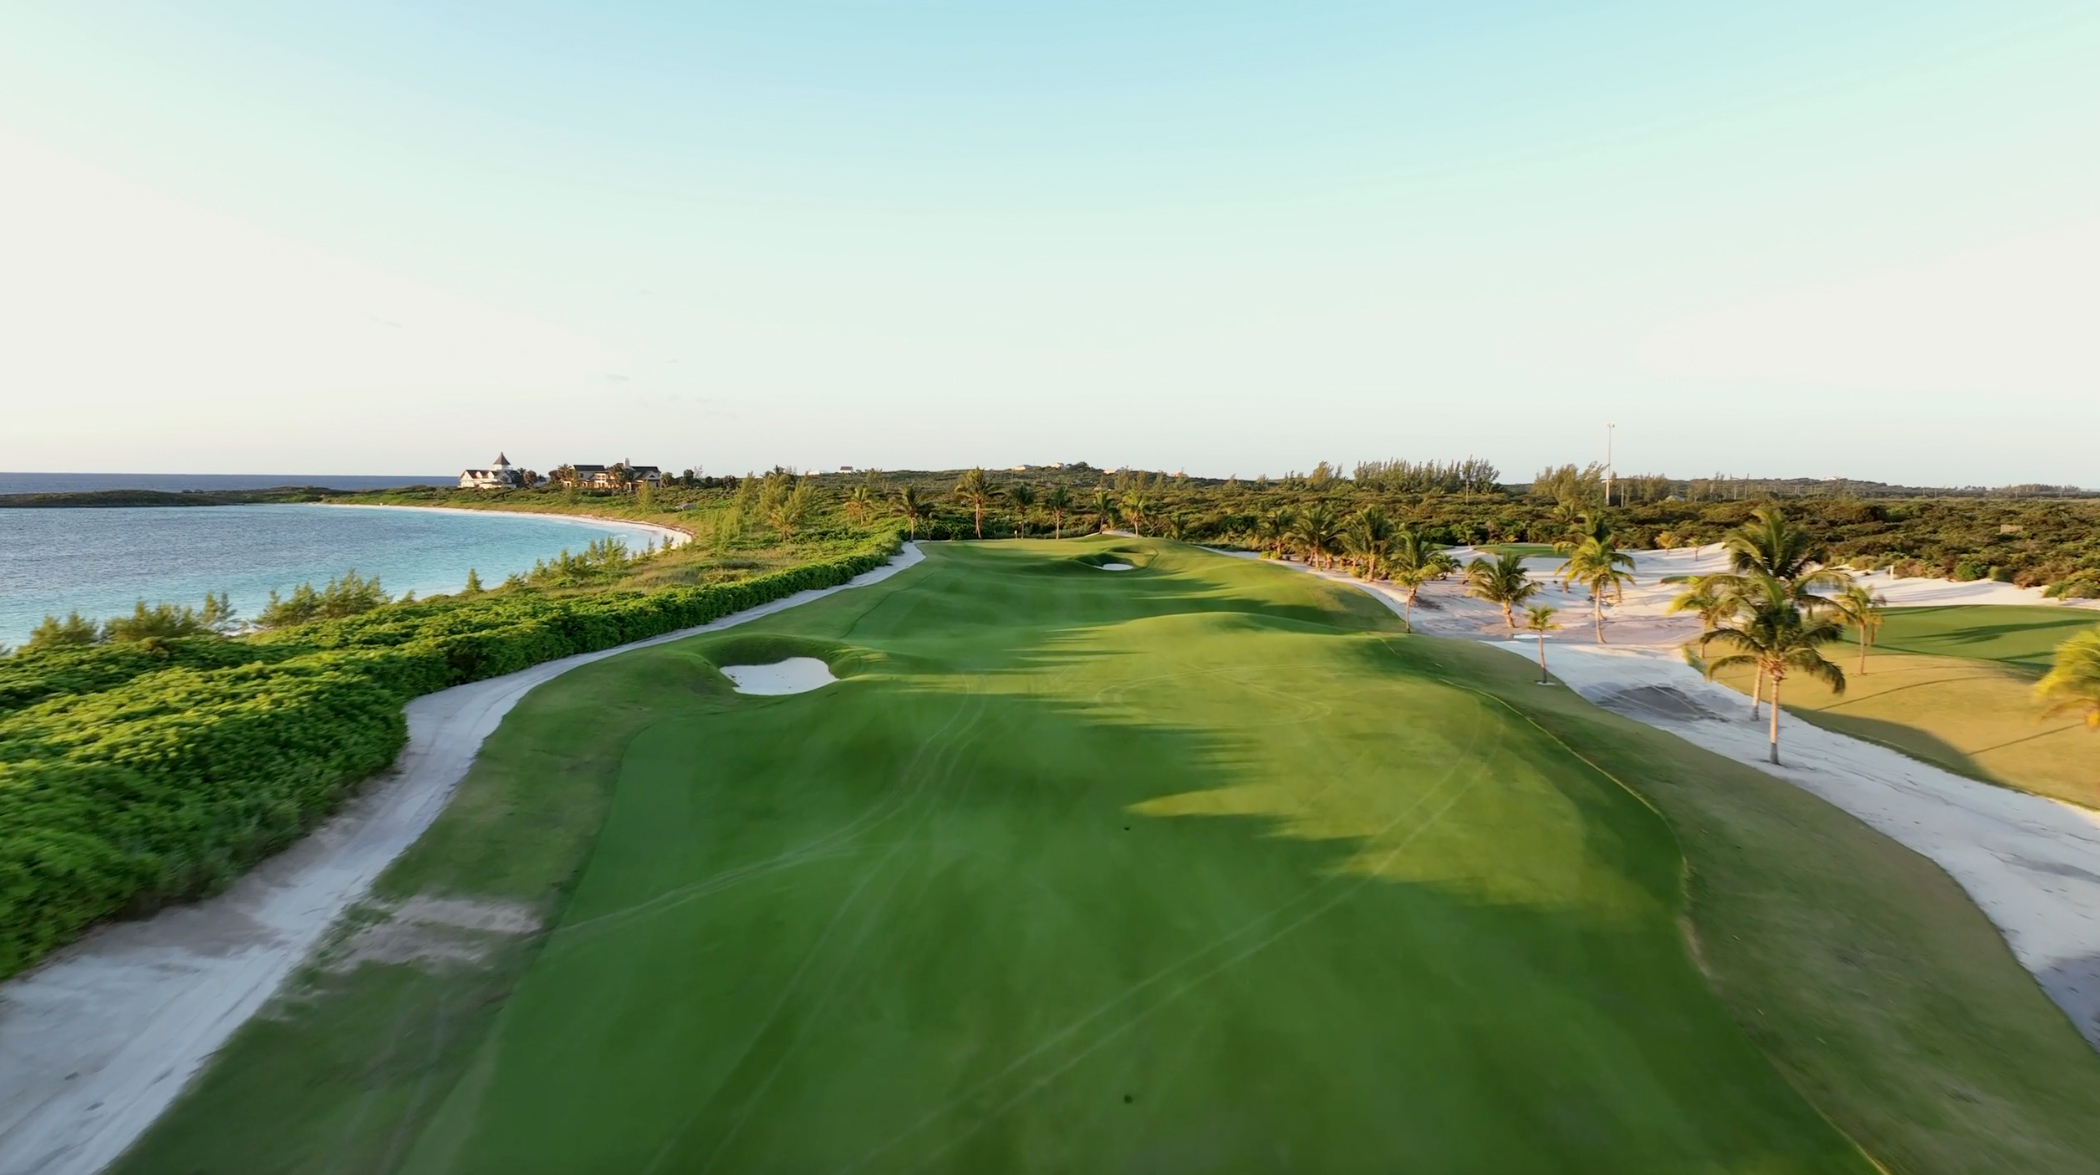
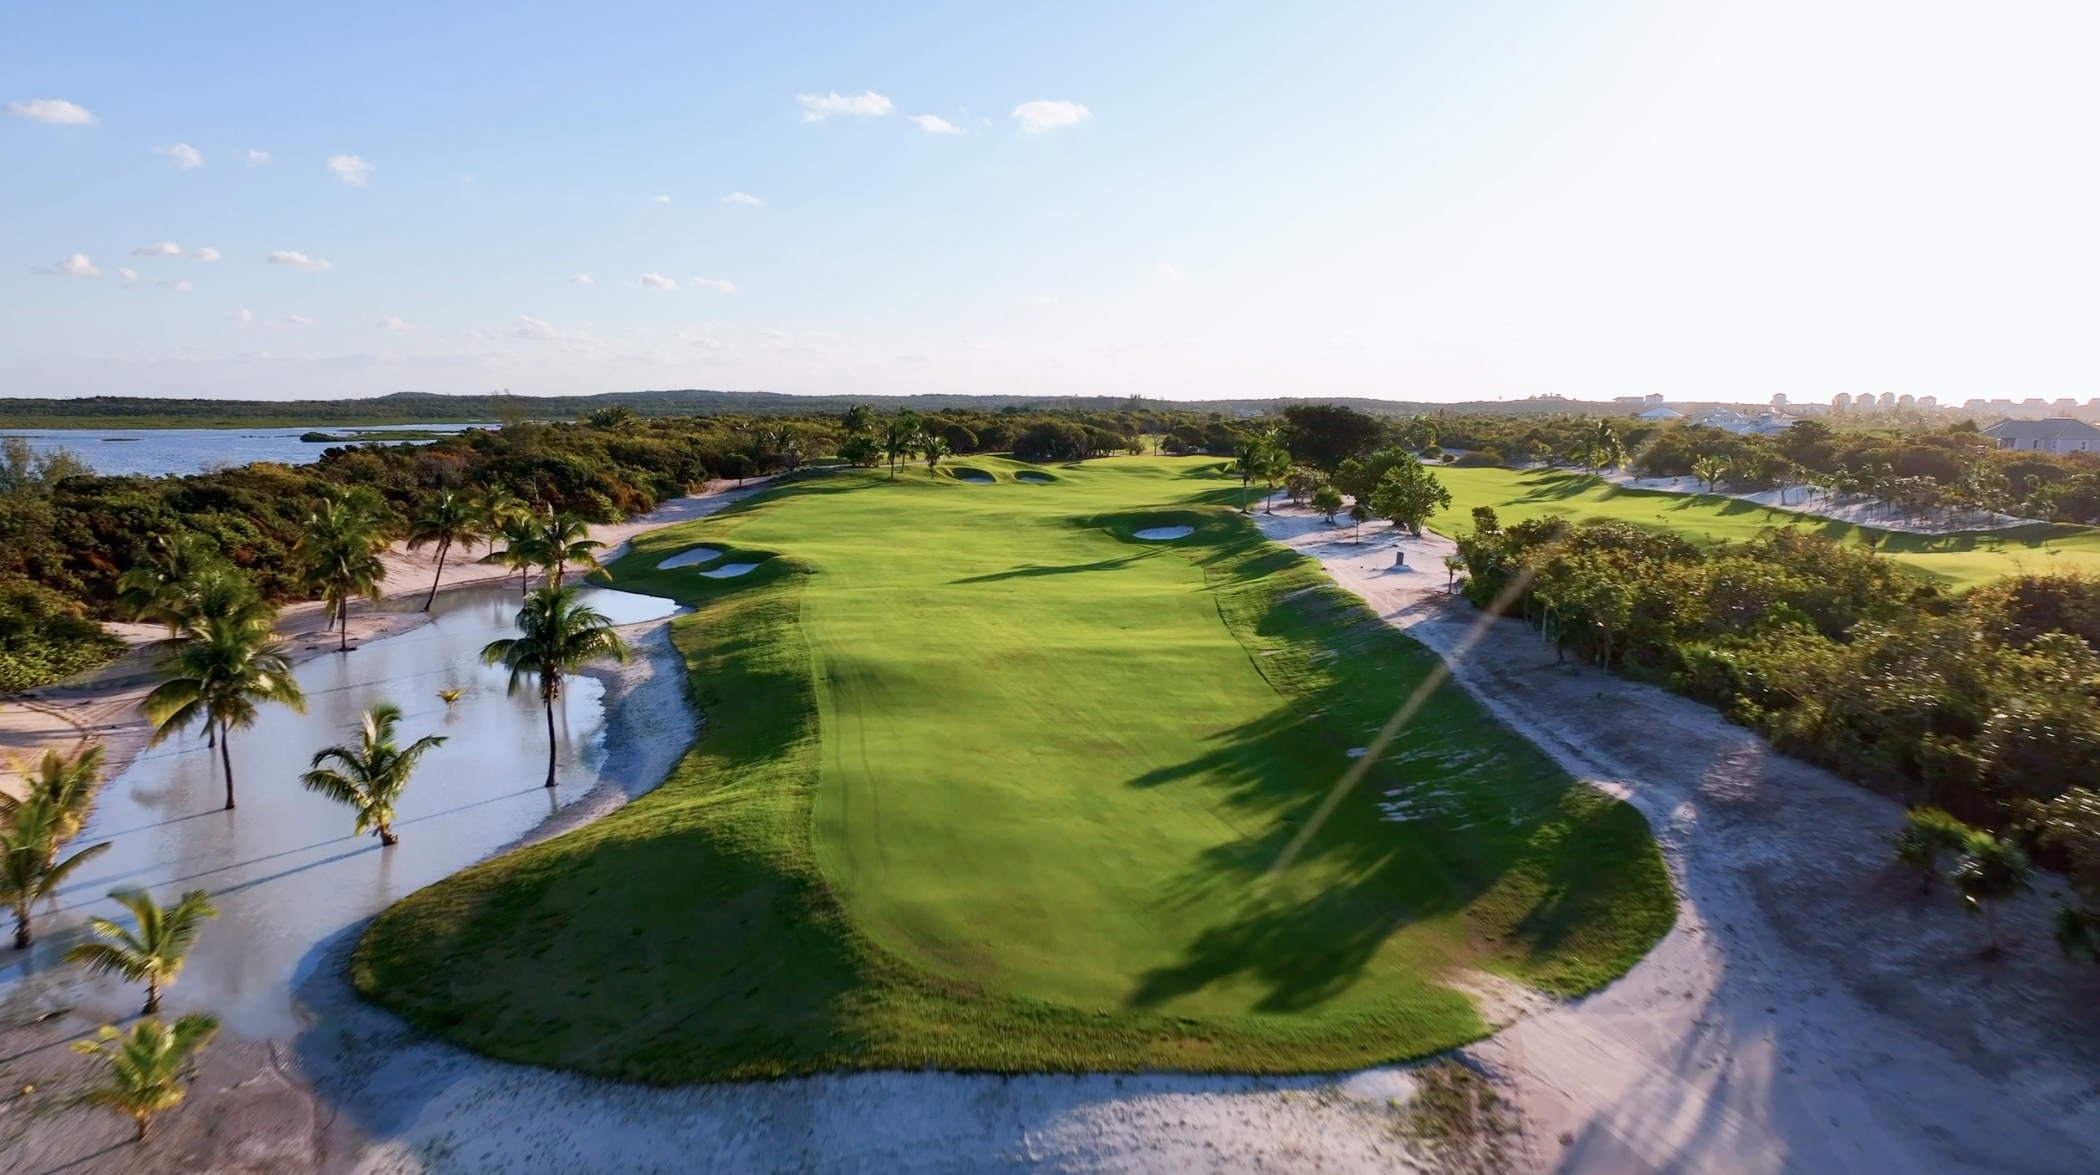
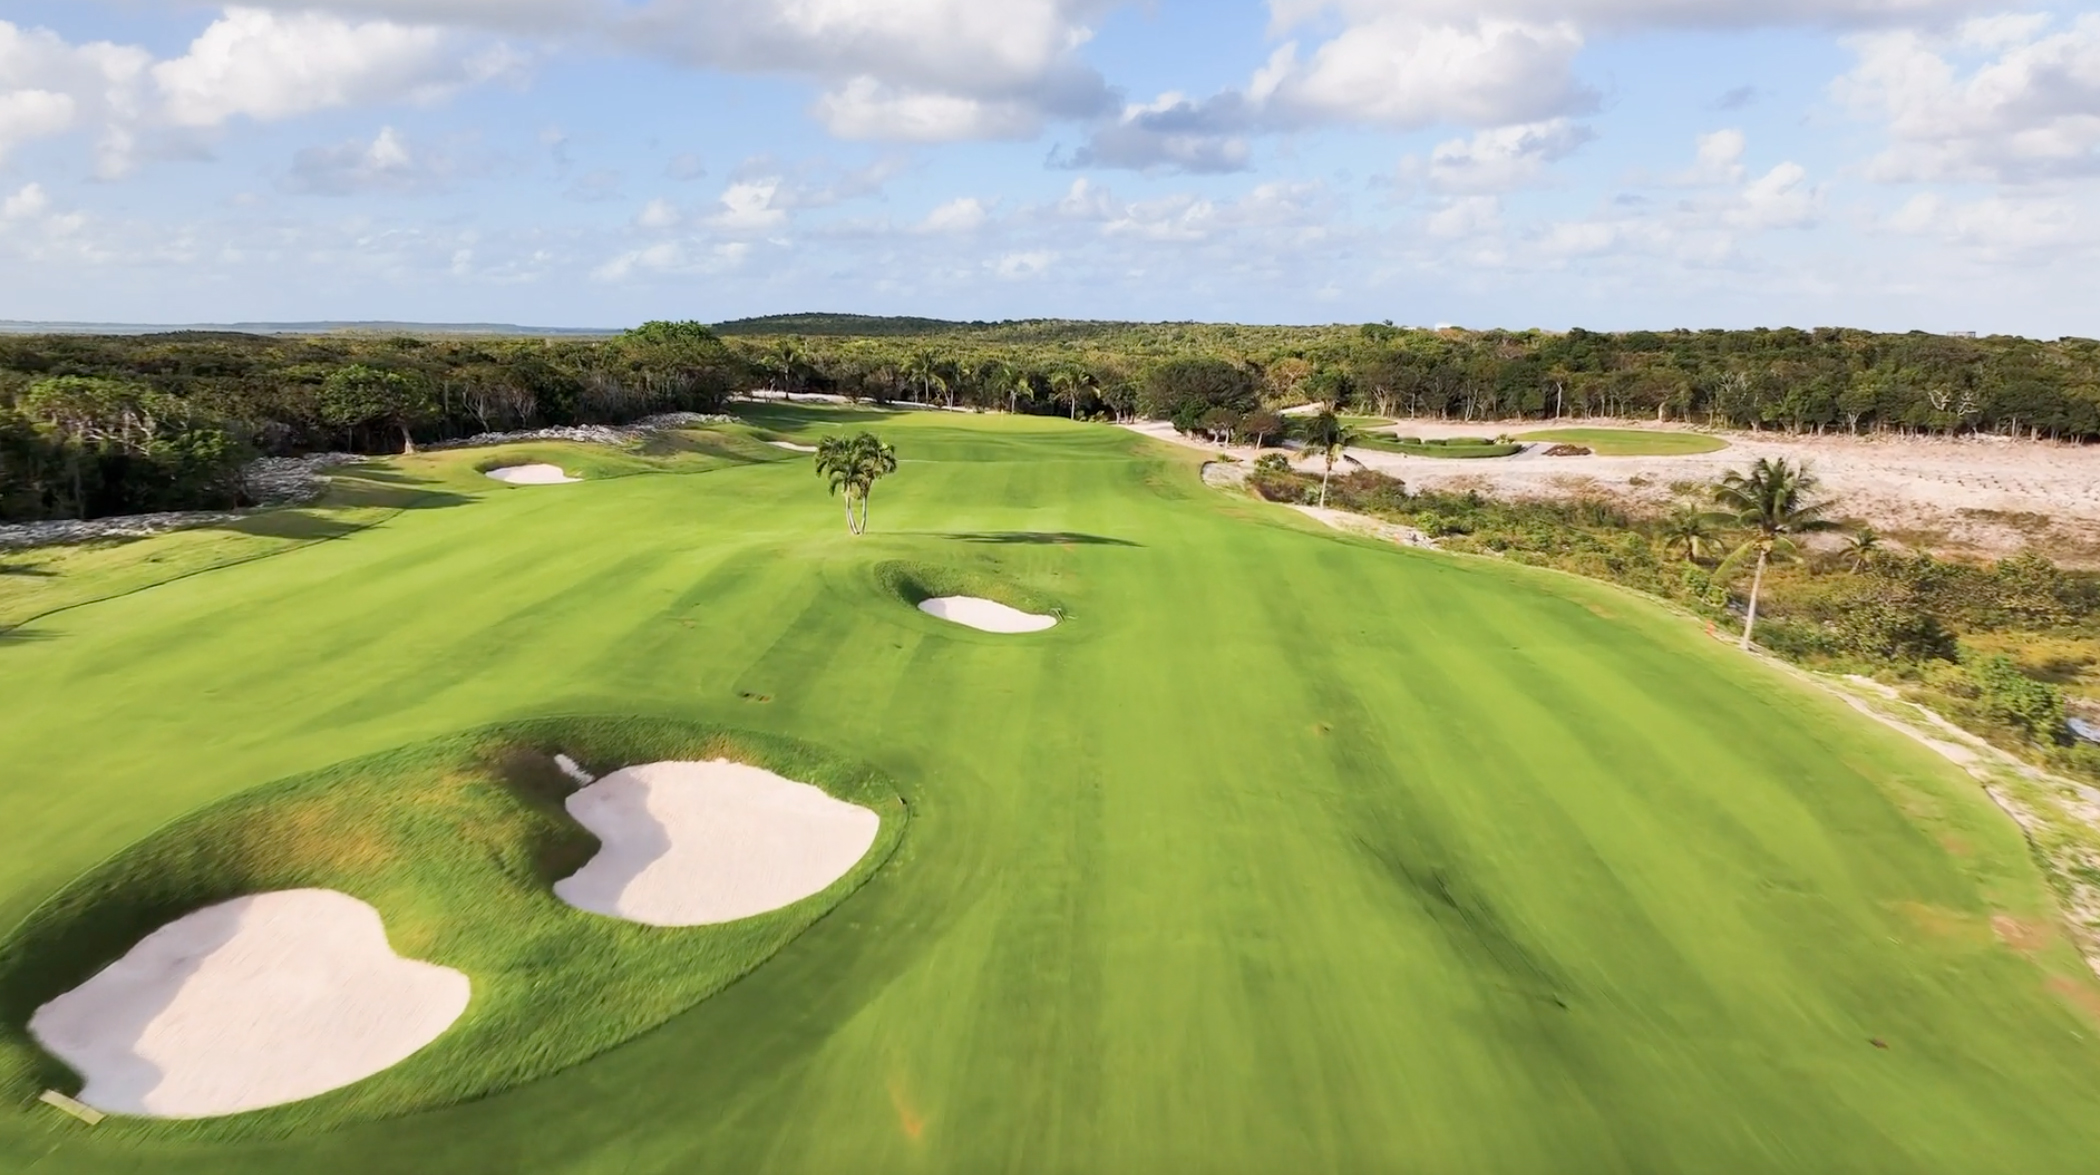
Hole 1
Par 5 | 560 yards
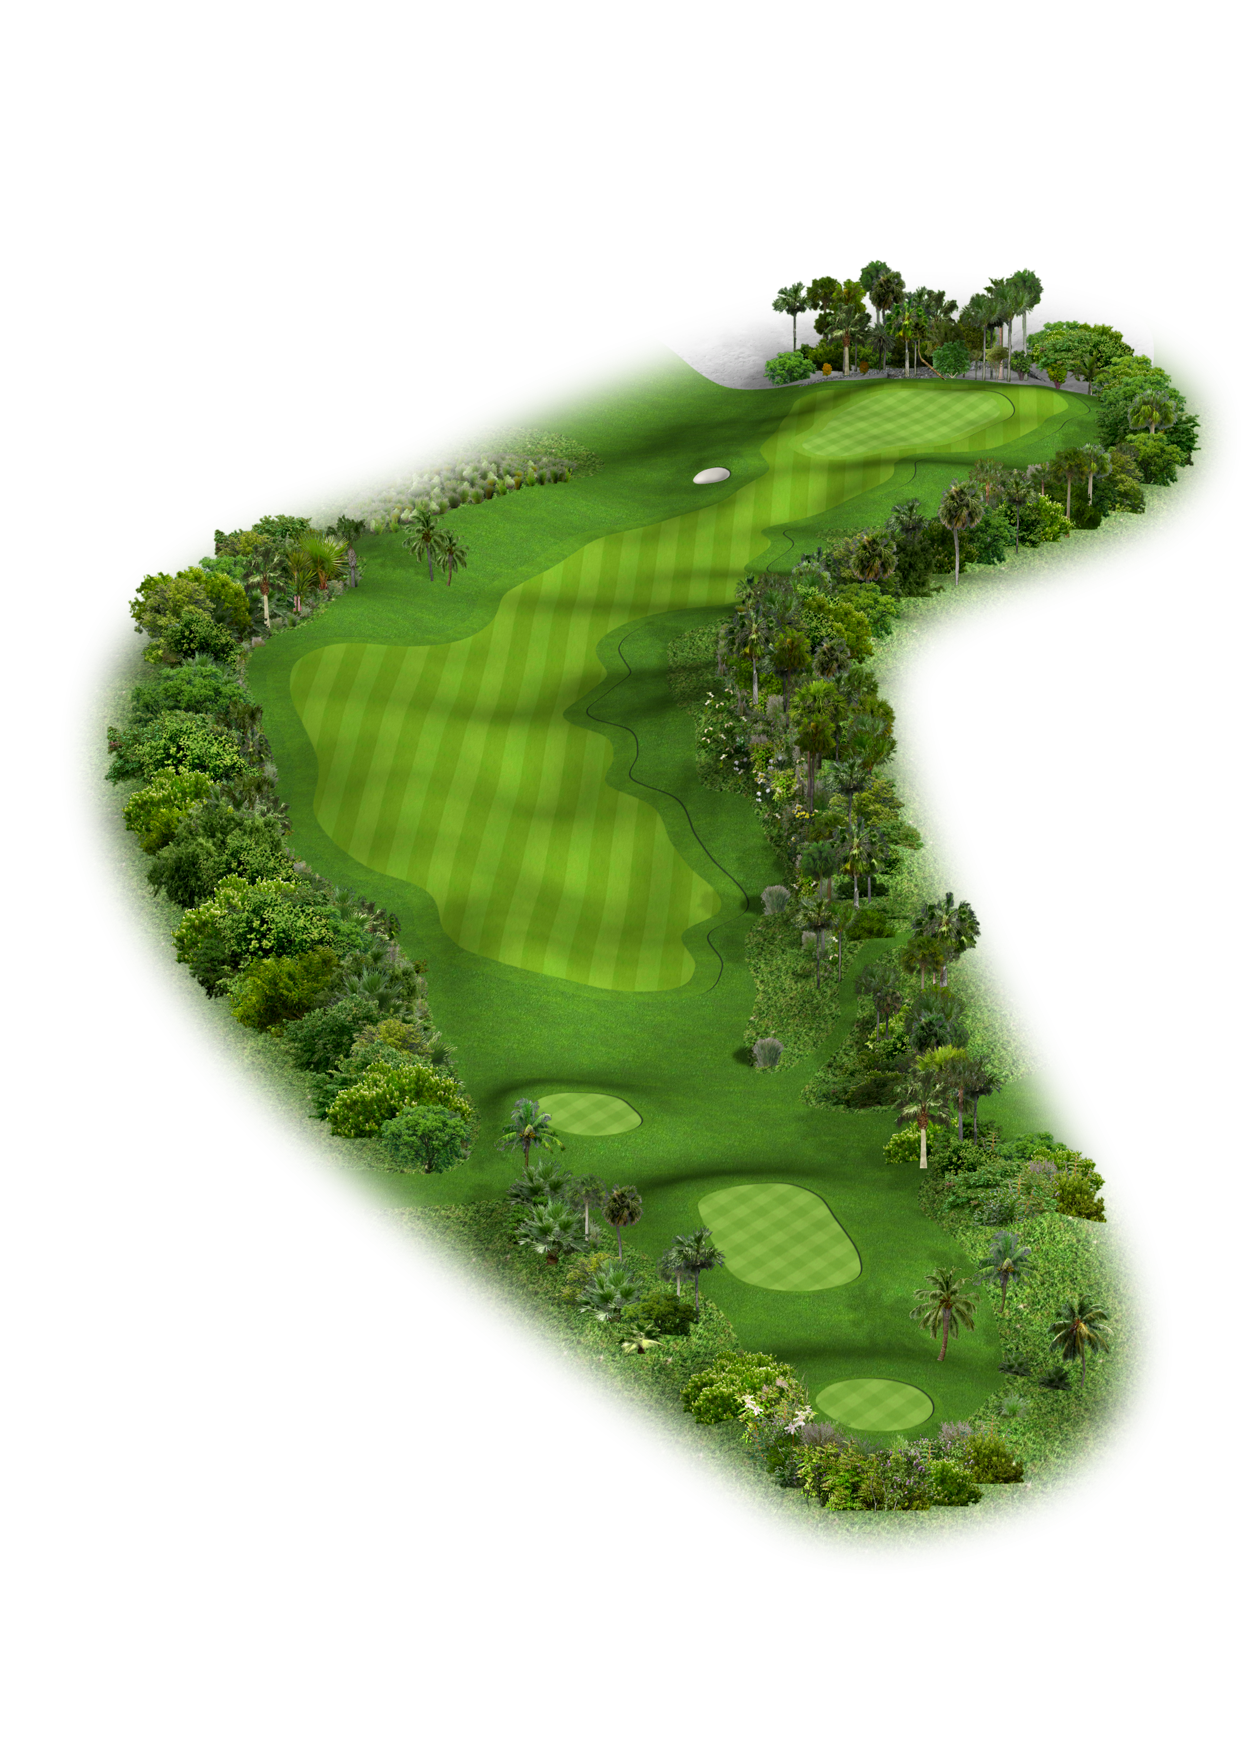
DC’s Playing Tips: The first hole here at the beautiful Abaco Club is a relatively gentle opening par 5. You’ll want to avoid the bunkers on the right with your tee shot. Longer hitters may be able to reach in two, but if not, you’ll need to thread your second shot through two fairway bunkers on either side, leaving you with a short approach to a green that you can feed in from the left. You don’t want to miss it right here because of the large roll-off down there, making getting up and down difficult.
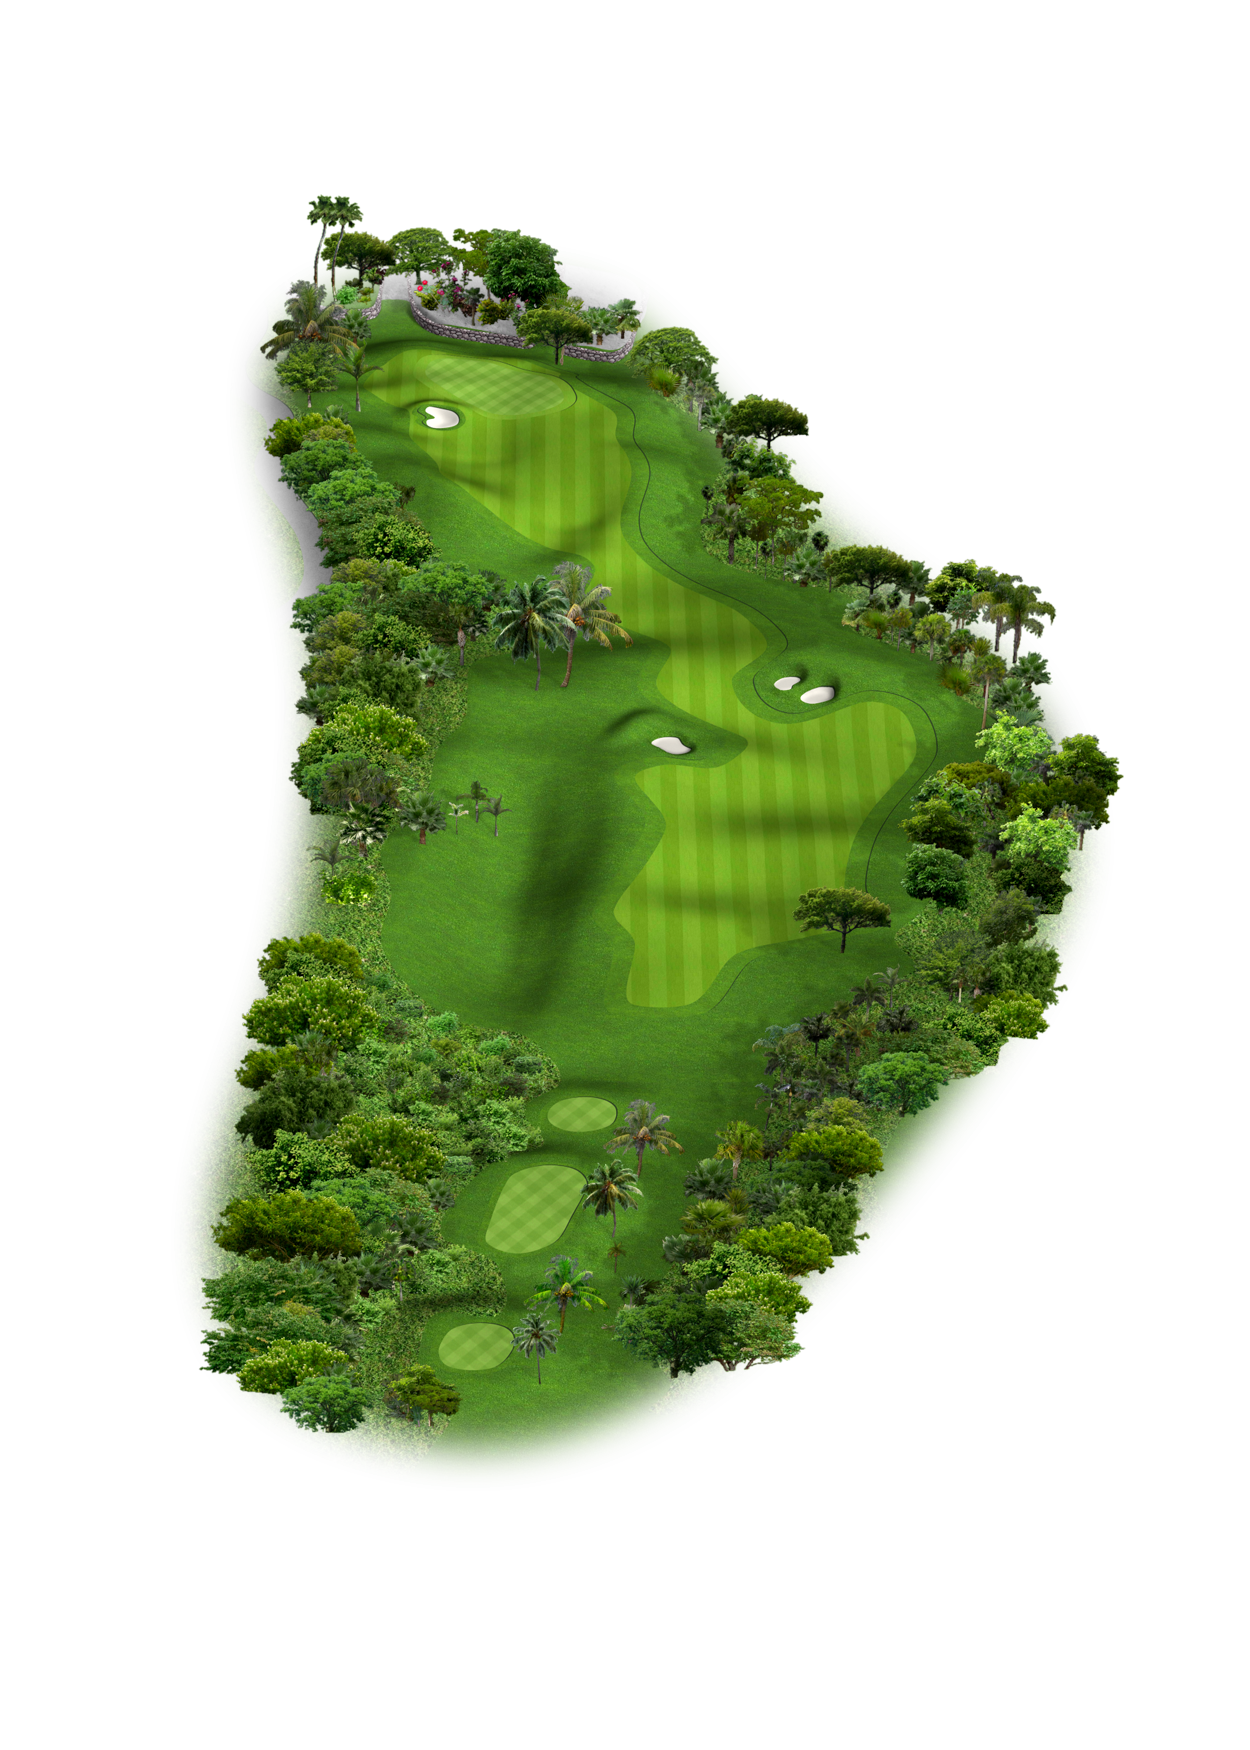
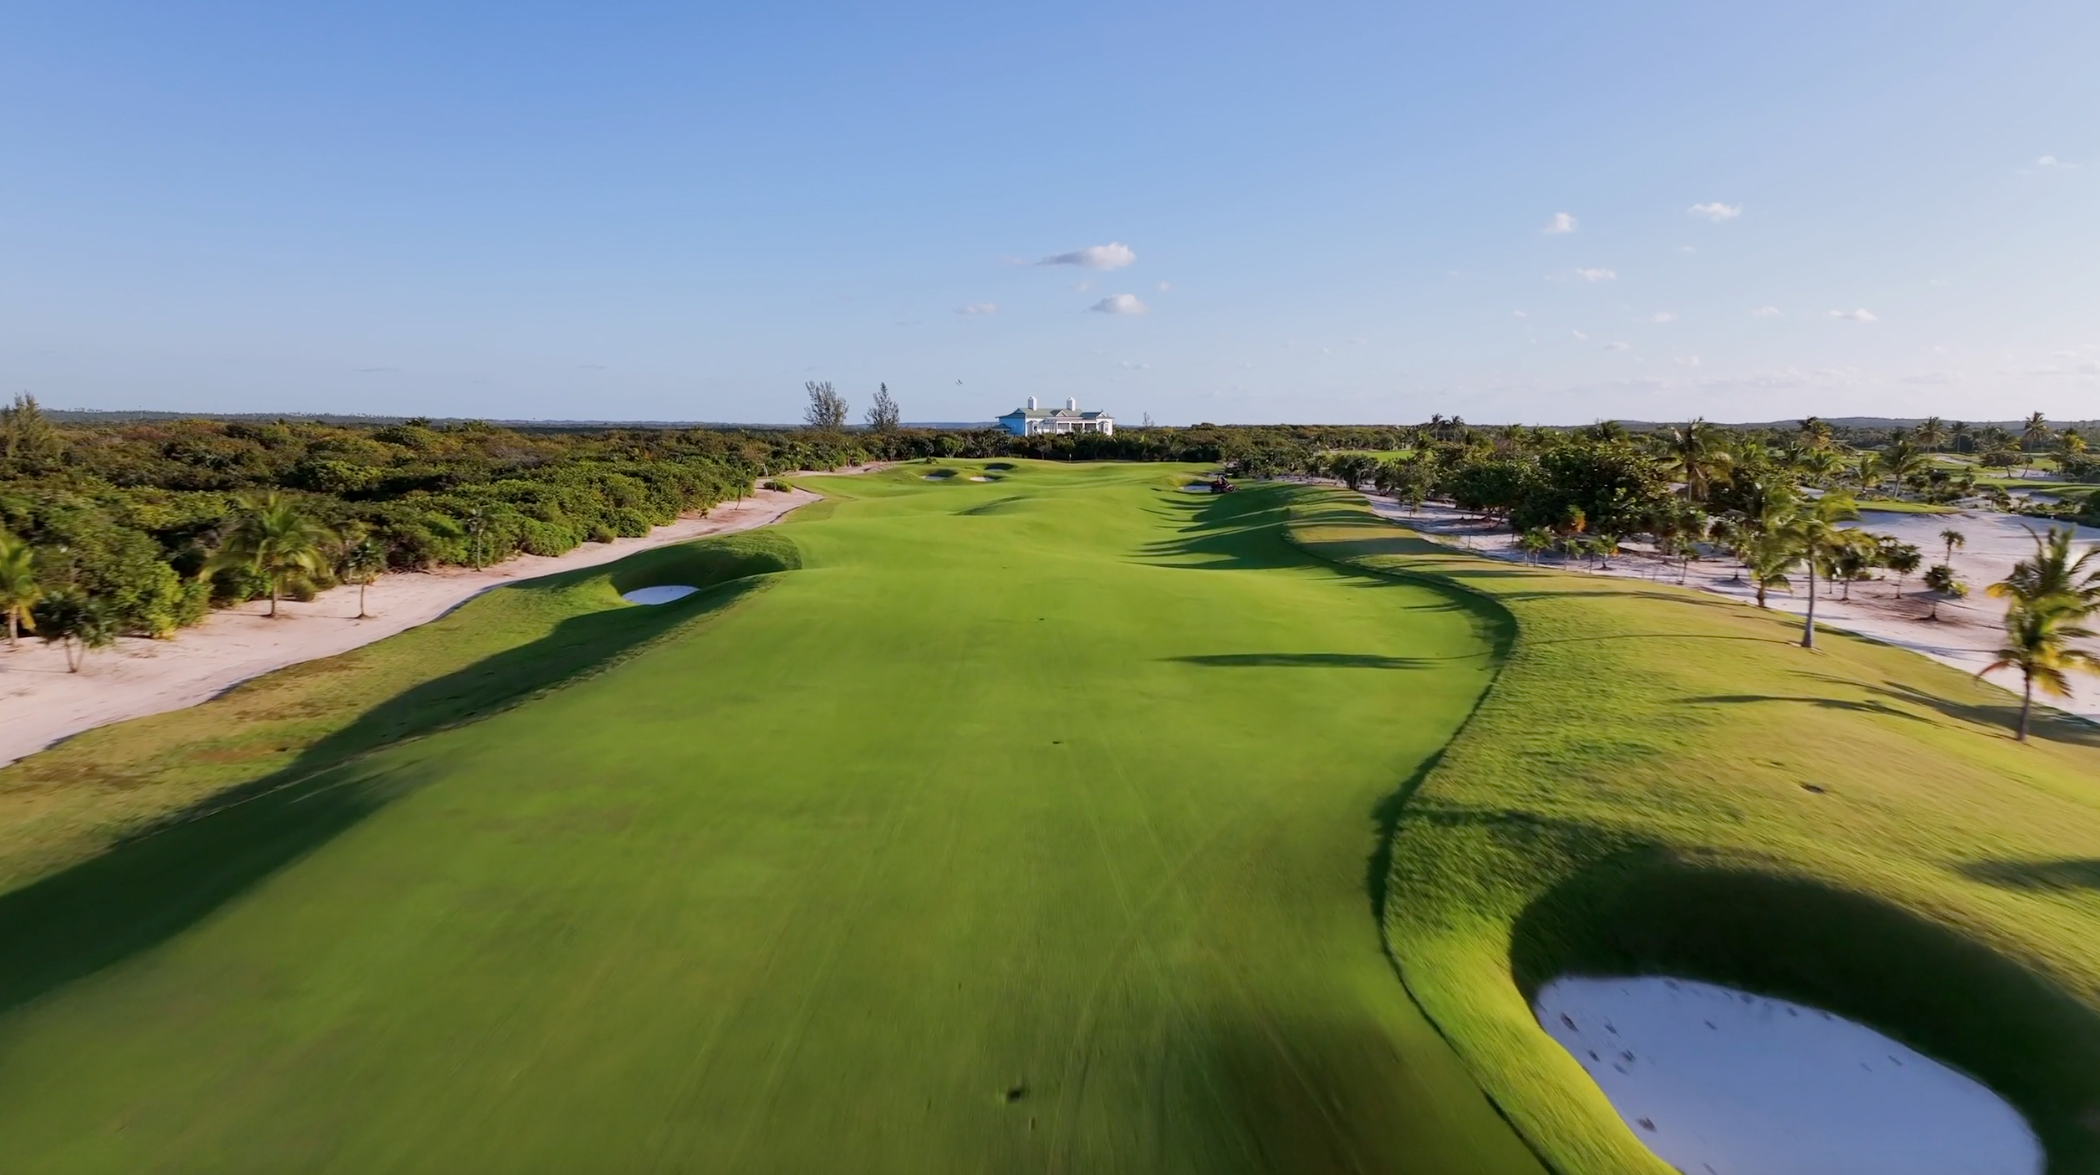
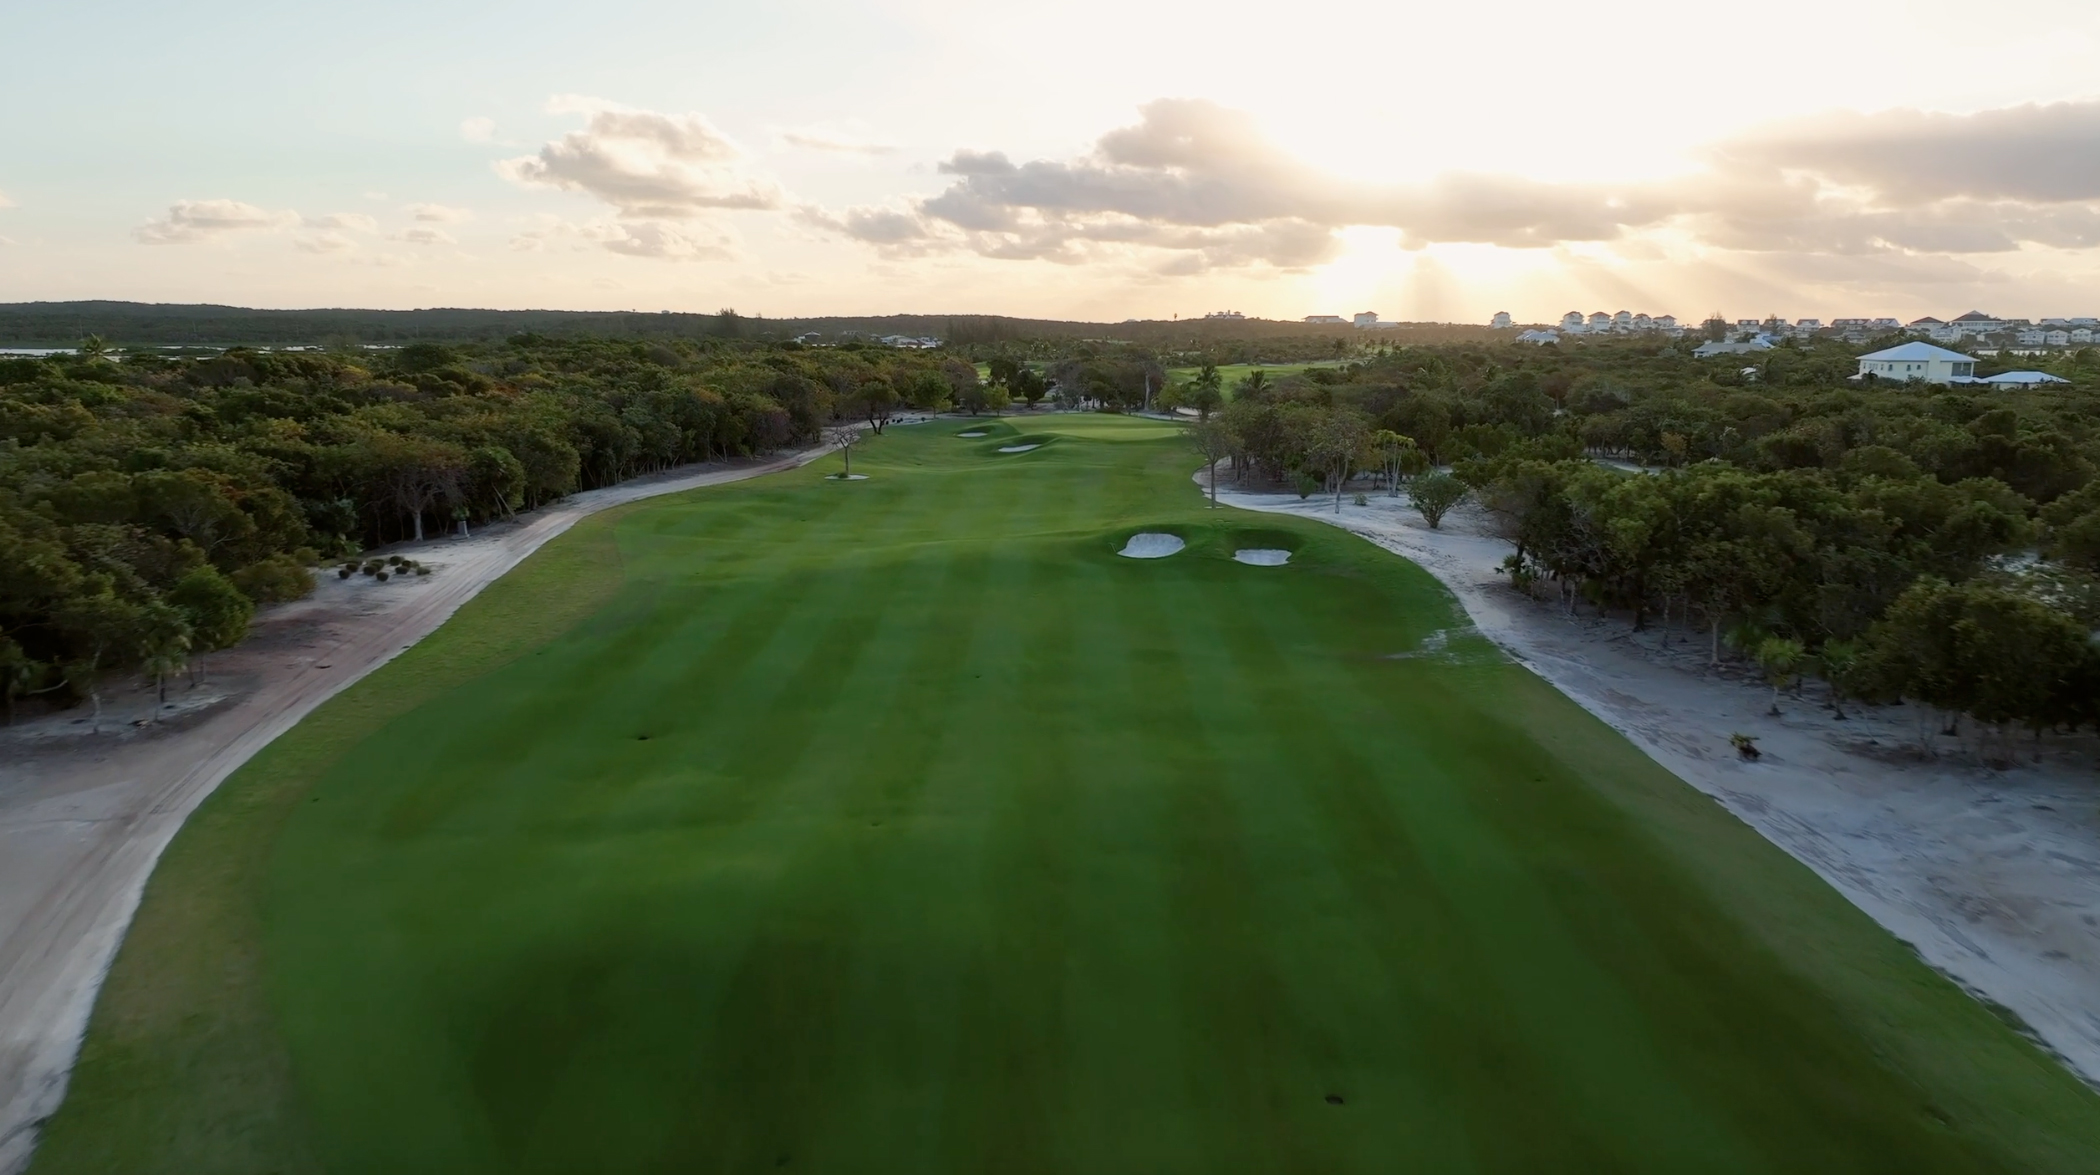
Hole 2
Par 4 | 446 yards
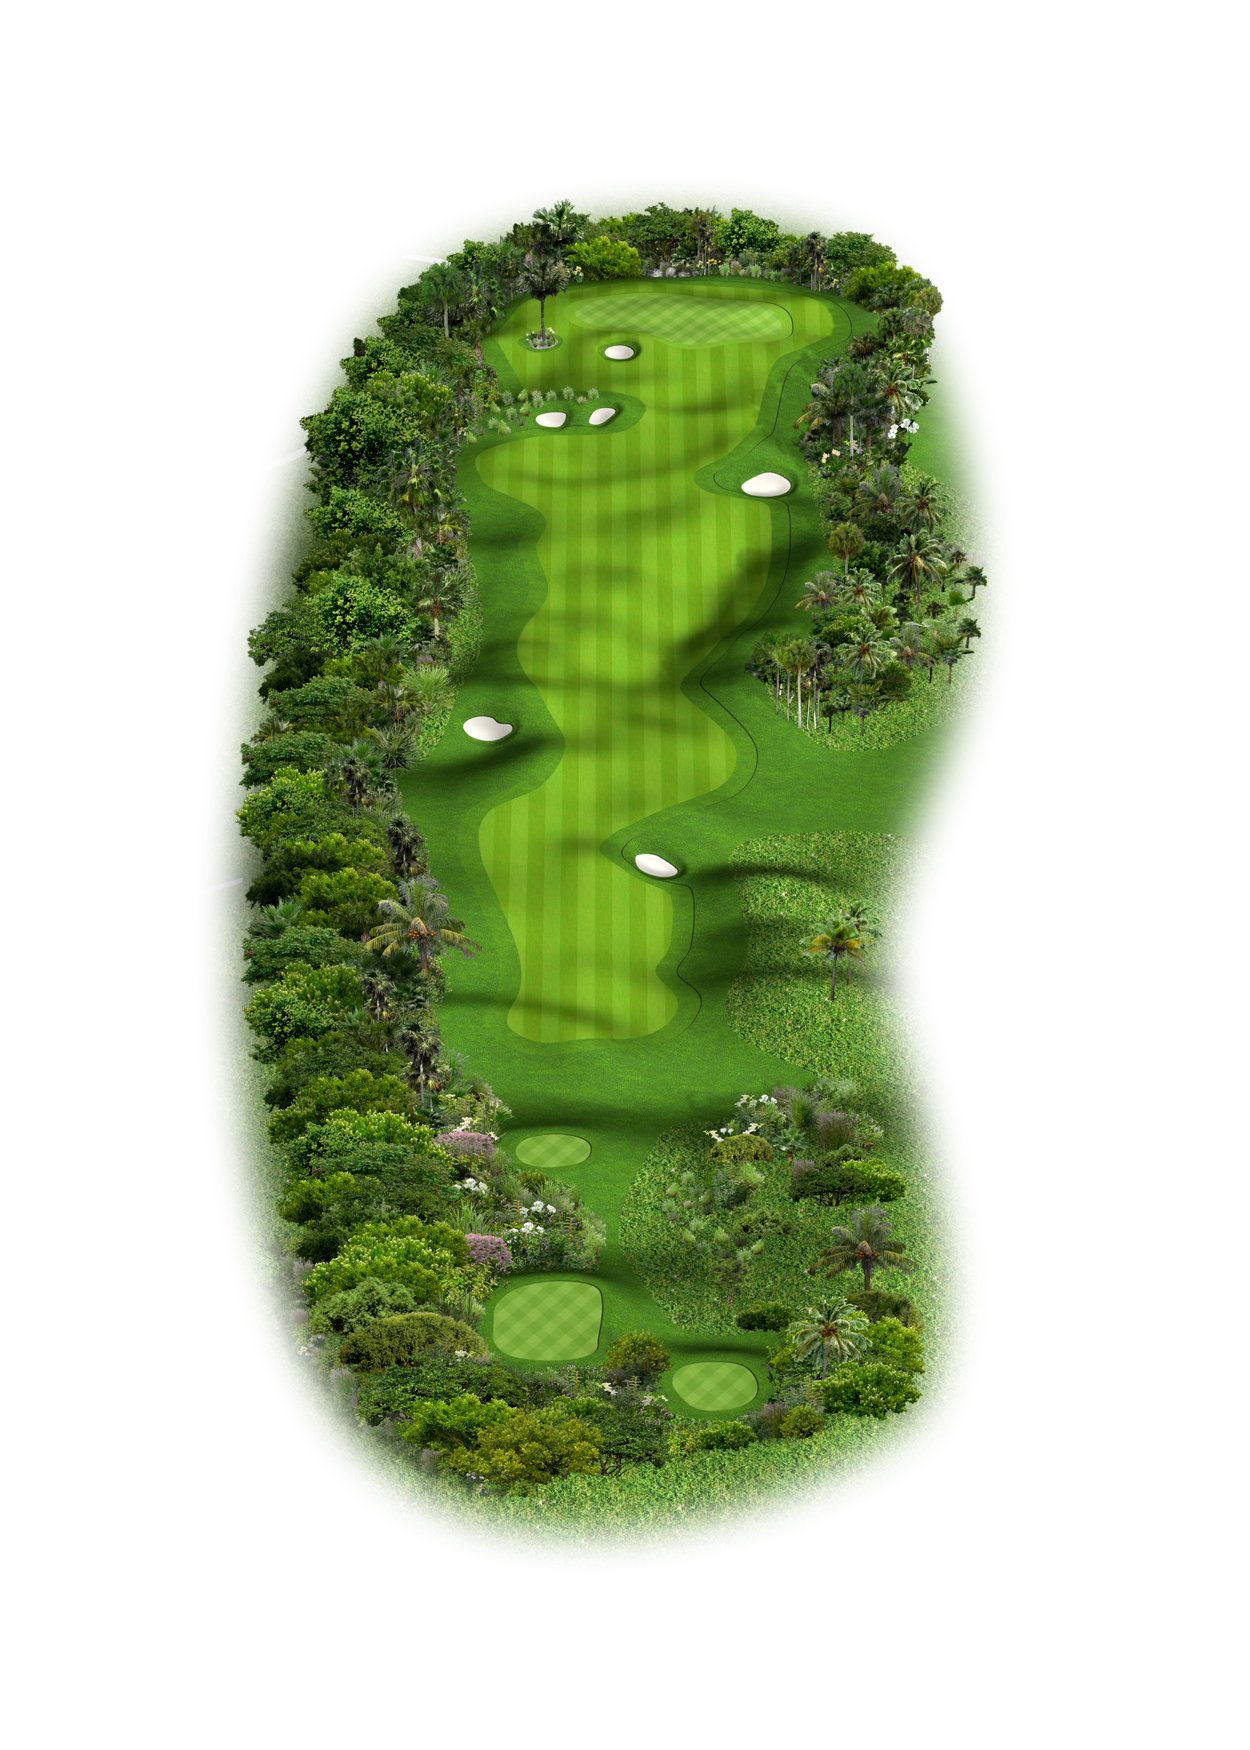
DC’s Playing Tips: The second hole here is a pretty demanding par 4. You’ve got a narrow tee shot with bunkers on the left and bunkers placed further up on the right-hand side. If you avoid those, then you’ve got a tricky second shot into a green which has a tier in the middle of it running parallel to the hole so it’s vitally important to be on the right level if you want to try to make par or maybe birdie. Missing to the left here is another big runoff so avoid that at all costs.
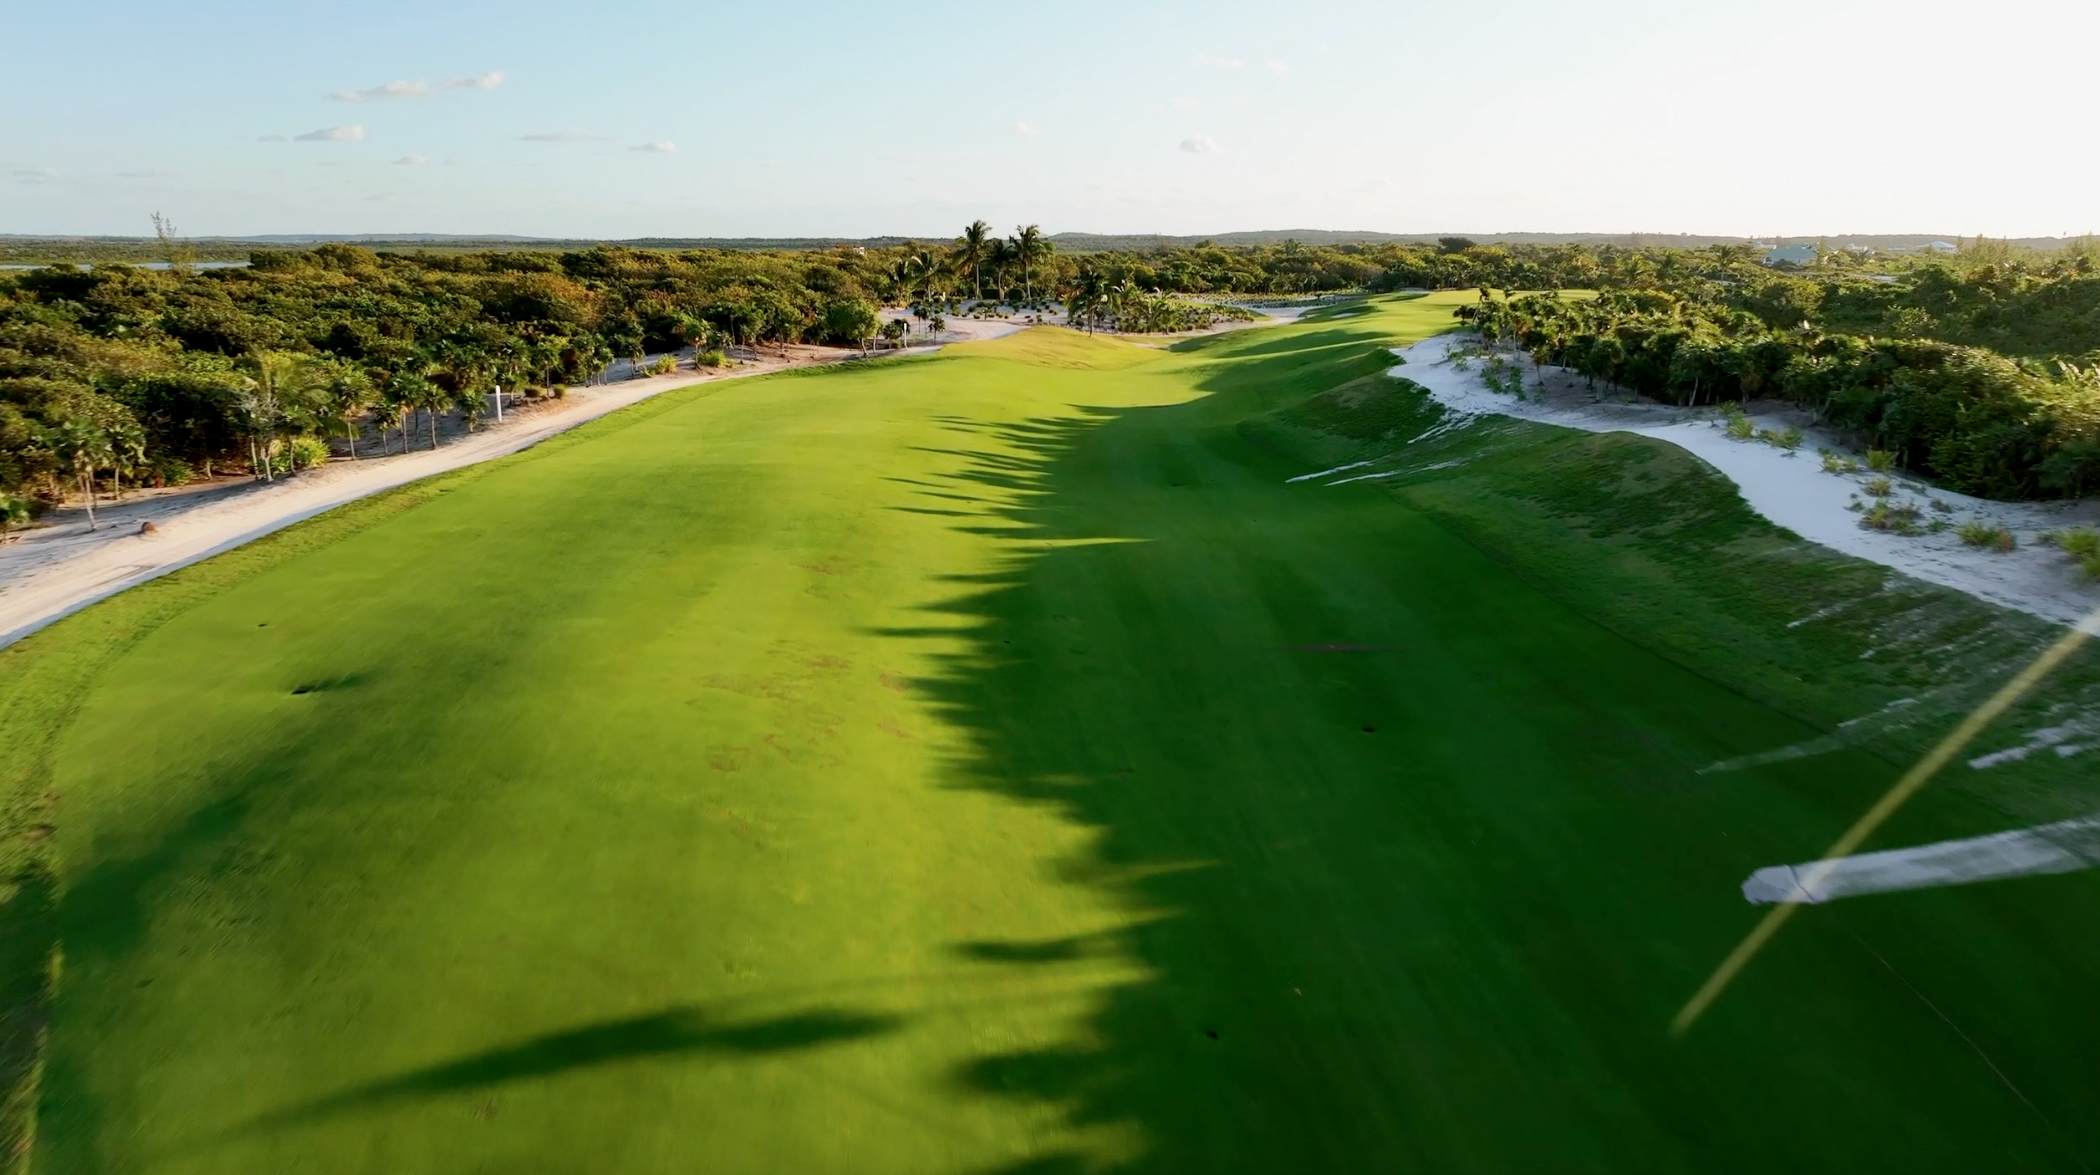
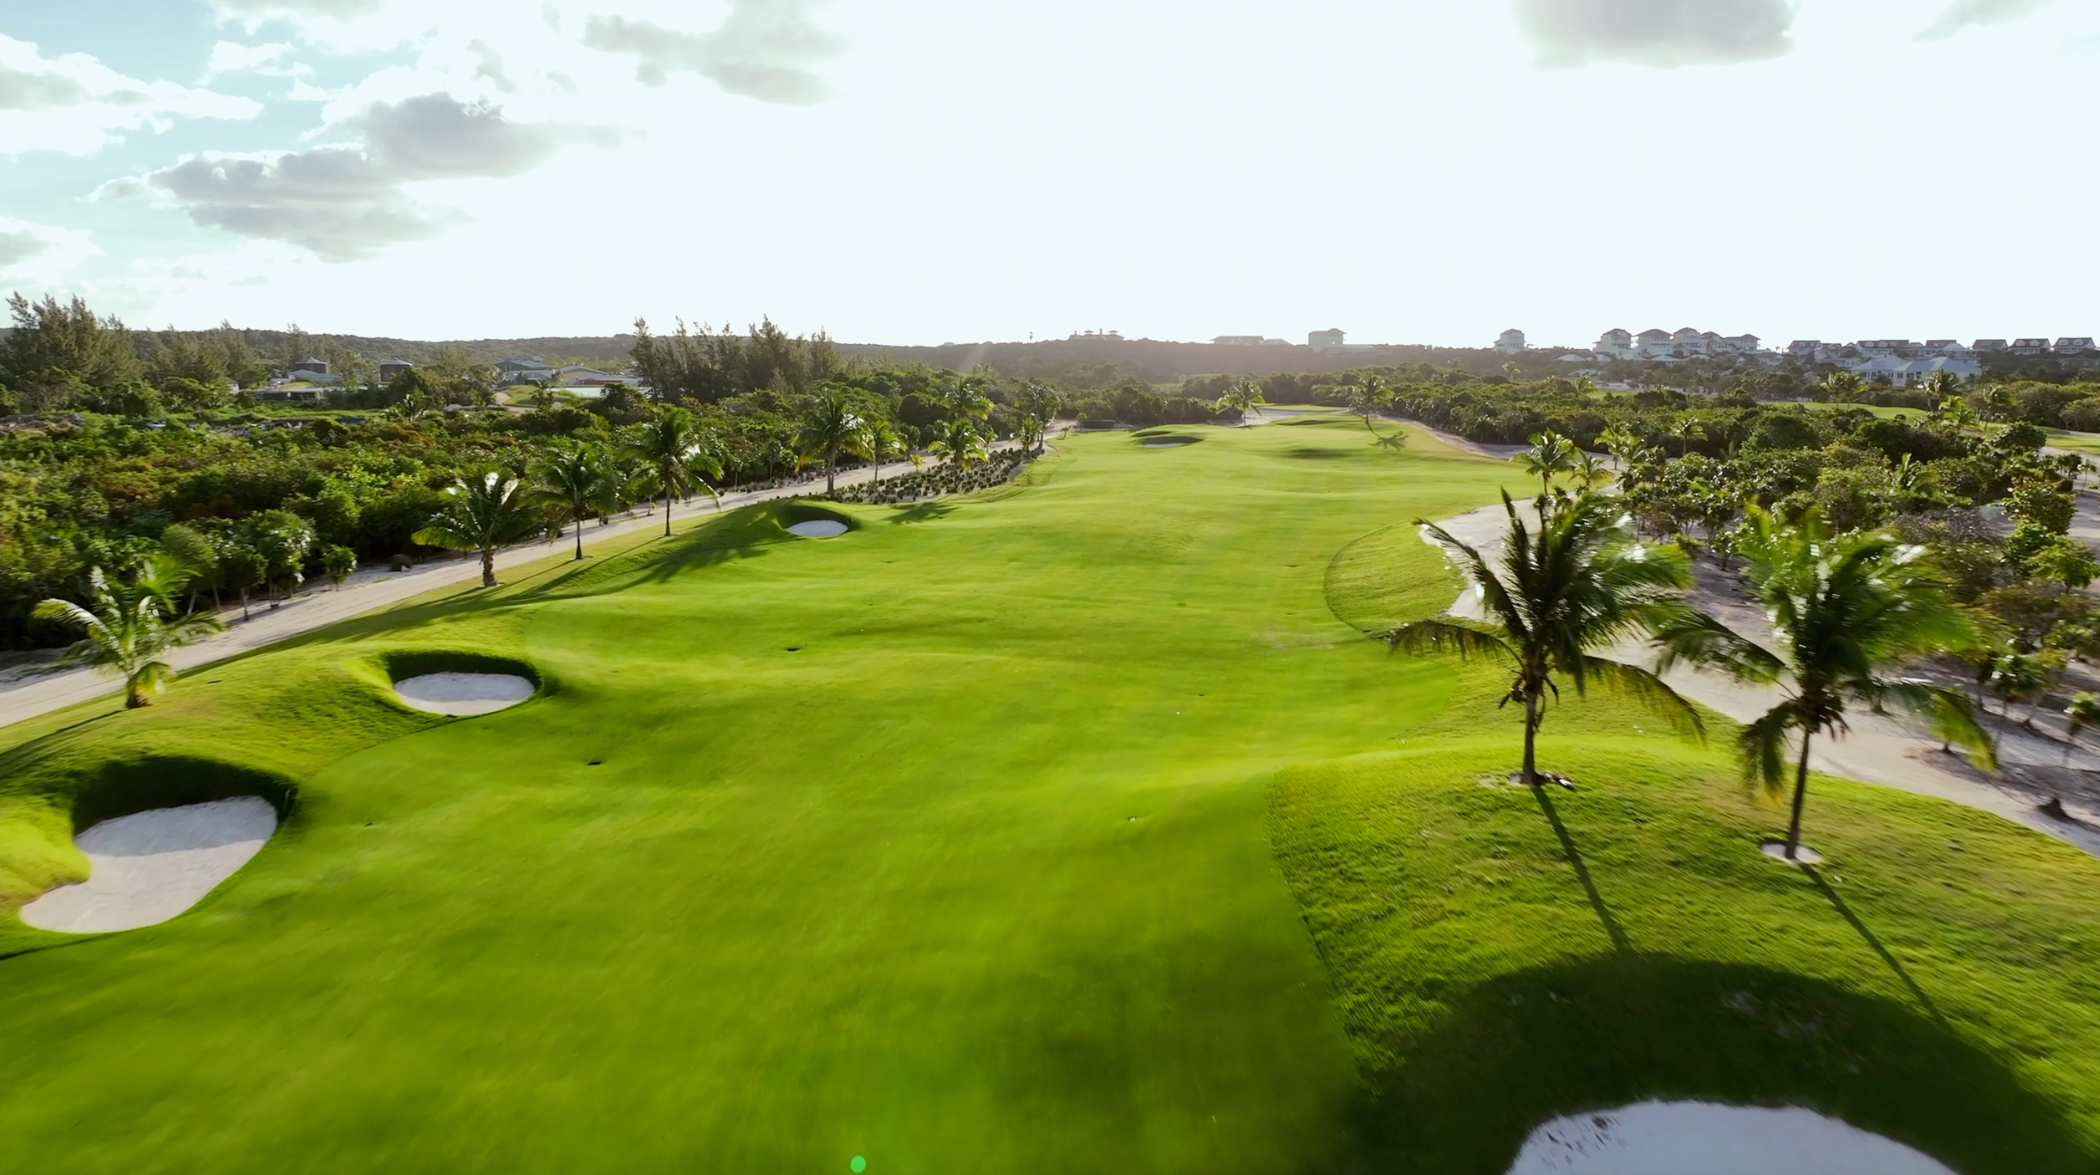
Hole 3
Par 4 | 441 yards
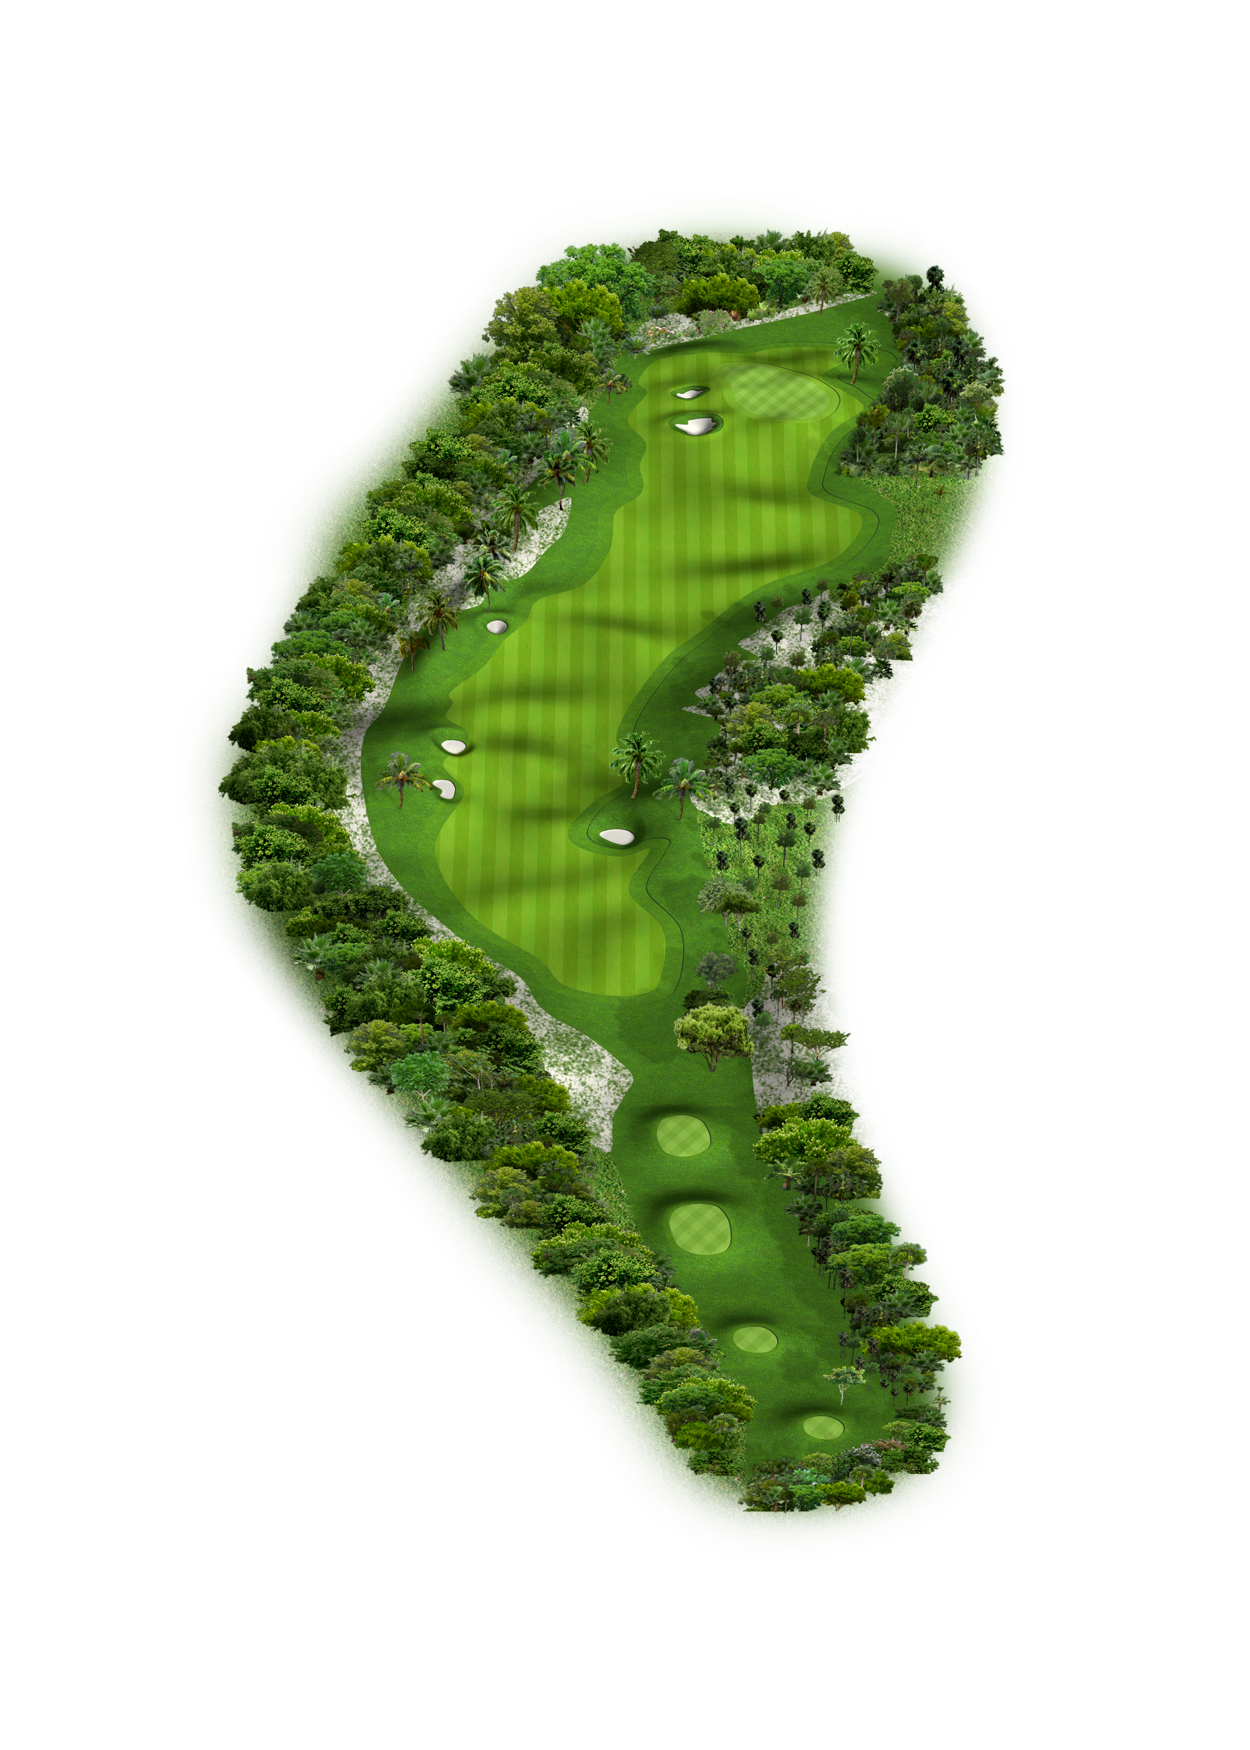
DC’s Playing Tips: The third hole is a long par 4. Maybe not so demanding off the tee but certainly a very demanding second shot. The green is elevated with lots with lots of undulations and a massive drop off to the right-hand side, danger on the left, and danger long so we walk off this hole with a par and you’re very very happy.
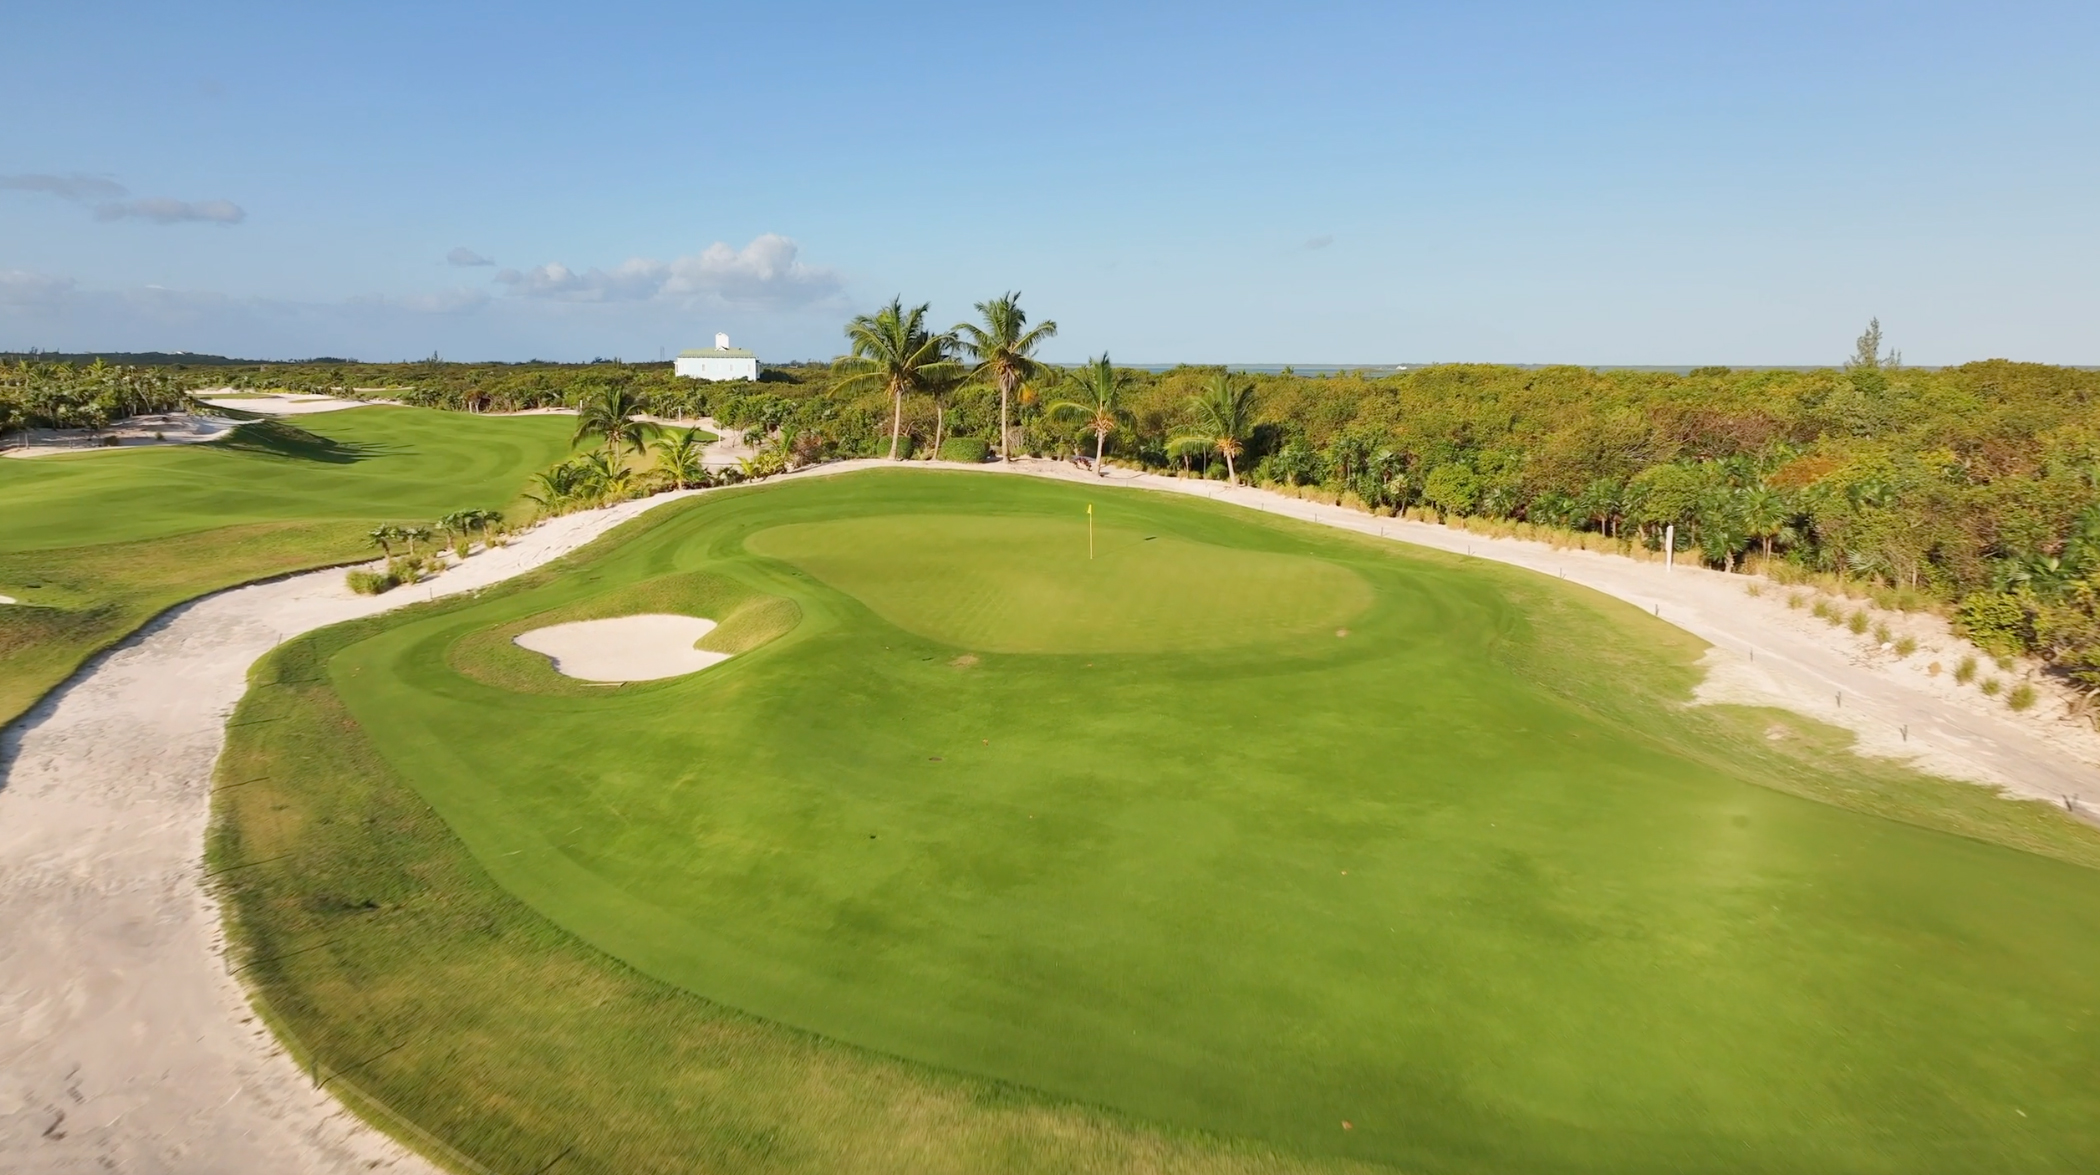
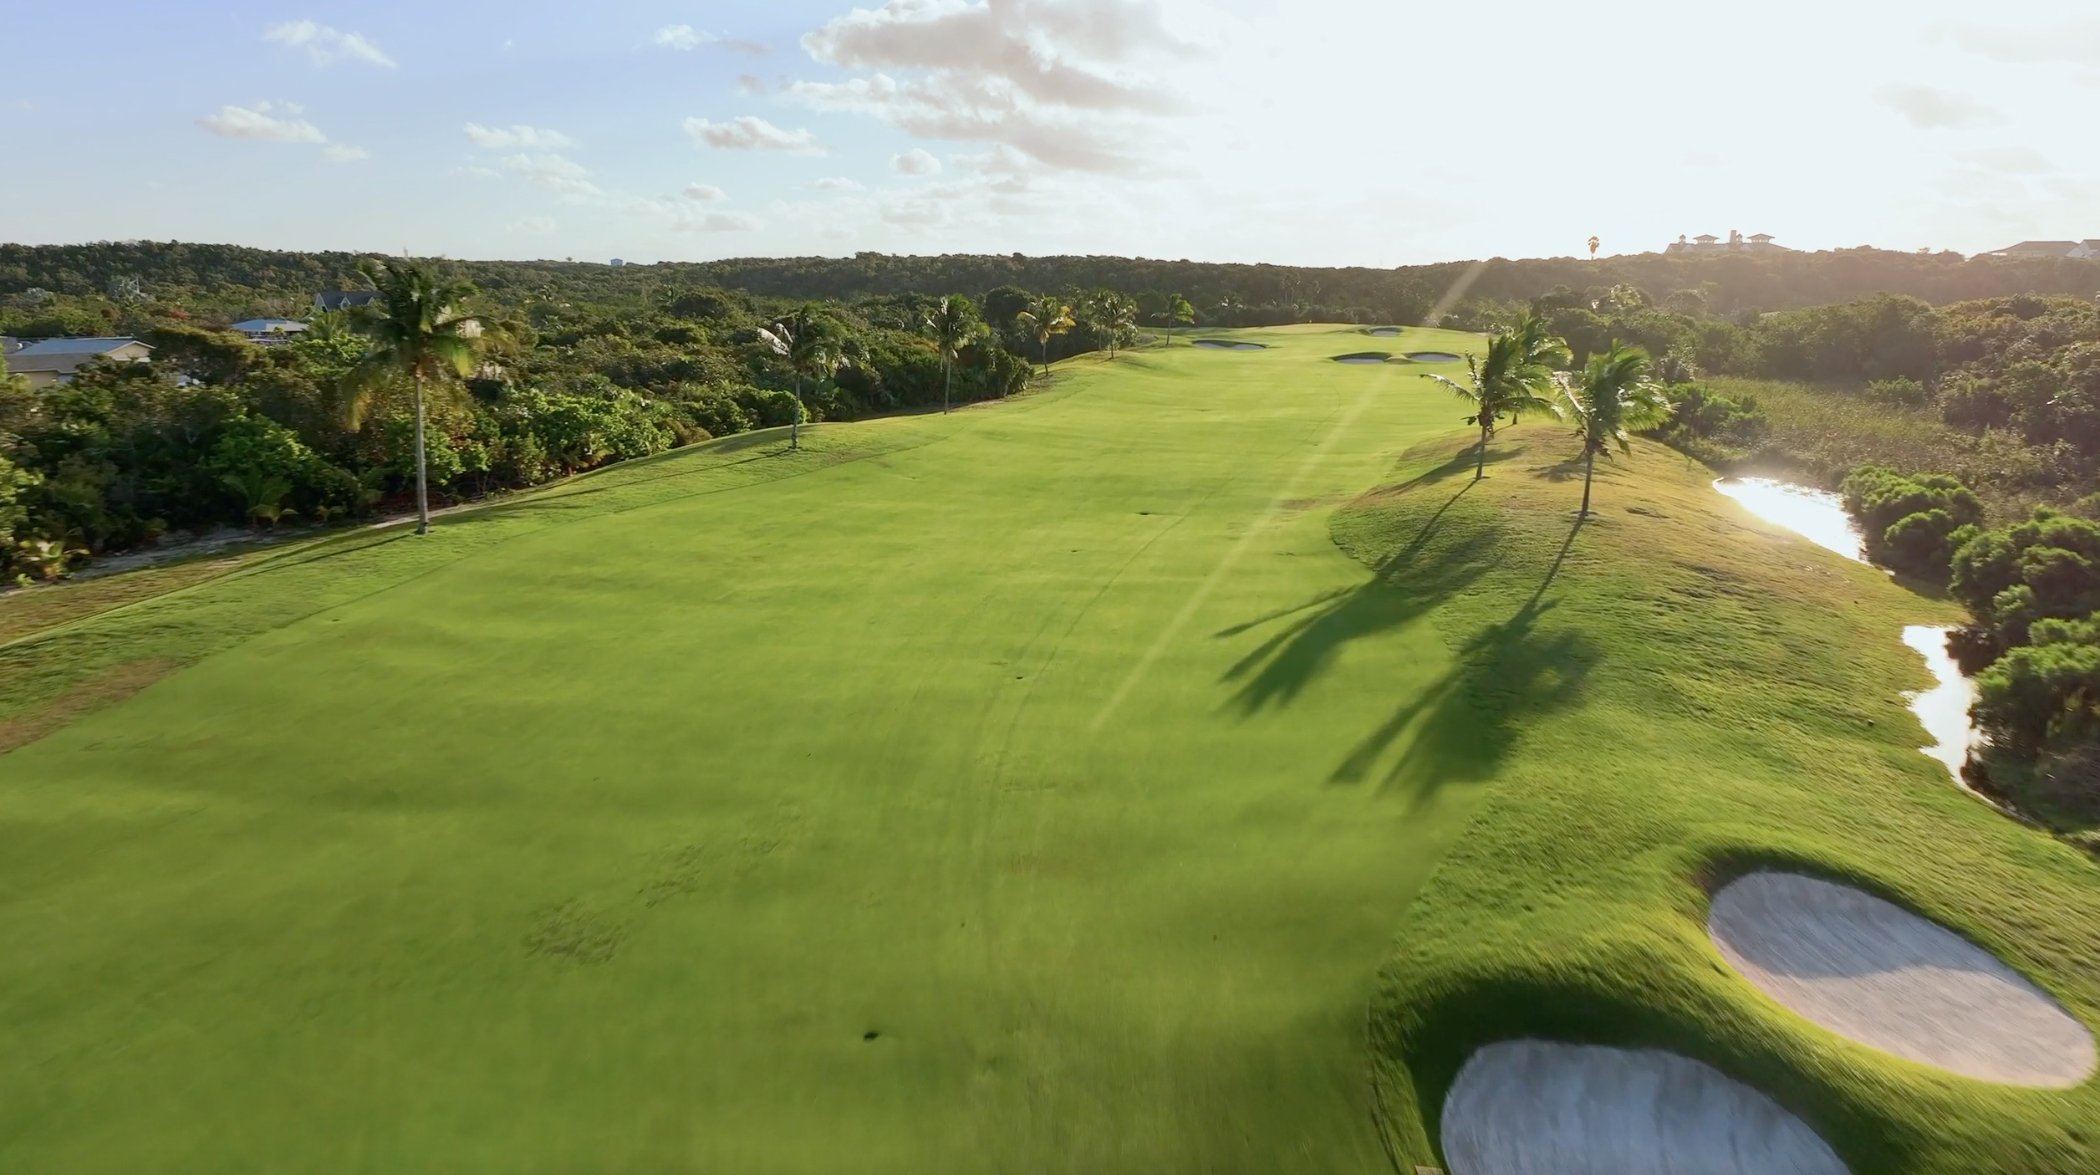
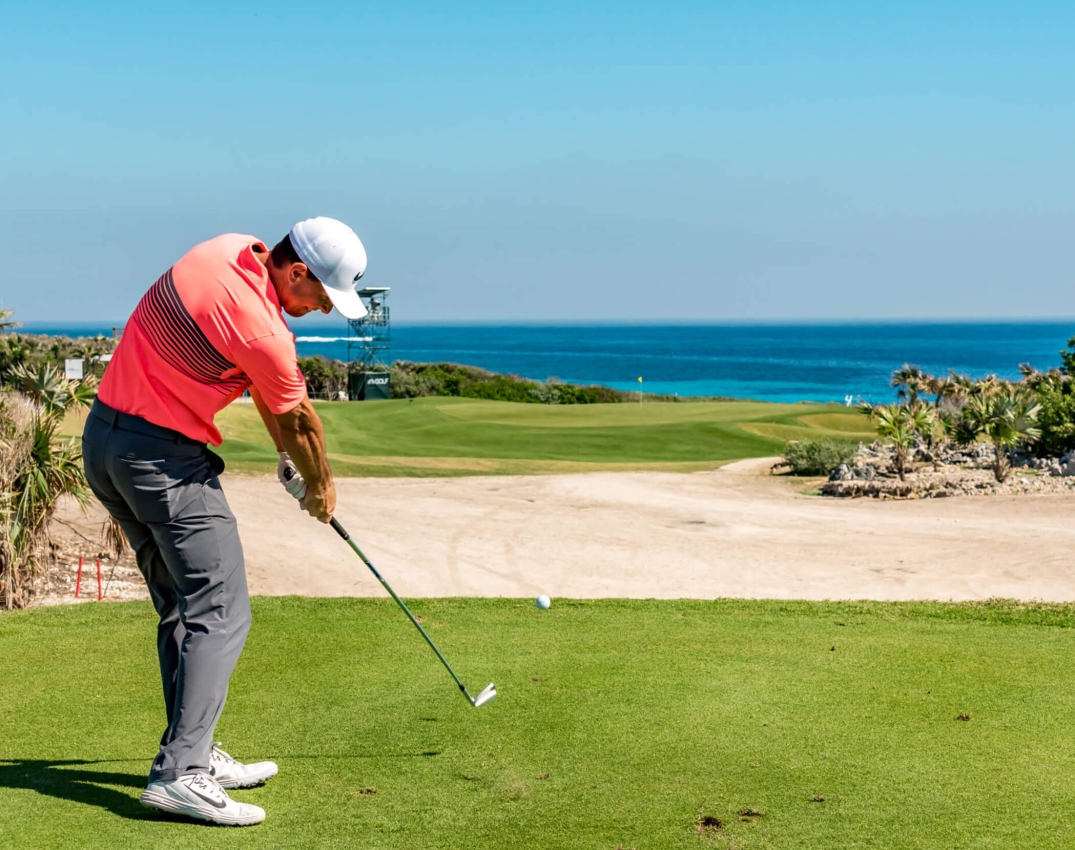
Hole 4
Par 3 | 199 yards
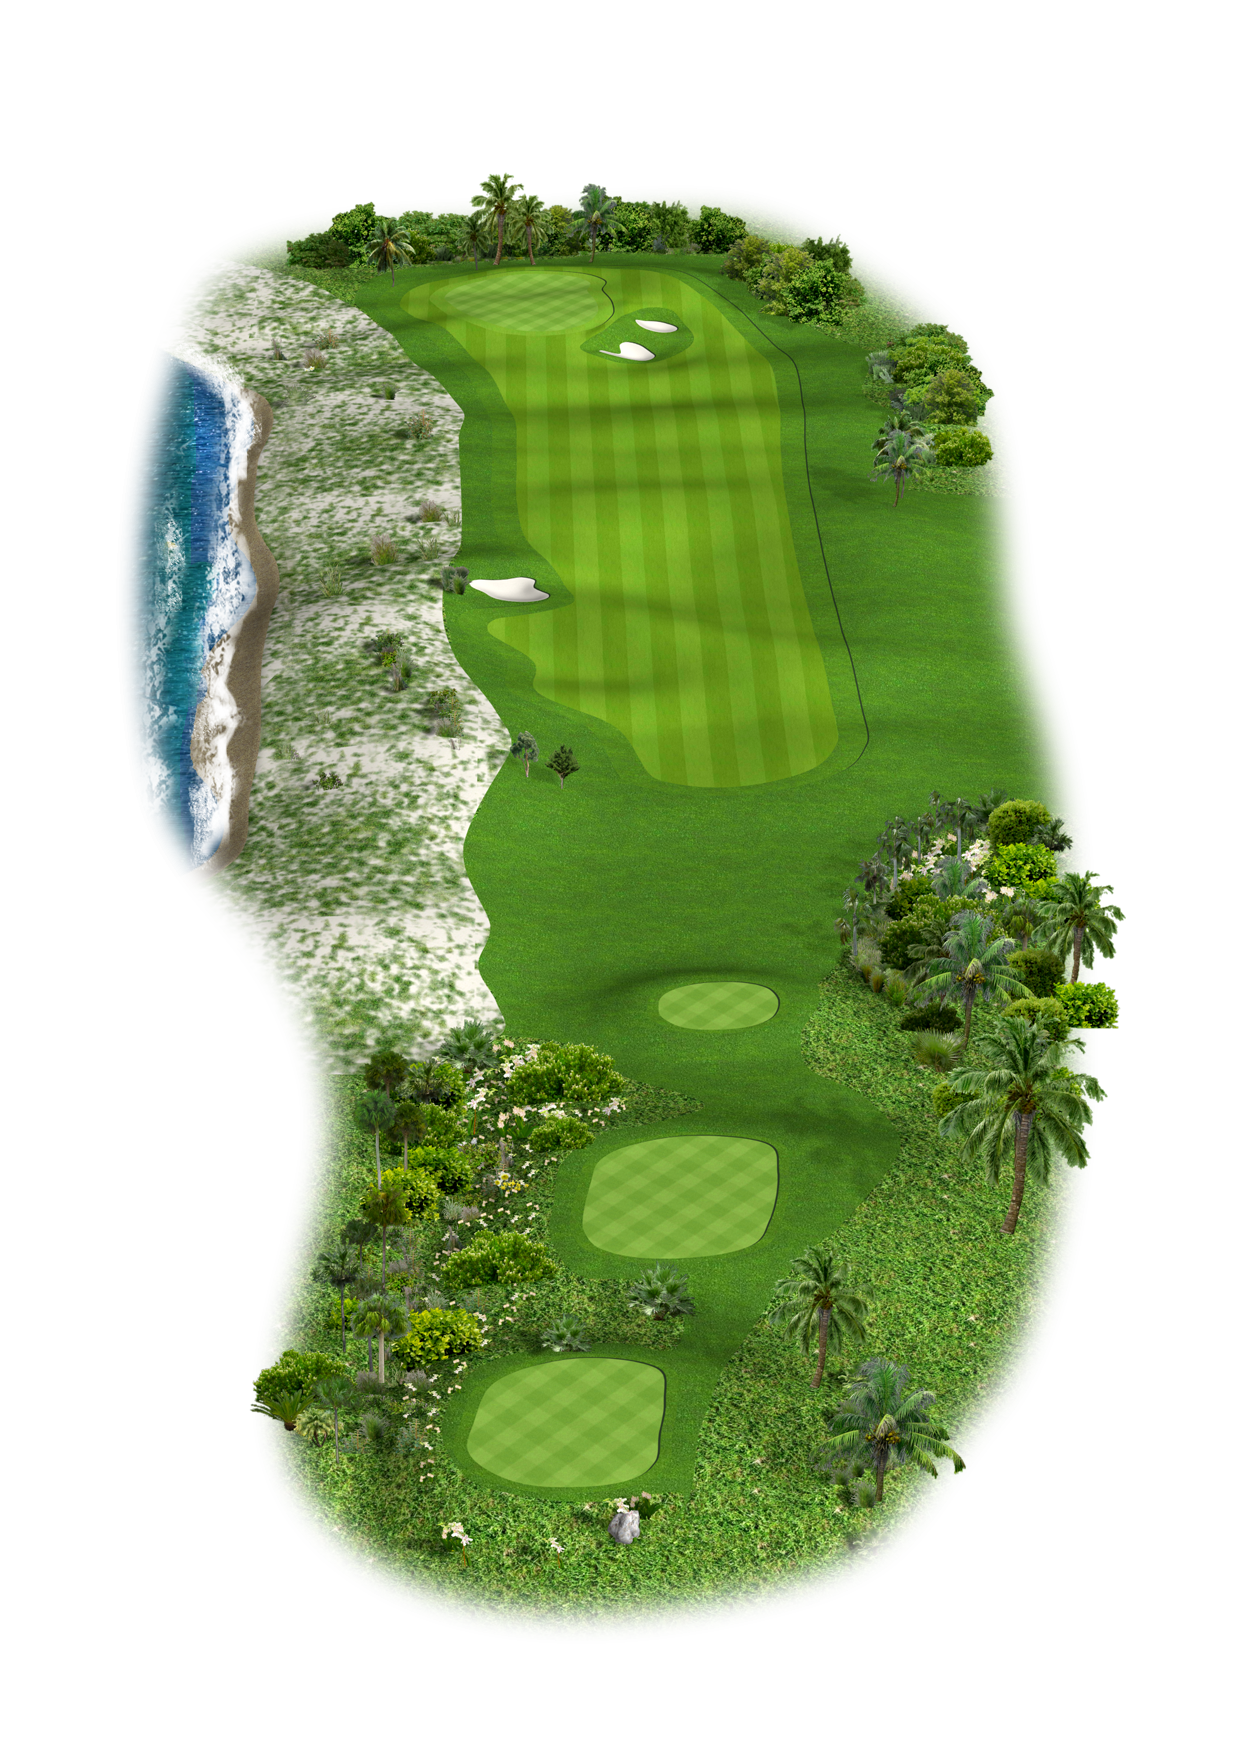
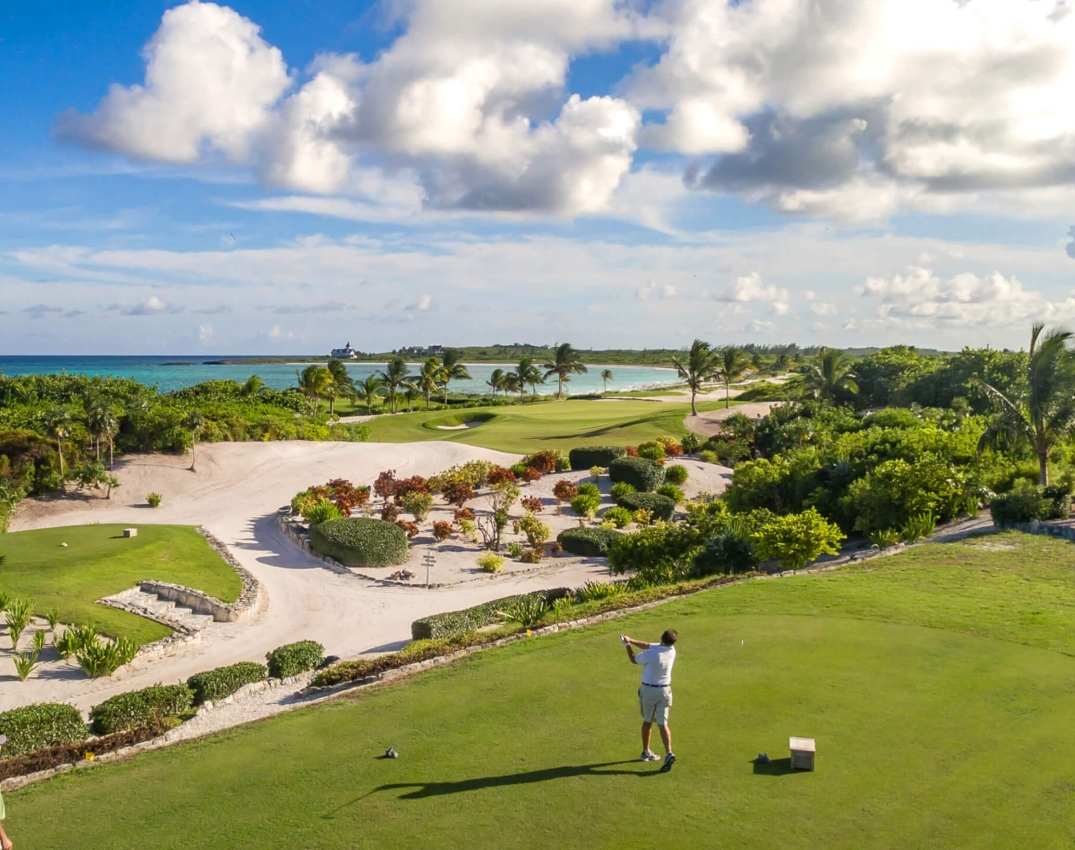
DC’s Playing Tips: The fourth hole is a wonderful par 3, as indeed are all the par 3s here, but it’s set with the backdrop of the ocean and Winding Bay and demands anything from 7 or 8 iron to 3 or 4 iron all the way off the back tips. Again, it is imperative to get on the right level of this green as it has so many different little areas on it but walk off with a par here and you’re happy.
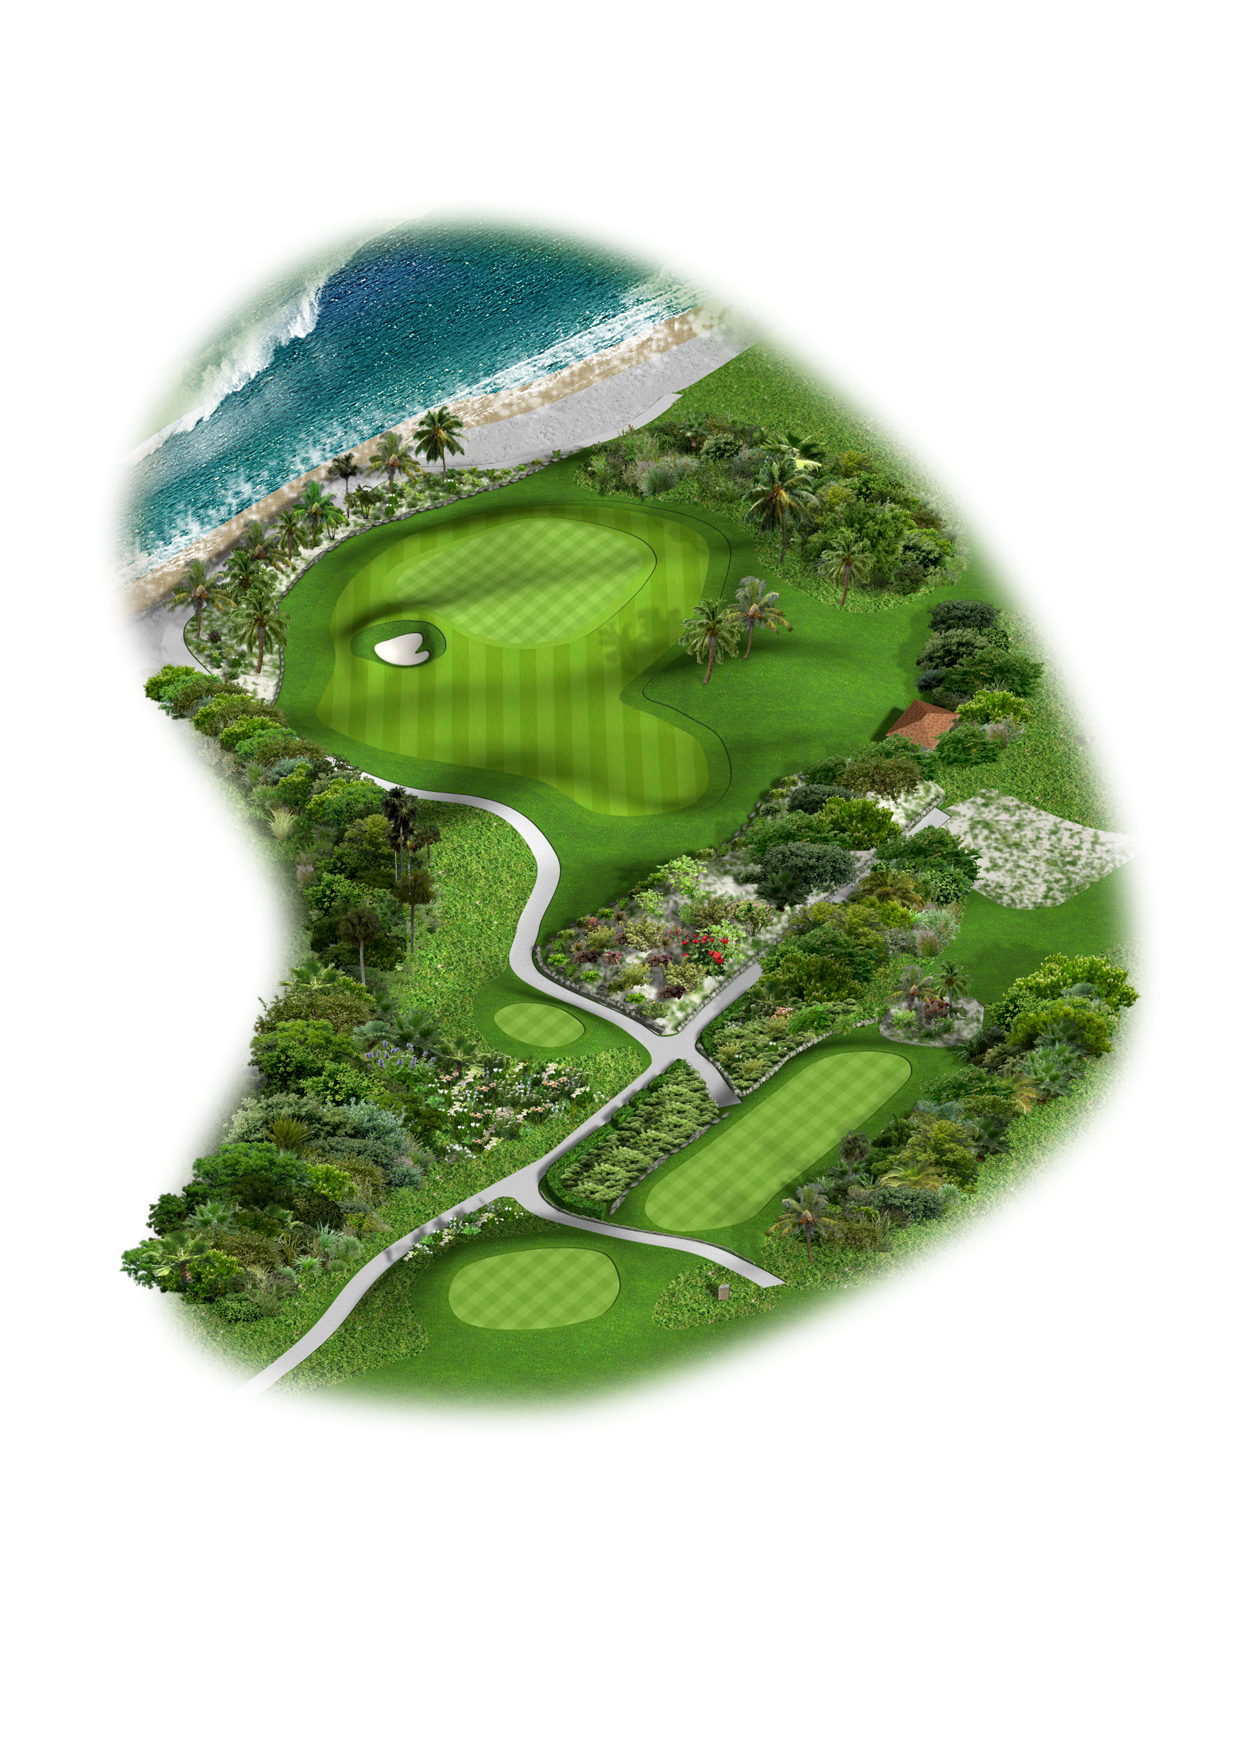
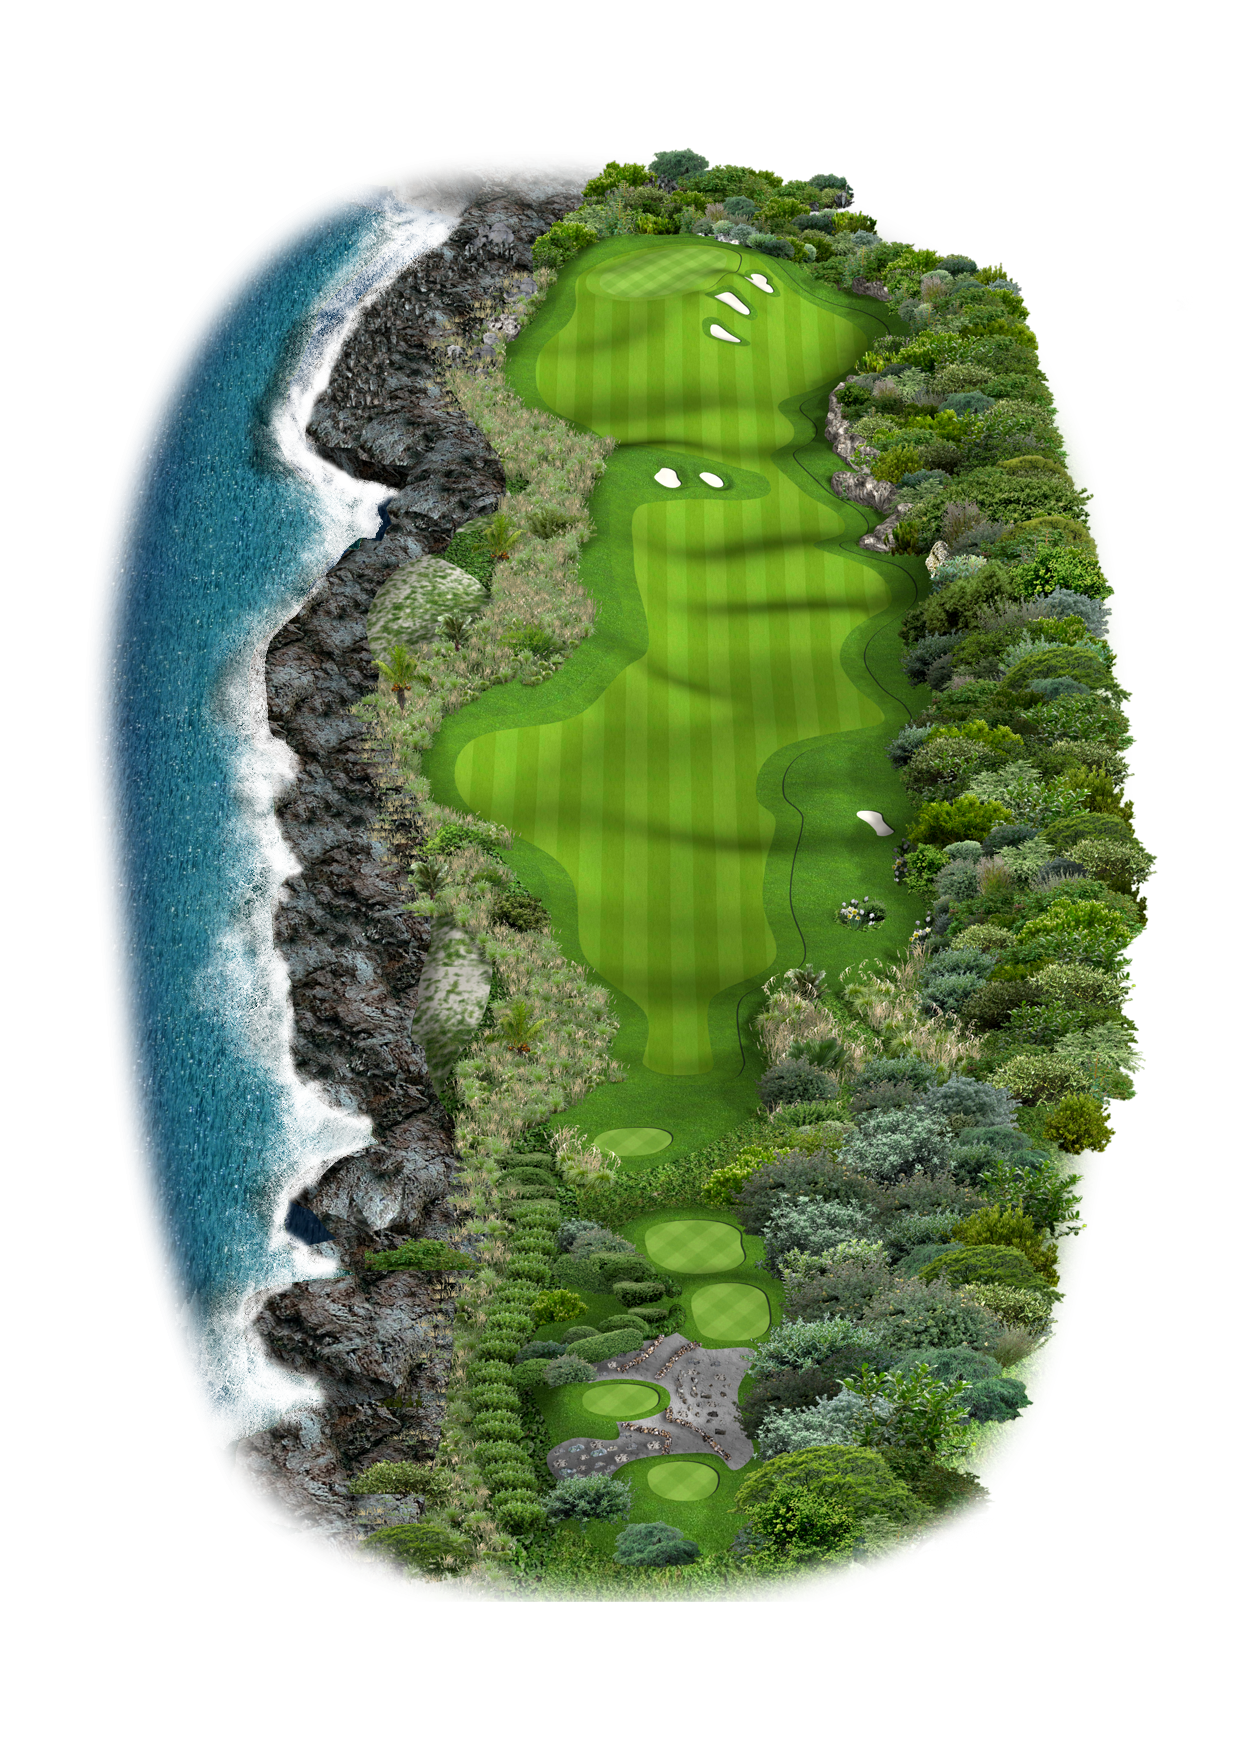
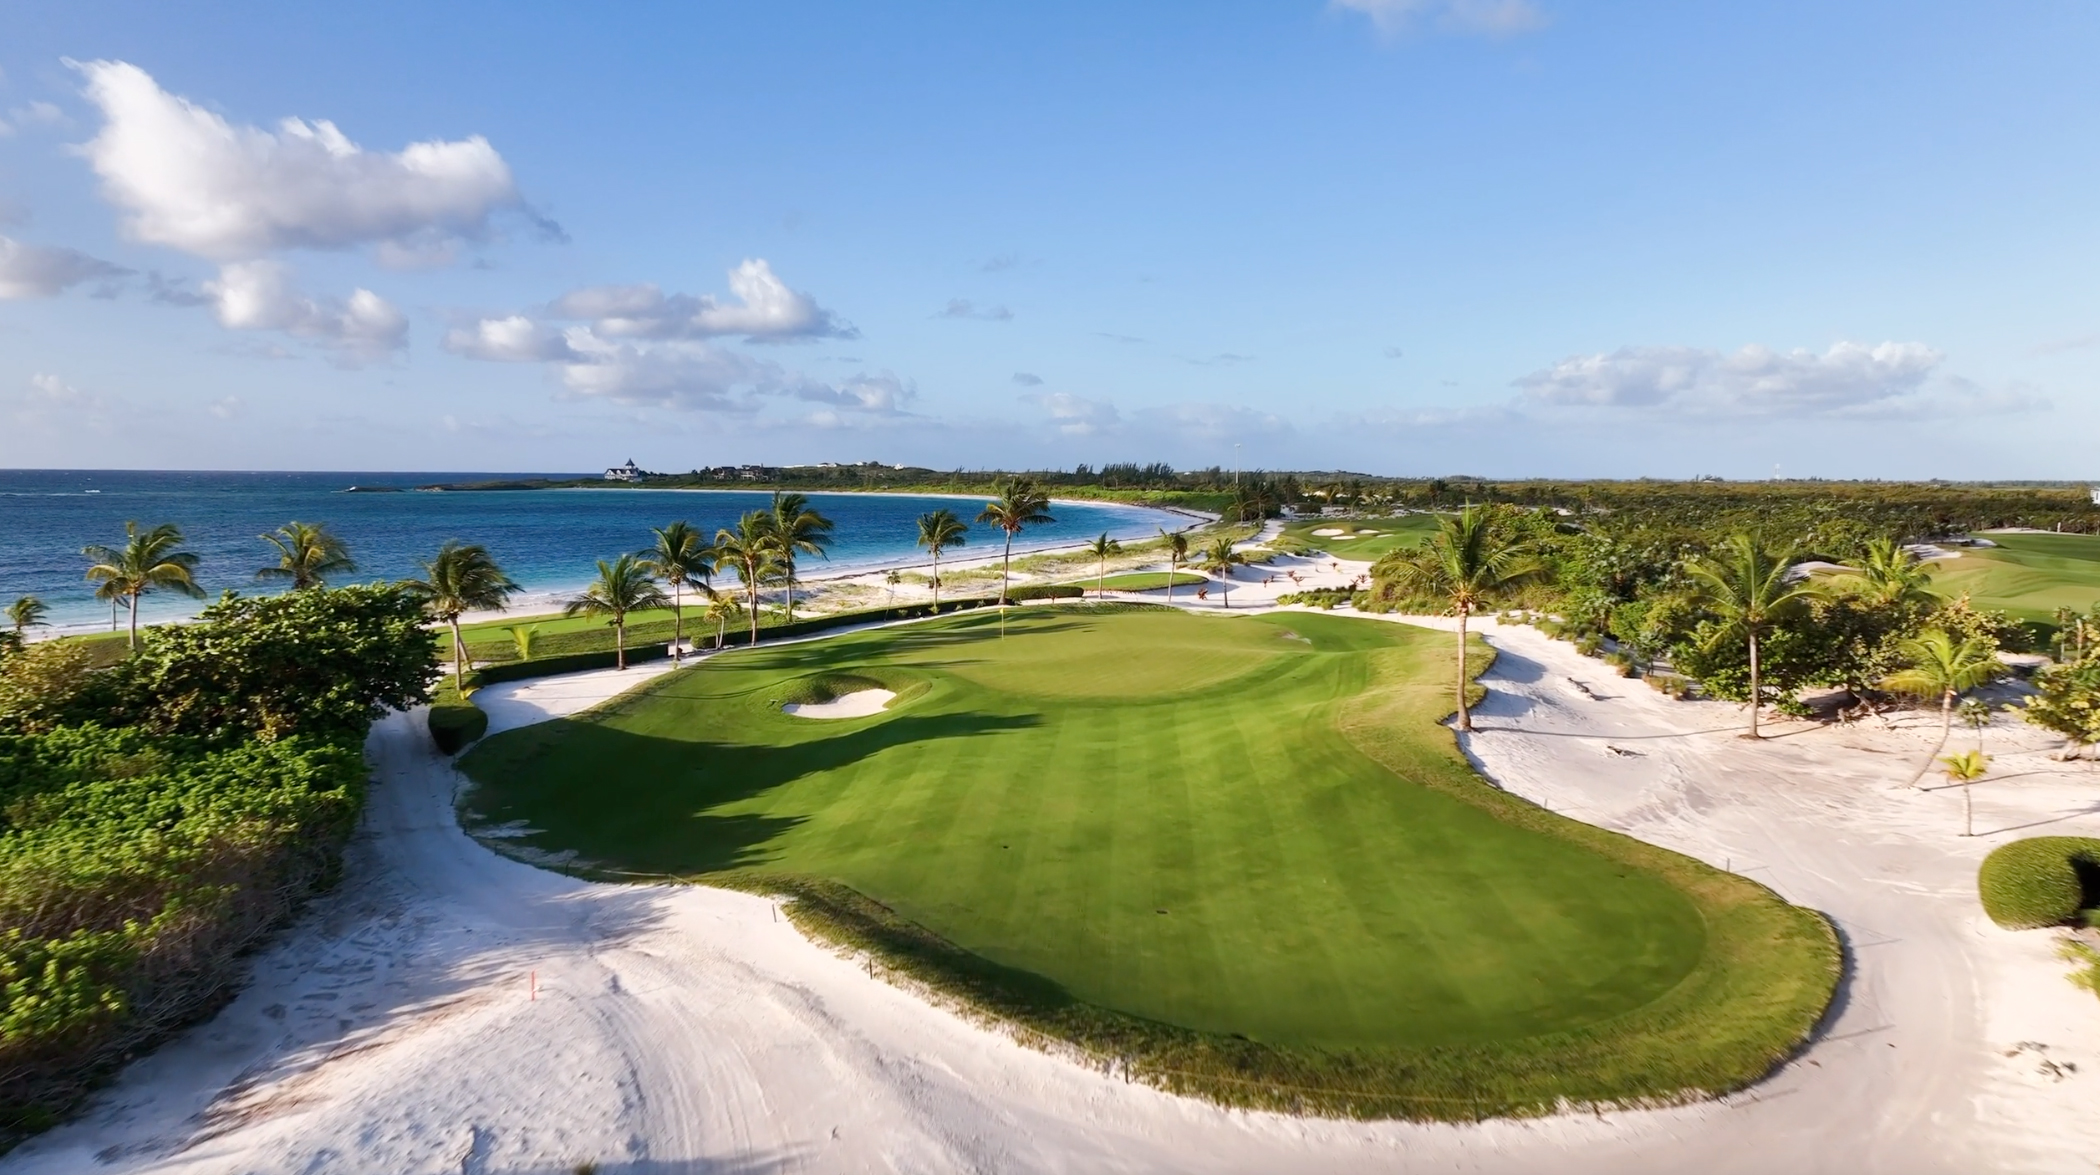
Hole 5
Par 4 | 312 yards
DC’s Playing Tips: The fifth hole here is possibly the signature hole on the golf course that sits right along the edge of Winding Bay. A little short par 4, fantastic risk and reward par 4, for those longer hitters they may want to take on the green which will leave them a very tricky little pitch if they do miss the green. Otherwise, you lay up and come into a short iron to a very small green which comes up with lots of different levels so again very difficult to get on the right level but if you do it’s a real birdie opportunity.
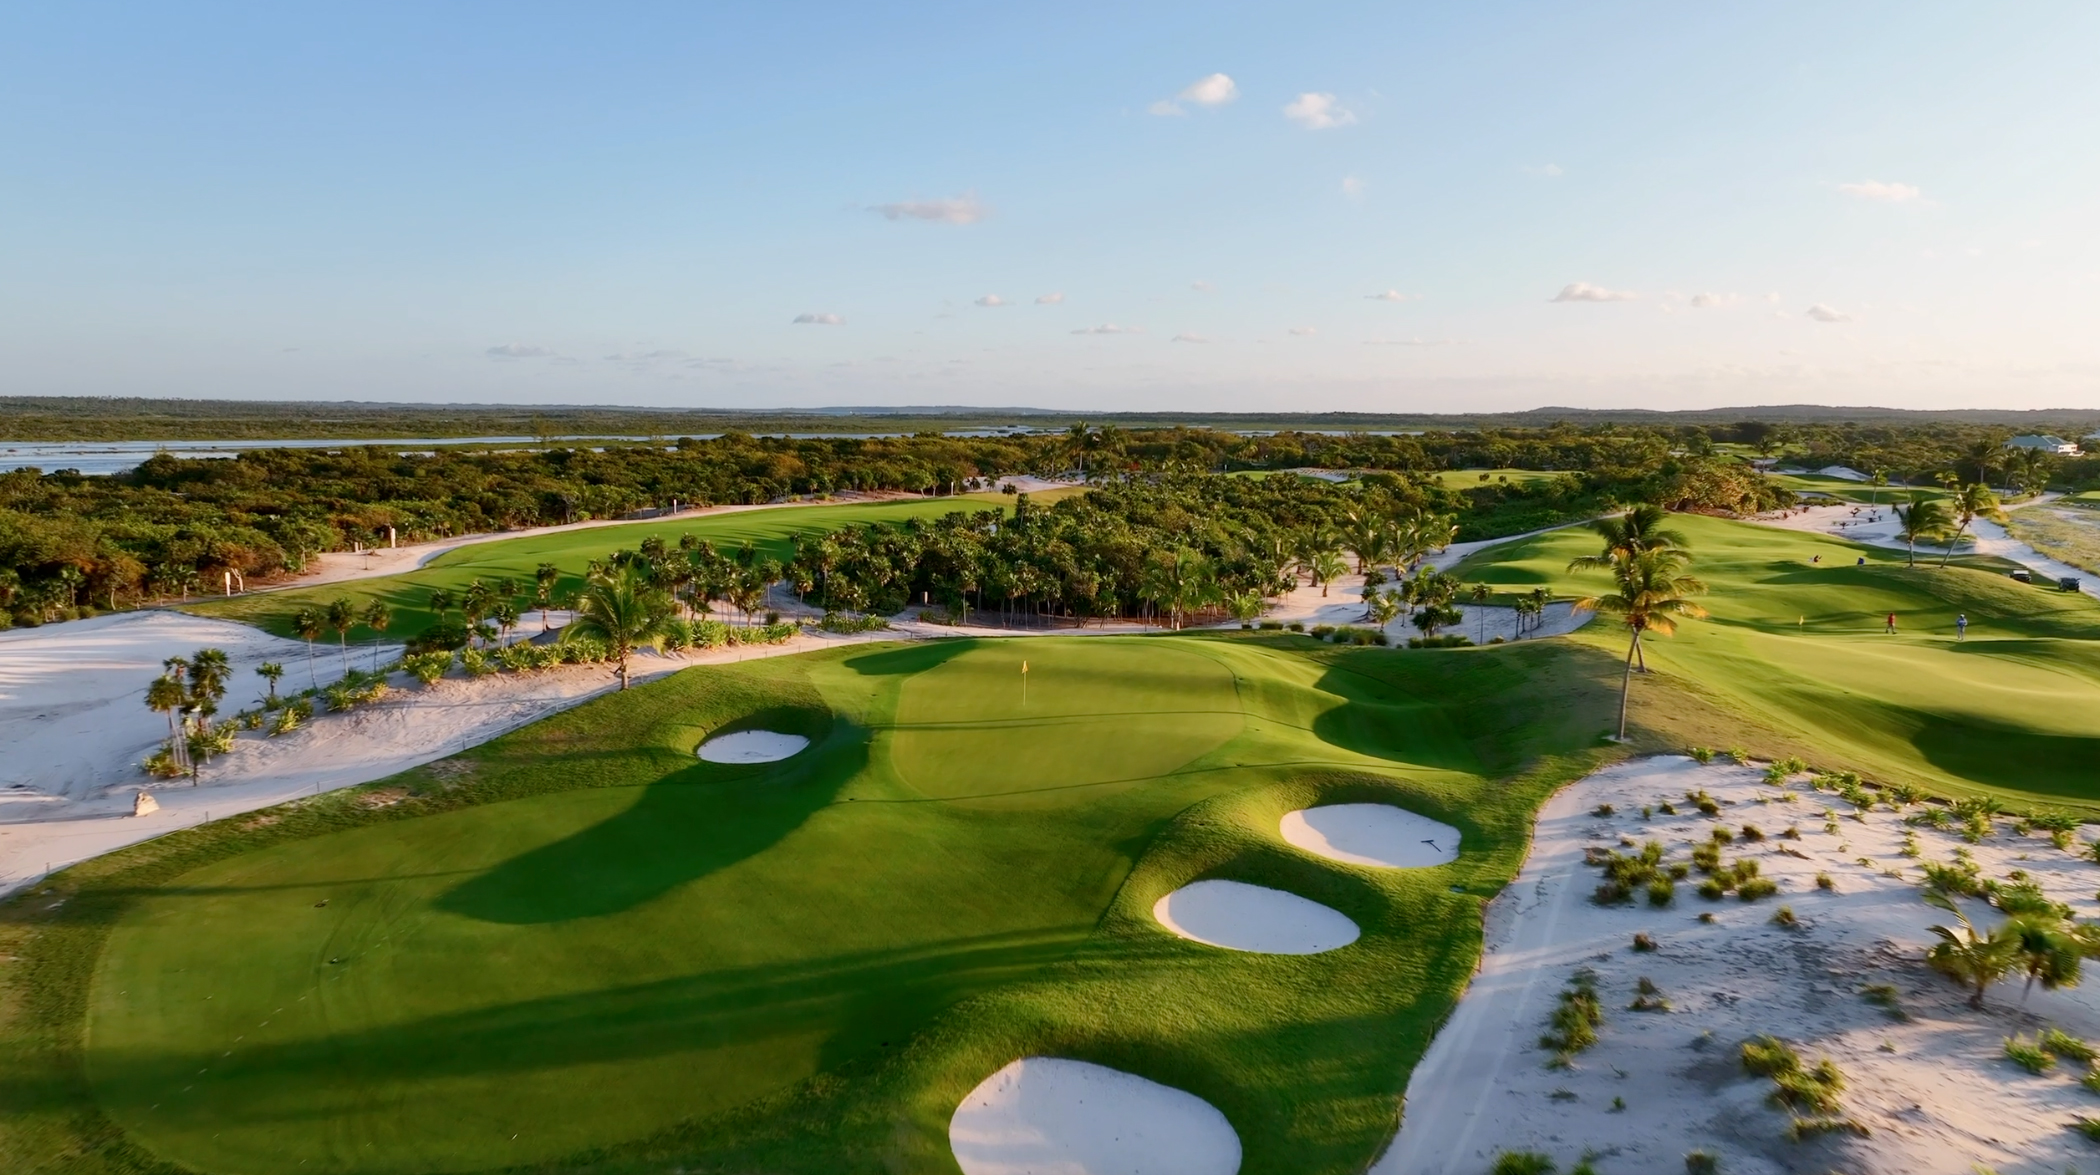
Hole 6
Par 3 | 158 yards
DC’s Playing Tips: The sixth hole is the second of the par 3s on the golf course. Not the longest of holes but again a big severe drop-off on the right-hand side so that is to be avoided at all costs. Bunkers in front on the right-hand side and one mid-way through back on the left. A very very shallow little tier right at the back of the green here so if the flag is up there the sensible play is middle of the green but in general a toughish par 3 but opportunity to possibly make birdie.
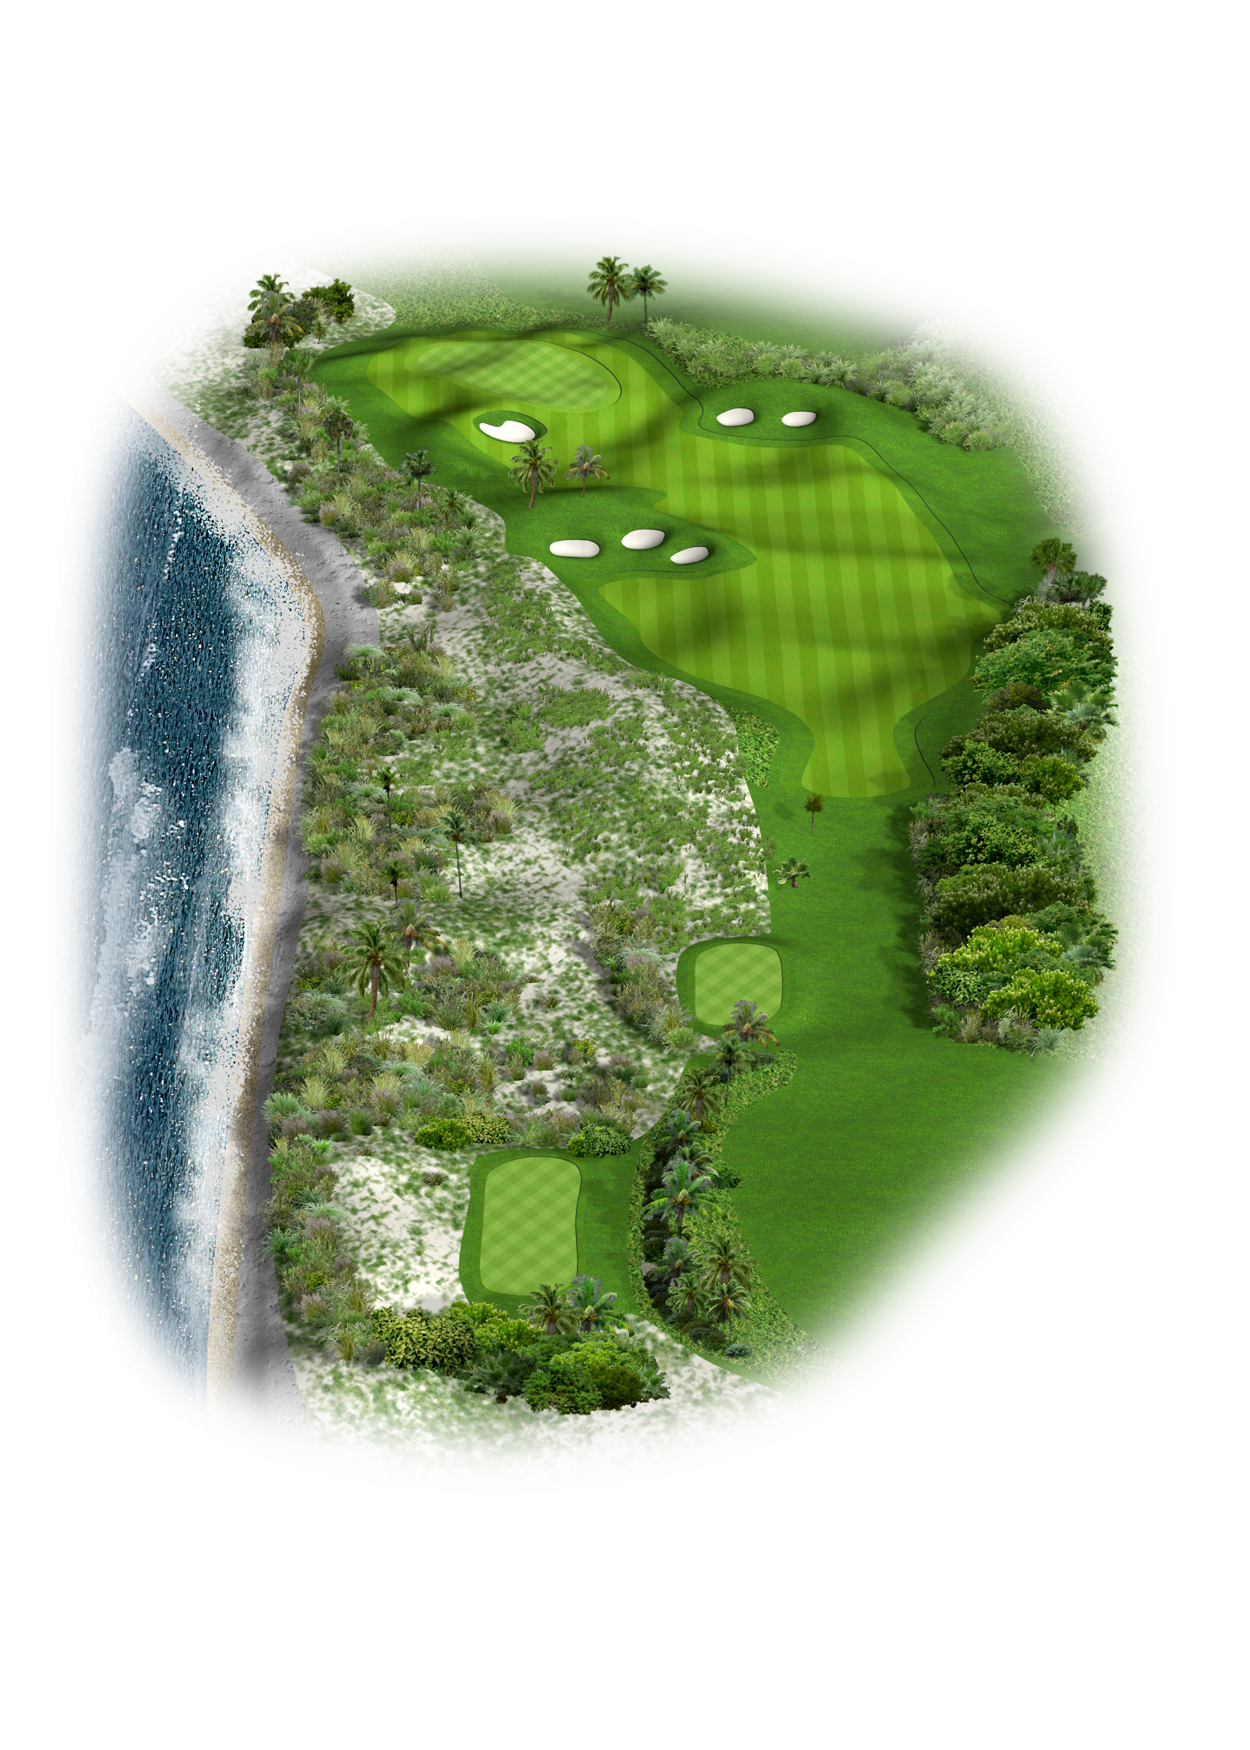
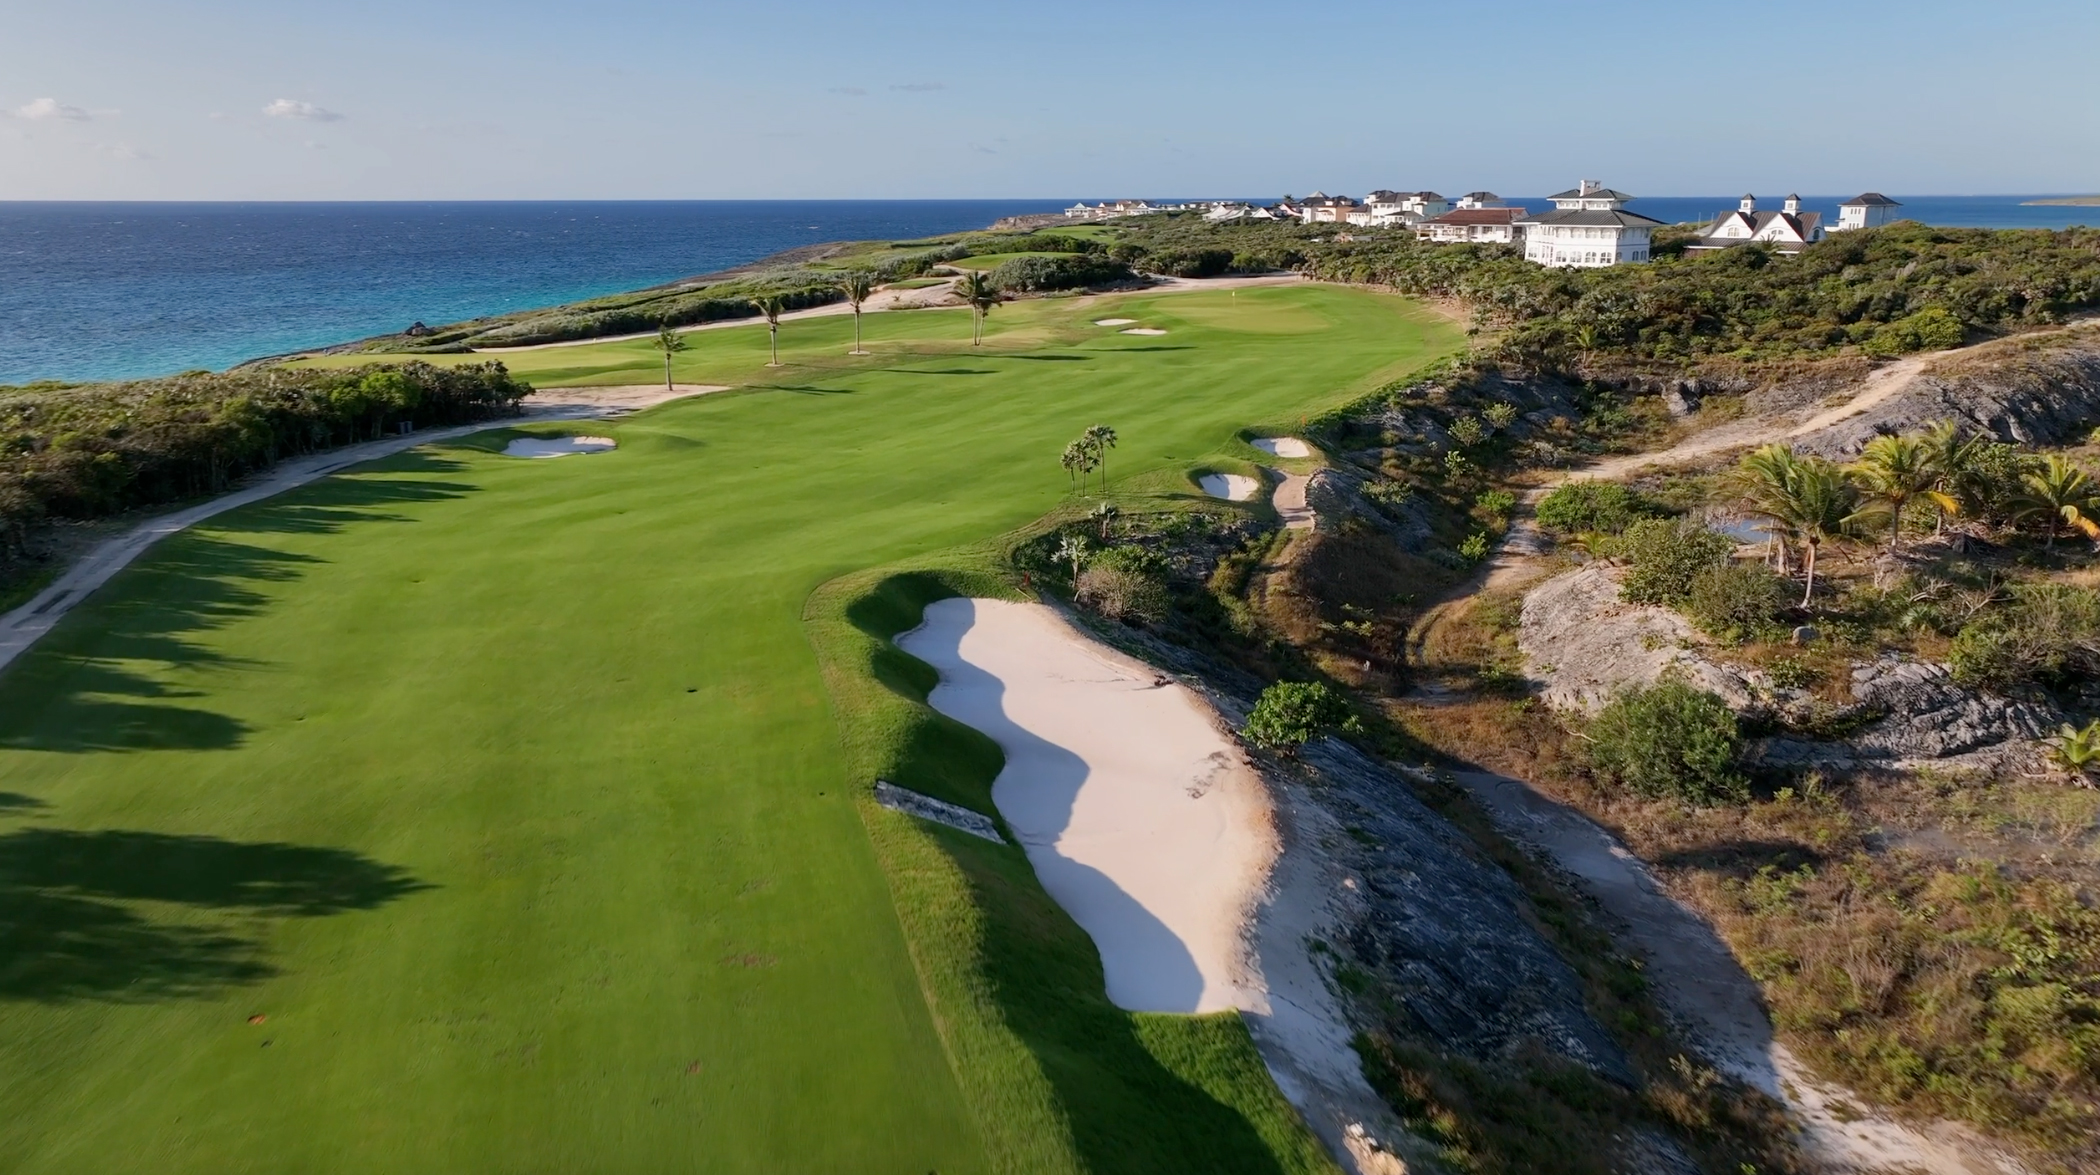
Hole 7
Par 4 | 420 yards
DC’s Playing Tips: The seventh hole is again a very tough par 4 usually with the wind coming off the left off the ocean which makes the tee shot very intimidating with the out of bounds and beach on the left-hand side and a big waste area on the right-hand side. If you get a good tee shot away you’re still left with somewhat of a longish second shot into a green with the ocean on the left-hand side. A ball fading in from the right-hand side will usually, if you carry the bunkers, find the green and two-putt for par and move on to the next
Hole 8
Par 5 | 495 yards
DC’s Playing Tips: The eighth hole is the second of the par 5s and potentially a birdie opportunity. A straight drive away will leave a long-ish second shot into the green that is reachable for longer hitters to a very slopy green with a big tier on the left-hand side. A front right pin is very tough here, again run-offs all around the green but three good shots should present you with a birdie opportunity.
Hole 9
Par 4 | 425 yards
DC’s Playing Tips: The ninth hole is a very tough par 4 with a drive that requires almost shooting down an alley which will leave you a long to middle iron into a green that is elevated and very undulating. Whenever the wind blows here as it normally does it makes the second shot very challenging with runoff on the left, runoff on the right, and runoff long so you need to be very much on your yardage for your second shot. Even getting on the green in two does not guarantee par unfortunately on this great hole.
Hole 10
Par 3 | 195 yards
DC’s Playing Tips: The tenth hole is a par 3 with quite a severe roll-off to the right-hand side and a deep bunker down the left that also runs off down there. Always take one club more than you think because if you go a little bit long the ball will roll back down onto the edge of the green from just the back edge. Tough enough par 3, length is not a huge factor here but accuracy is with your tee shot.

Hole 11
Par 4 | 460 yards
DC’s Playing Tips: Hole number eleven is again a very strong par 4. A longish hole again so you’ve got to avoid the bunkers on the right, the waste bunkers on the left and the waste areas after that. When you do it leaves you with a little bit of an uphill second shot to a green that has massive undulations on it. You don’t want to miss this one left, anything left is absolutely dead so the percentage shot is to the lower level on the right-hand side if you can get it down there even if the flag is on the top tier. Take your chances and hopefully two-putt and get out of there.

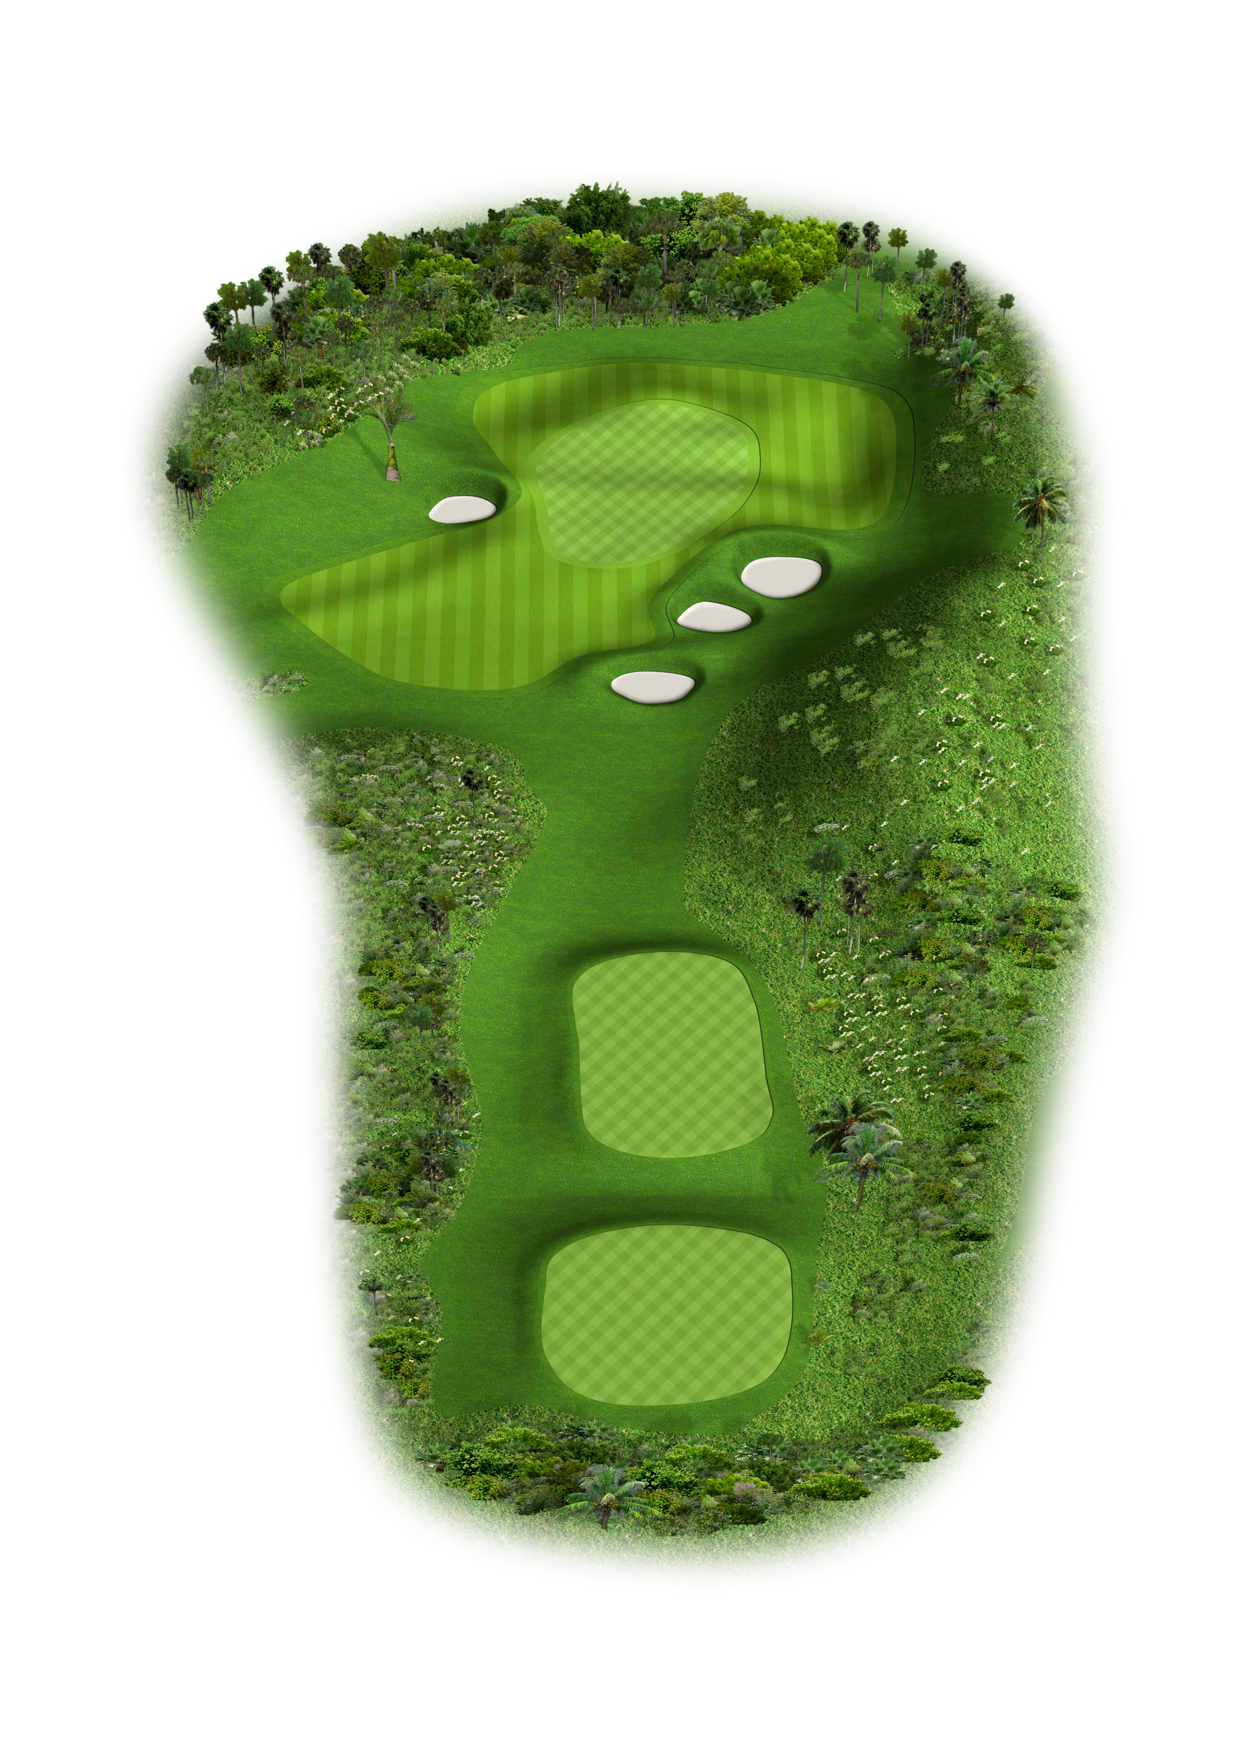
Hole 12
Par 4 | 388 yards
DC’s Playing Tips: The twelfth hole is looking at possibly a birdie opportunity after a run of tough holes. A shortish par 4 a good drive away with a little more room on the left than it would appear off the tee. A decent drive down there will leave you a short- to mid-iron into the green. Again, lots of different tiers on different levels. A very small little flat area on the back right-hand corner which makes it a very tough pin to get at if the pin goes there so an opportunity nonetheless.

Hole 13
Par 4 | 461 yards
DC’s Playing Tips: The thirteenth hole is a slightly blind tee shot aimed over a large bunker over on the right-hand side. A slight dogleg around to the right with bunkers all the way up the left so again a straight drive is imperative here which will leave a reasonably long second shot into a green that shaped a little bit from right to left. Again, a par here on this hole will always be a good result.
Hole 14
Par 5 | 578 yards
DC’s Playing Tips: Fourteen is the third of the par 5s here at The Abaco Club on Winding Bay. A slight dogleg from left to right, bunkers on the right-hand side and bunkers on the left. Aim a little left center of the fairway to carry those first bunkers on the left-hand side which leaves a very long second shot so most people will be laying up short of the bunkers about 100-120 yards short of the green and go from there. Not the most undulating of greens as a lot of the other ones are so with a nice shot into the green you should give yourself a birdie opportunity.
Hole 15
Par 4 | 412 yards
DC’s Playing Tips: The fifteenth hole is an intimidating tee shot off an elevated tee with a quarry down on the right-hand side and bush and scrub on the left. With that as well you have to miss the fairway bunkers so you either go down the right to the lower level which doesn’t afford you the opportunity to see the green or gamble a little bit and go down the left-hand side which then you can see the whole green as it opens up from there. A medium- to short-iron into the green that is one of the greens that does not have that much slope so a good tee shot should give you an opportunity to make a good score on this hole.

Hole 16
Par 4 | 385 yards
DC’s Playing Tips: Sixteen is a little bit of a risk-reward hole again, you can decide to bite off as much or as little of the quarry as you wish. A slight dogleg from left to right, a pulled tee shot however will end up in the scrub on the left-hand side so again avoid the fairway bunkers and leave yourself with a short second shot into a green which should present itself as a real birdie opportunity.

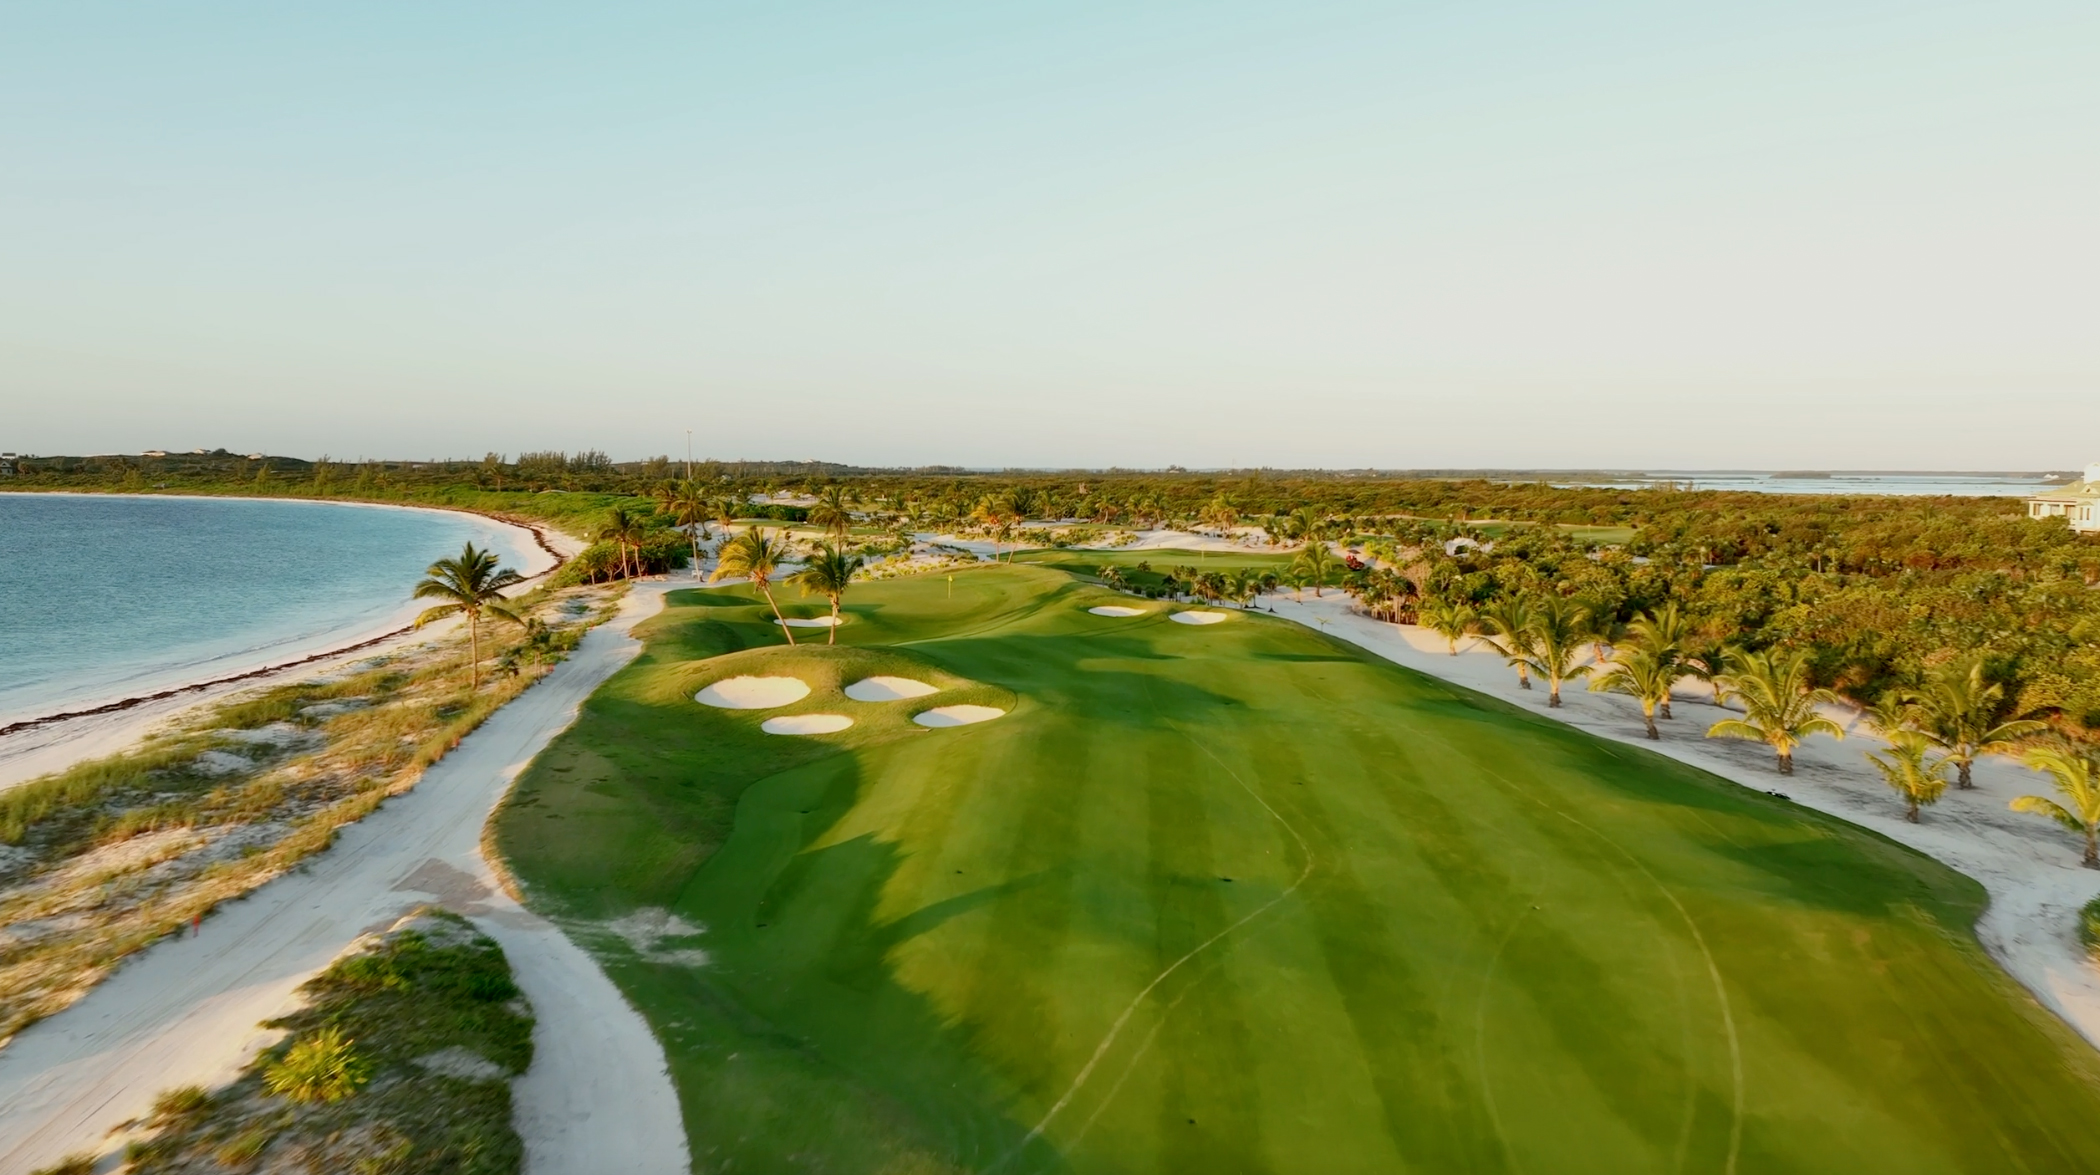
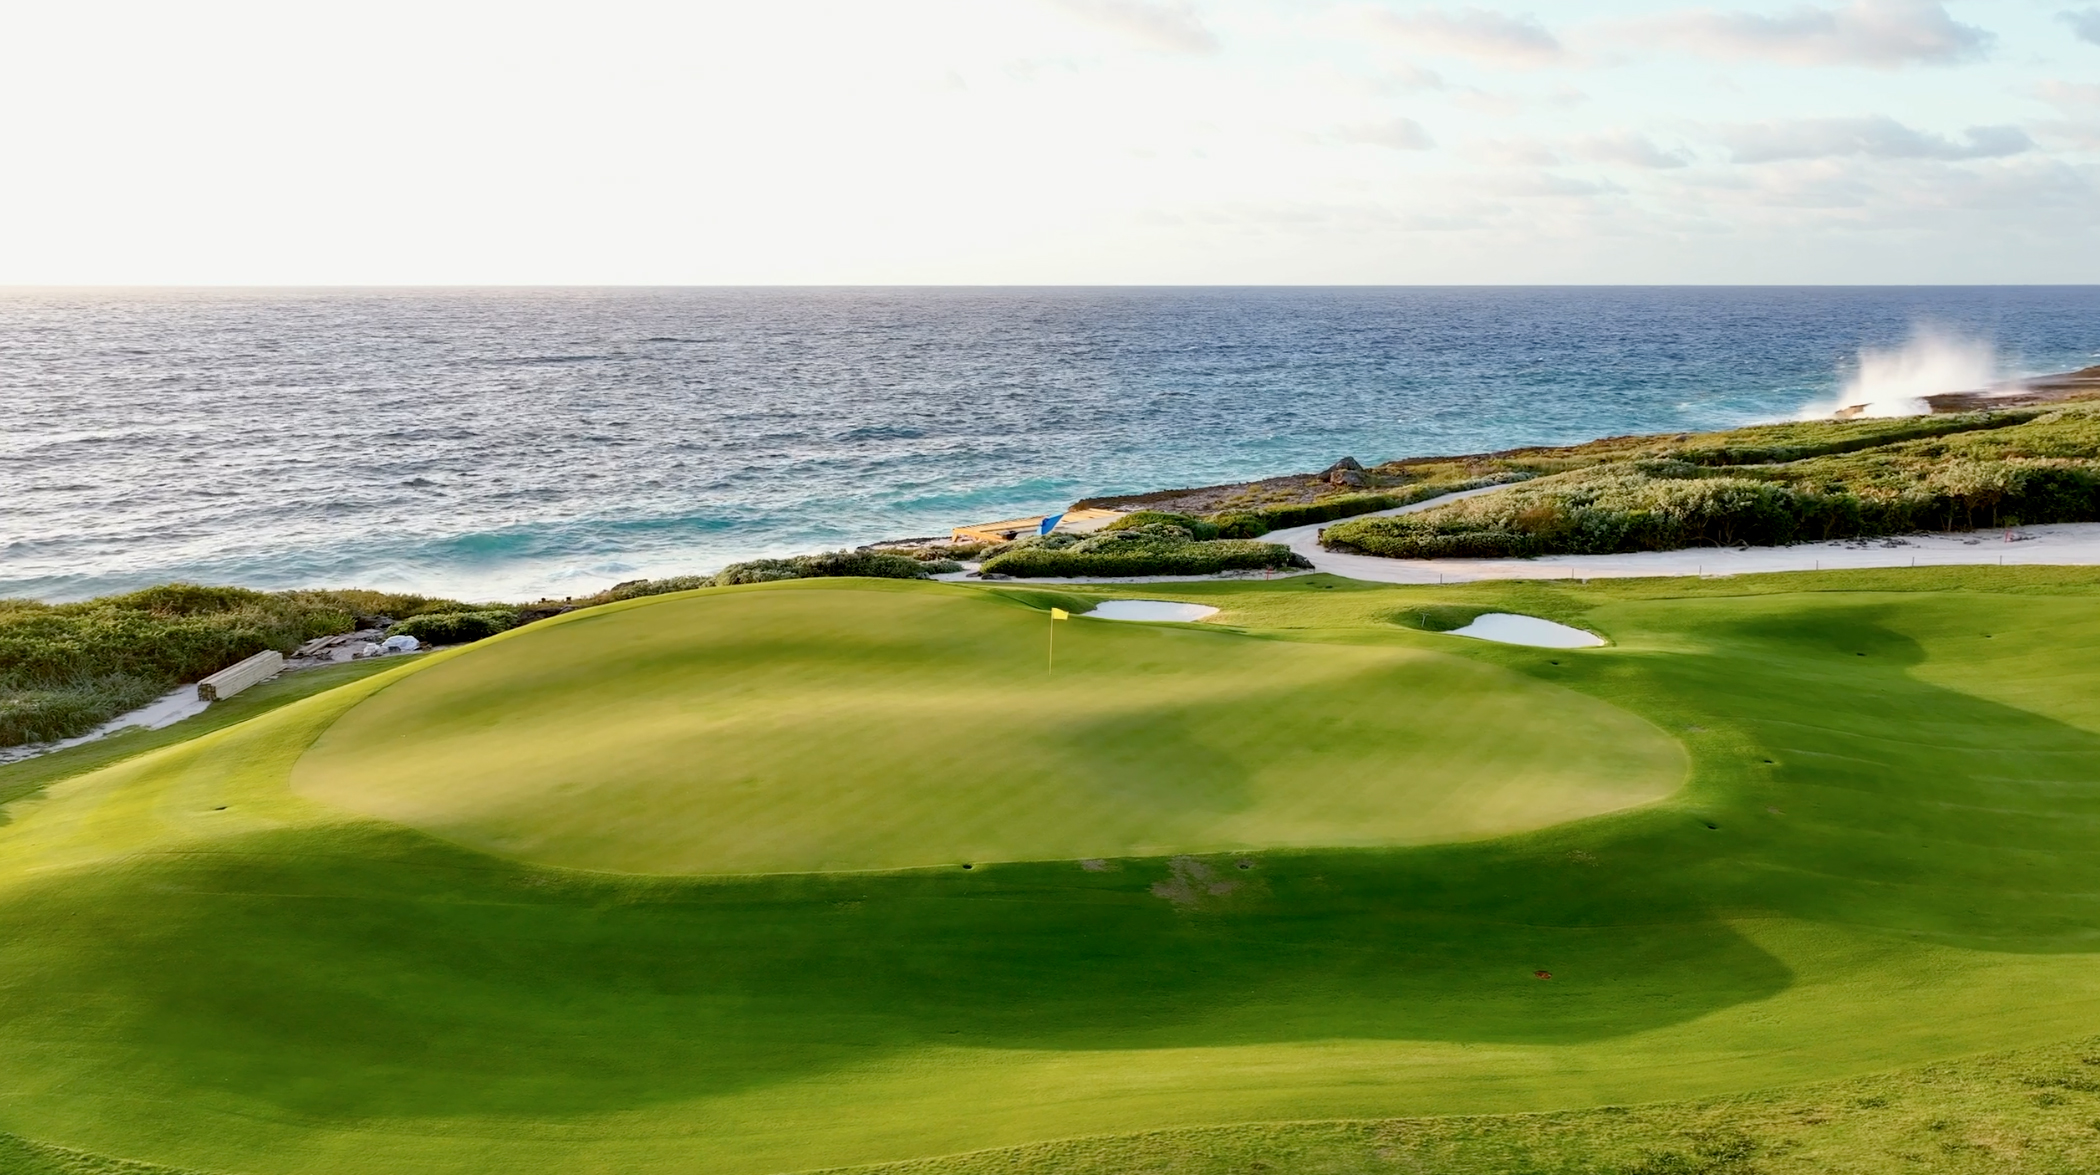
Hole 17
Par 3 | 204 yards
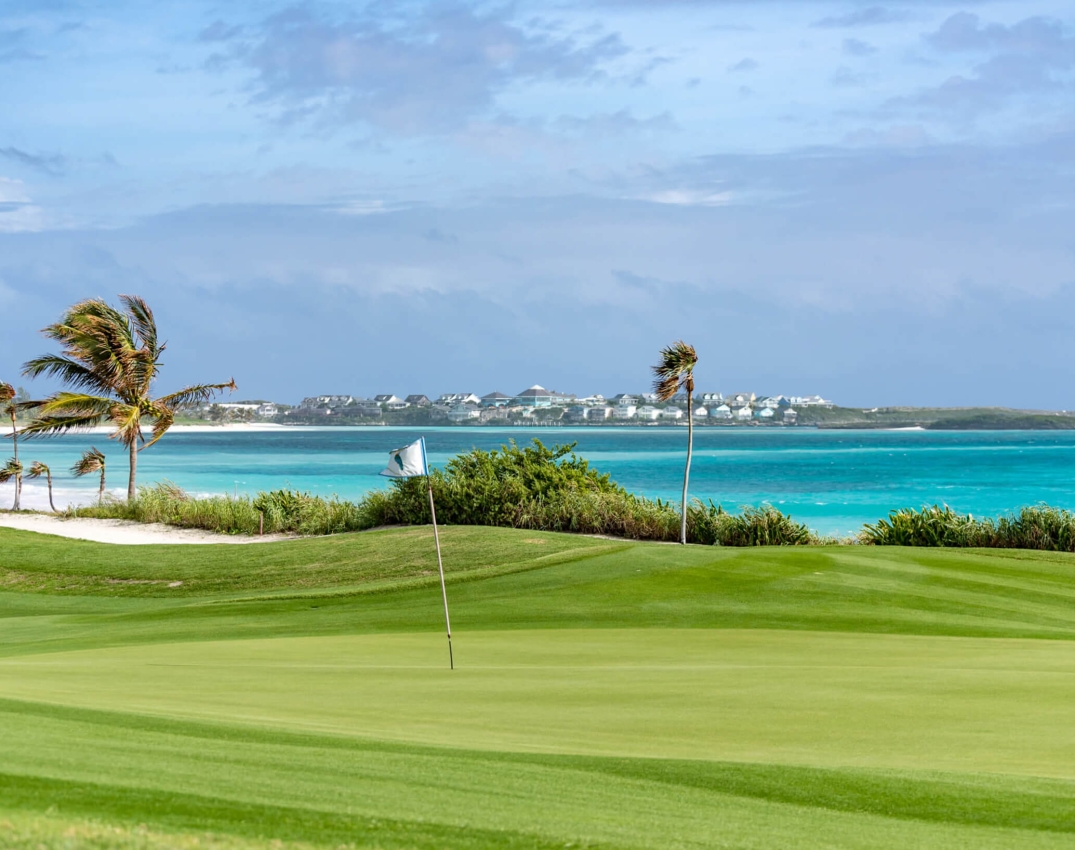
DC’s Playing Tips: The seventeenth here again is one of the most picturesque holes on the golf course depending upon which tees you play it from should you play it from the tips or play off the regular tees. Set into the backdrop of the ocean it’s a stunning looking hole that plays very long off the back tees and not so long off the front tees but you’ve got a hazard and indeed the ocean all the way around on the right-hand side, a slope on the left, and a very demanding par 3 so if you can walk off to the 18th tee after making 3 at 17 you’ll be very happy.

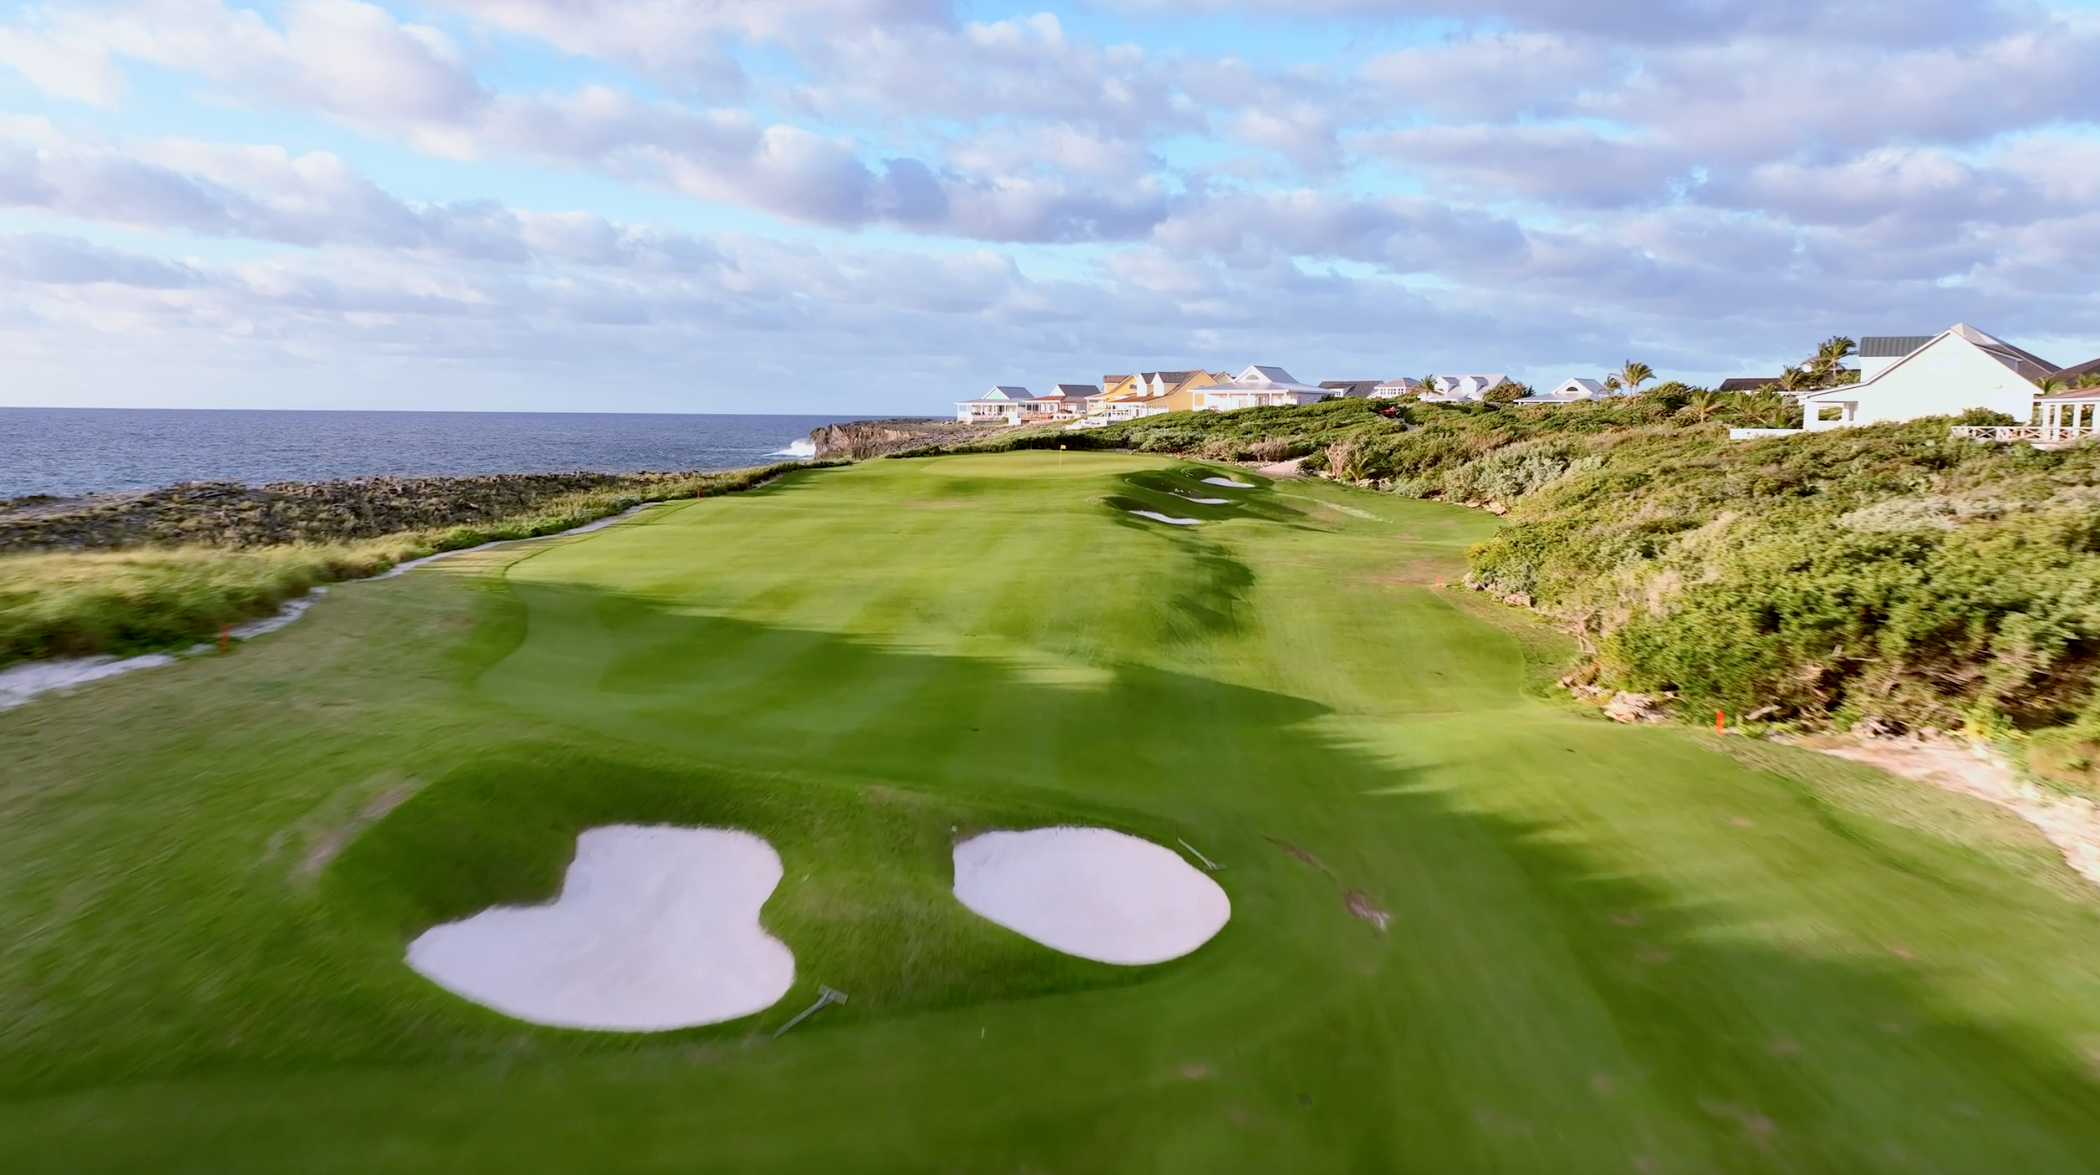
Hole 18
Par 5 | 572 yards
DC’s Playing Tips: The eighteenth hole here is the last of the par 5s and a very challenging tee shot because you can’t see the bush and scrub on the right-hand side, you can see the ocean on the left-hand side, there’s somewhat of a bank on the left-hand side which will feed the ball back down but in windy conditions a very demanding tee shot. Then you’re laying up into a very narrow area which will in turn leave you with an uphill third shot into a green which is reasonably flat but has a massive runoff on the right-hand side. Three good shots and you should give yourself an opportunity to make birdie but one bad shot and you’ll be struggling for a decent score.
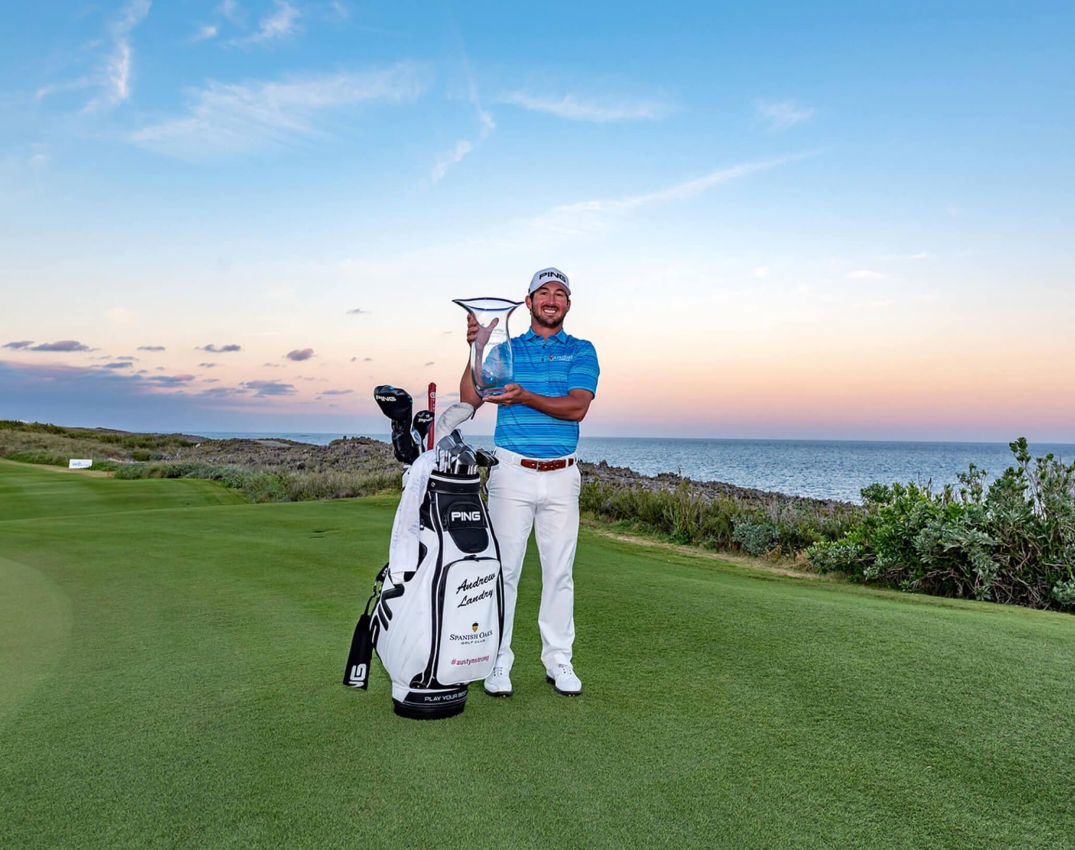
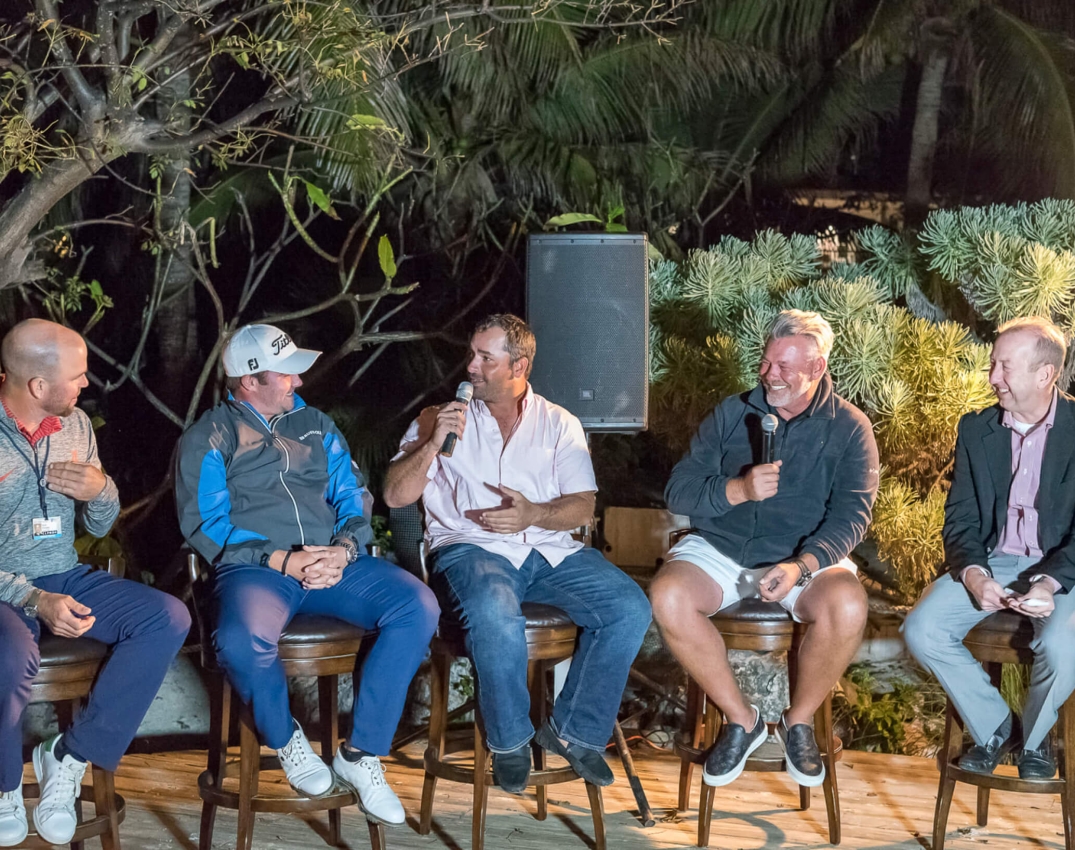

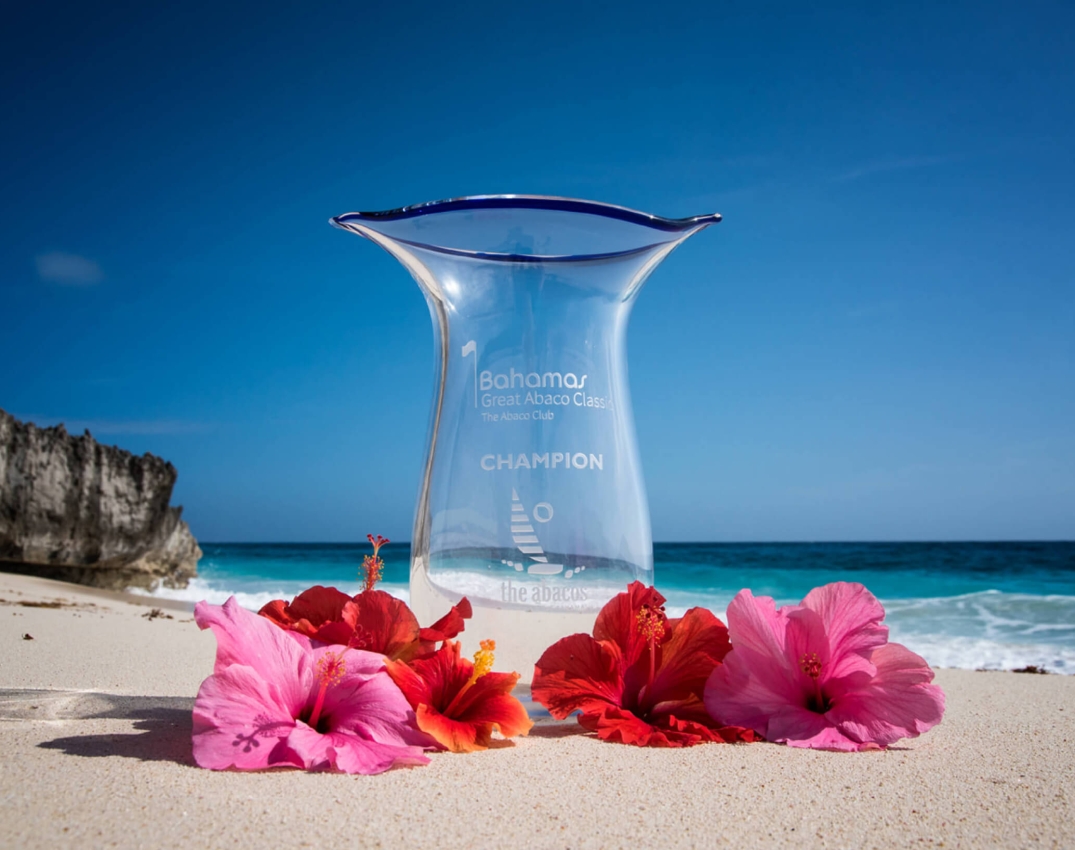
Korn Ferry Great Abaco Classic
The course at The Abaco Club is the scene for one of the most exciting stops on the Korn Ferry Tour—The Great Abaco Classic. It is one of only two stops on the tour in the Bahamas, starting in 2017 and quickly becoming a favorite on the professional circuit.


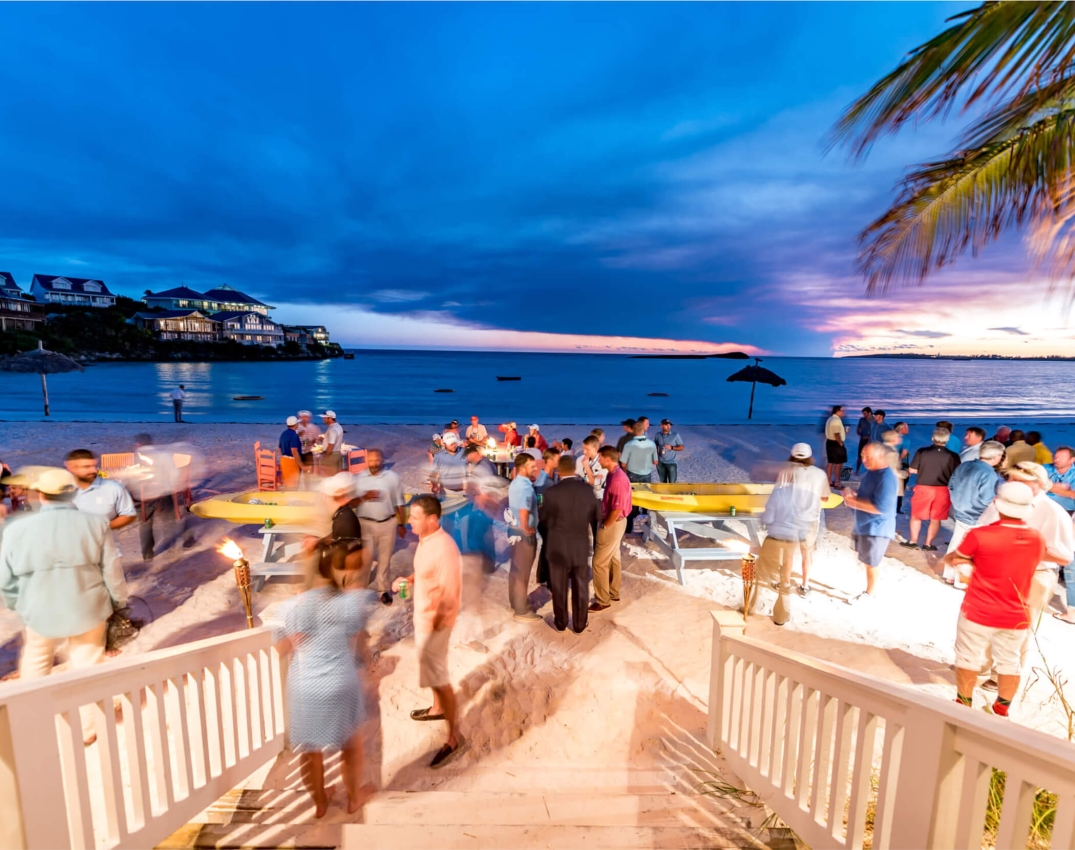
A Calendar Of Member Events
More than just a place for casual play, The Club keeps up the spirit of competition by hosting popular club tournaments, including member-member and member-guest. One of the highlights at the Club and across our portfolio is the Southworth Cup—where we welcome teams from our sister properties Willowbend, Creighton Farms, and Renaissance to the Abaco Club for a 36-Holes Stableford point match. This is an amazing event where members from other Southworth communities can meet up for camaraderie and bragging rights.

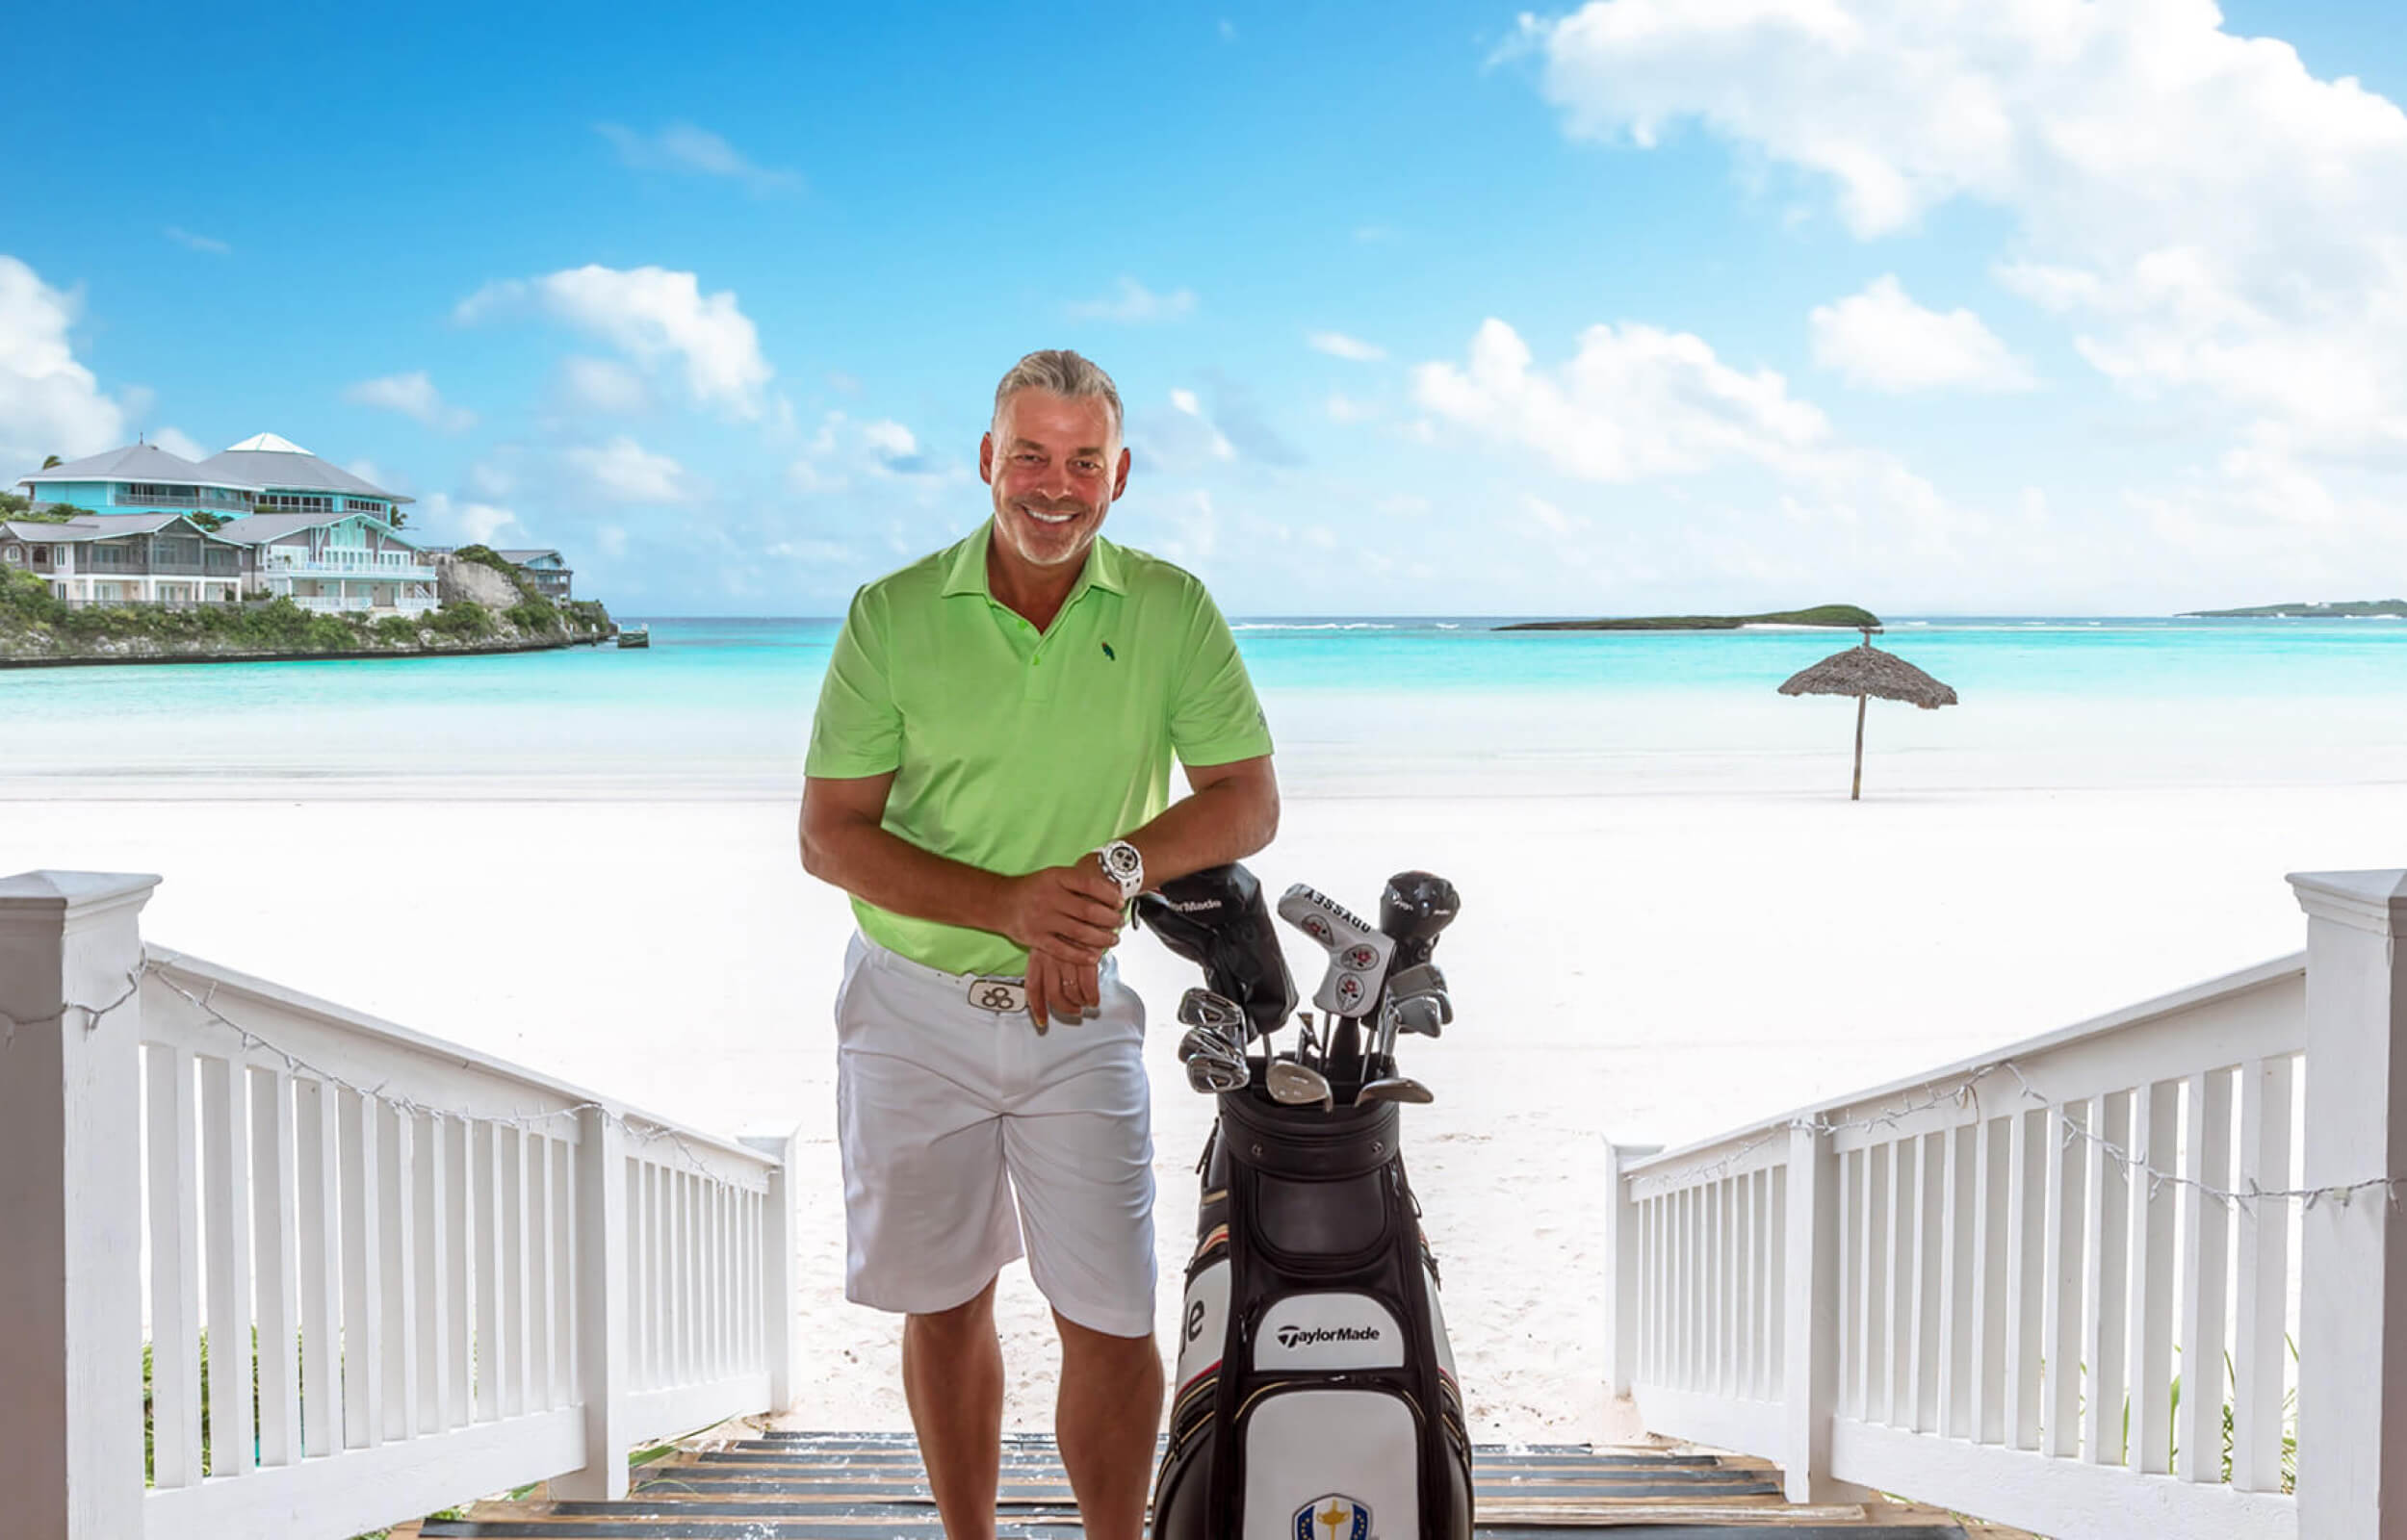
Darren Clarke
Abaco Club Ambassador
“I love the relaxed atmosphere here. It’s extraordinarily beautiful, and there’s no place I’d rather spend time, especially with my family. The golf course is a true championship layout—a links-style design—not unlike some of the ones I grew up playing around Ulster. The only difference is, you can play this course in warm sunshine almost every day of the year! I love working on my game here—the practice facility is Tour-quality, the best in the islands.”